13. How to use the spam filter and antivirus protection in Plesk
Spam filtering detects spam messages sent to an e-mail address and acts according to the options you set. The antivirus service blocks messages that contain viruses and notifies both the sender and recipient.
1) Click mail.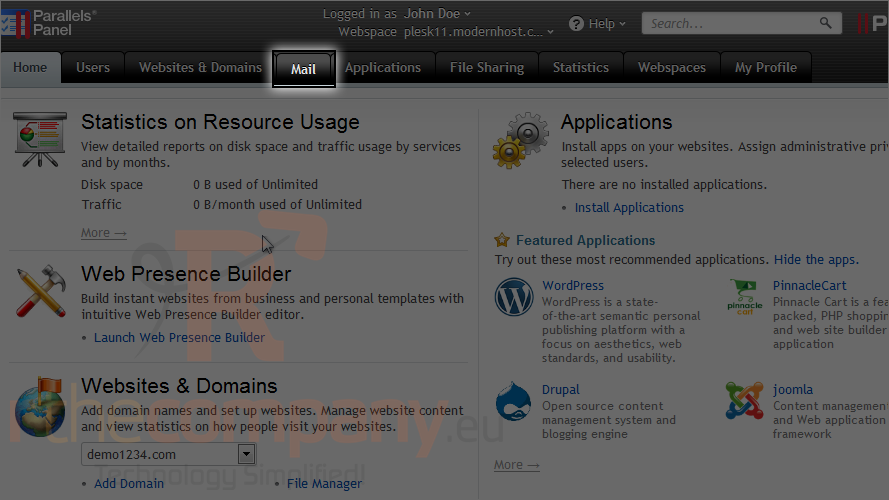
2) Select an e-mail address.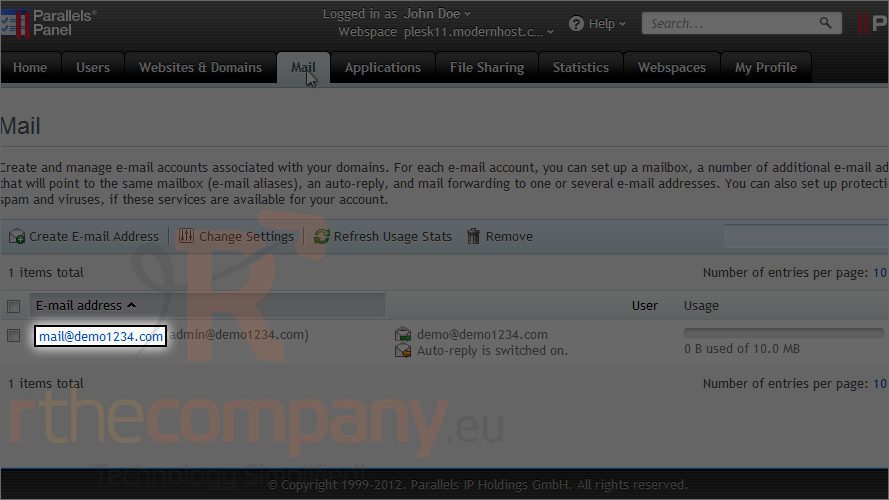
3) Click spam filter.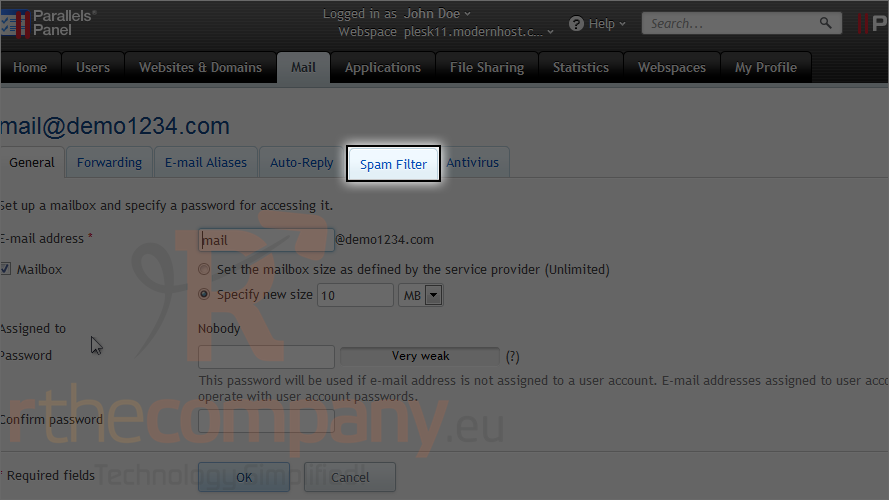
4) Select the checkbox labelled switch on spam filtering for this e-mail address.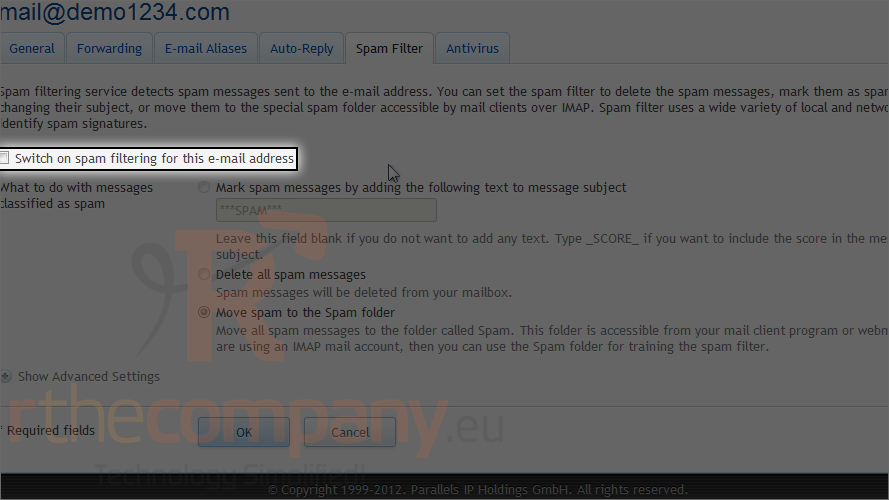
The spam filter gives you several options from which to choose to determine how the messages will be handled.
Mark spam messages lets you specify text that will be placed in the subject of each message the filter thinks is spam. These e-mails will be placed in your inbox.
Delete will remove all spam messages from your mailbox. Finally, move spam to the spam folder sends the messages to the folder called spam and is accessible from your mail client program or webmail.
5) Let's view the advanced settings.
If you aren't receiving e-mails because they are being marked as spam or if messages aren't being detected as spam when they should be, you can raise or lower the sensitivity accordingly.
Messages received by any e-mail addresses entered in the white list will not be checked by the spam filter even if the message would normally be marked as spam.
The filter sensitivity determines the level of spam filtering to be performed on incoming mail. Different tests on the contents and subject line of each message are run which cause the message to score a number of points. By default, the filter level is set to 7, which means that any messages scoring a 7 or higher are classified as spam.
E-mails received from a sender on the black list will always be blocked.
6) Now go to antivirus.
7) Select this checkbox to turn on antivirus protection for the chosen e-mail address.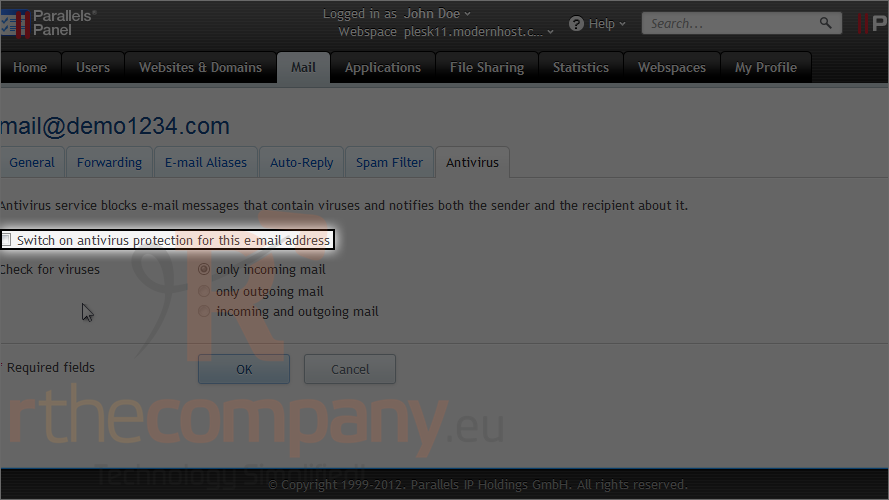
8) Set the scanning mode to check only incoming mail, only outgoing or both.
9) Click ok.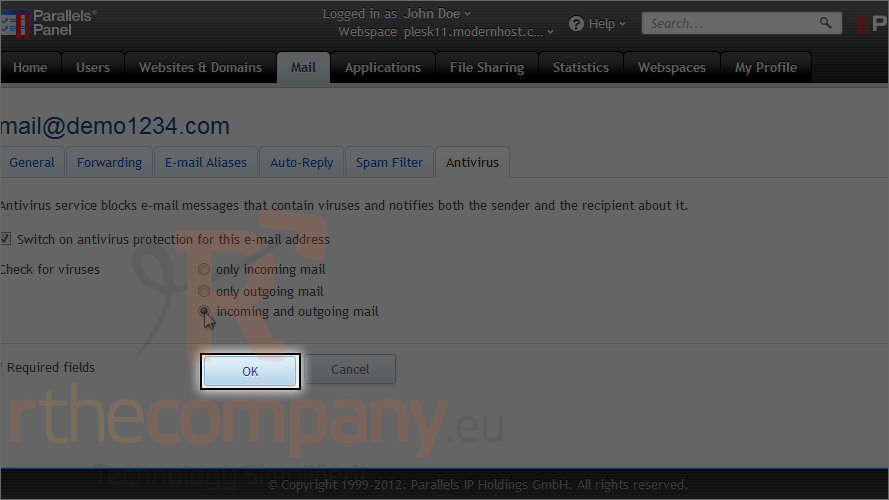
The spam filter and antivirus protection have now been set up. You will need to repeat this process for each individual e-mail address.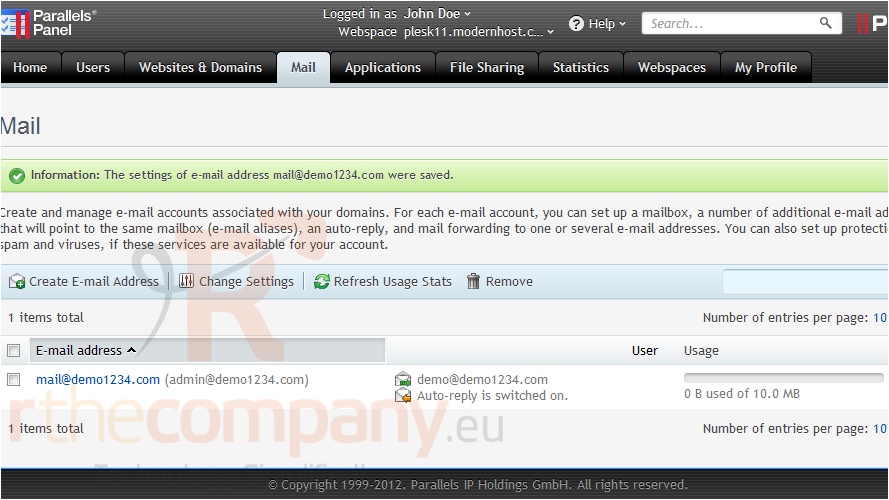
This is the end of the tutorial. Now you know how to use the spam filter and antivirus protection in Plesk.
