14. How to add Google Maps to Joomla
There are several extensions that allow you to easily create Google Maps and display them in Joomla
One aptly named extension, GoogleMap, is fairly new but also pretty popular. It seems to have a variety of useful features that make it stand apart from the rest
1) As with all extensions we'll be showing you, start by going to extensions.joomla.org. Then, navigate to the Photos & Images / Maps category and find the GoogleMap page
2) Once there, click Download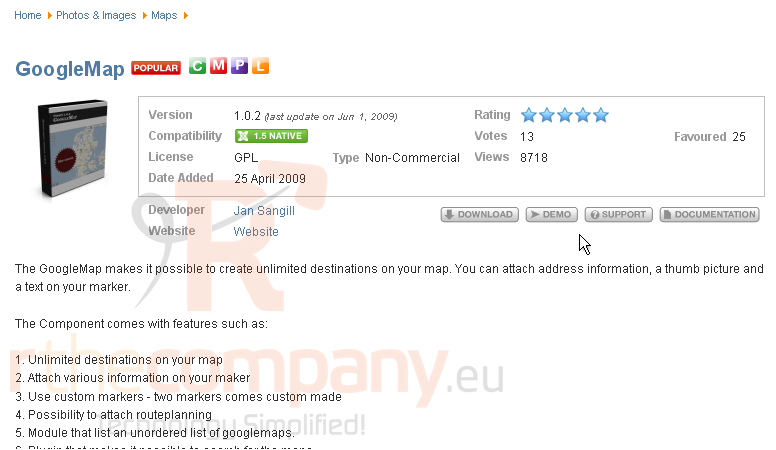
3) Click the link for the latest version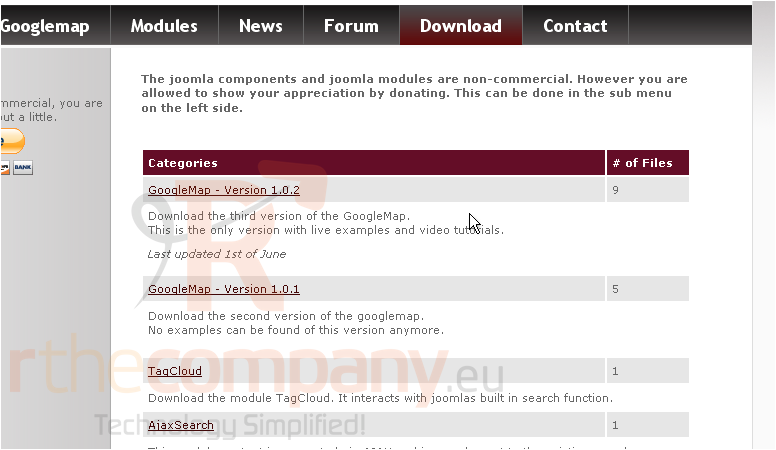
We recommend you download the component, mod_google, and both plugins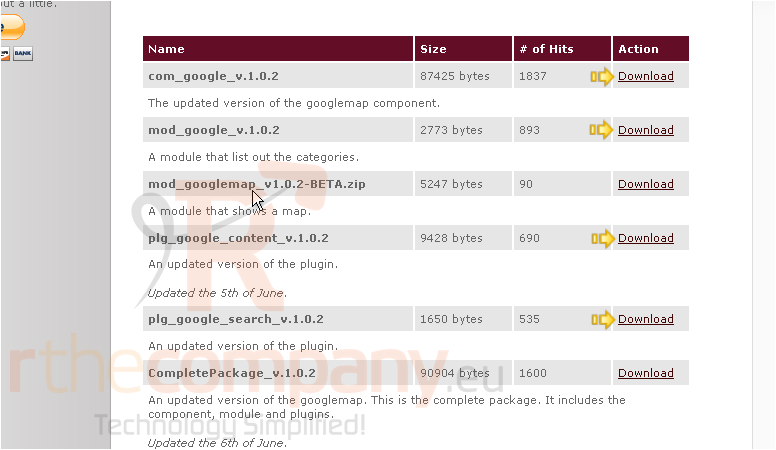
4) Once you've downloaded them all, install them just as you would any extension
For assistance with finding or installing extensions, watch the first two tutorials in this series
5) When complete, go to Components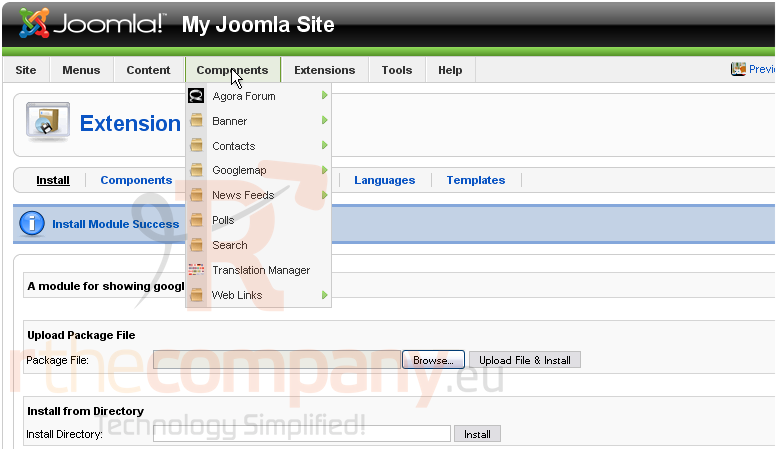
6) Then Googlemap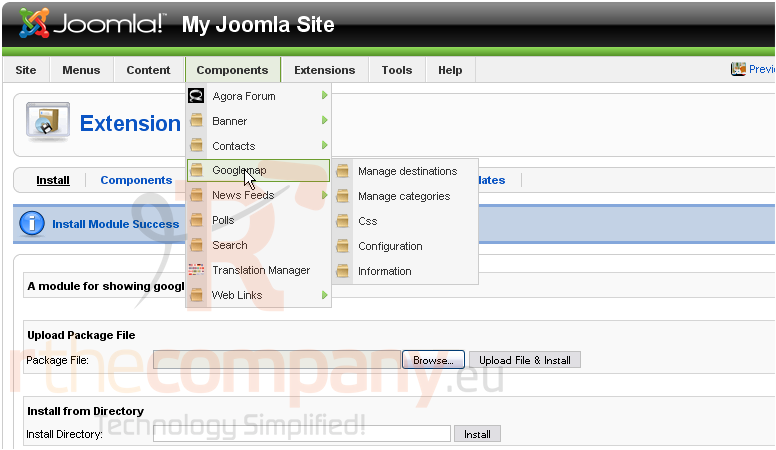
7) And then Configuration
8) First, you must enter the URL(s) on which your site resides, separated by commas. If you leave out a domain name, the Google Maps will not function when viewed from that location
If you want the maps to function on all subdomains of your site, leave off www here
9) Next, it's necessary to get authorization from Google for the domain name(s) entered above. This is done by obtaining an API key from their website. Click this link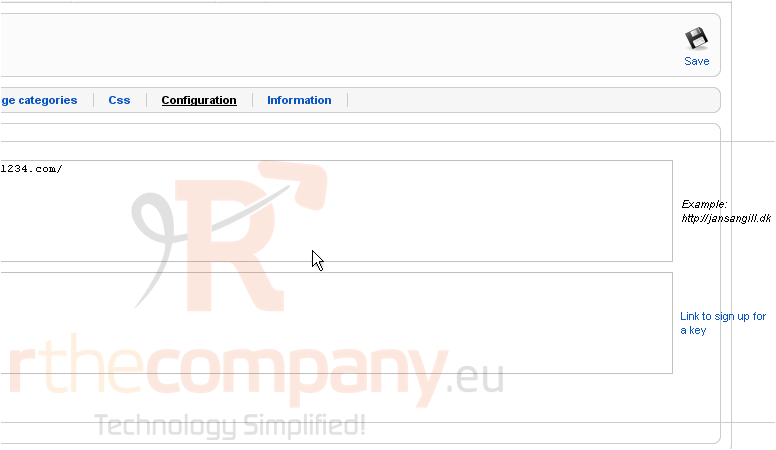
You must be registered for and logged in to a Google or Gmail account before proceeding. If you do not have an account, click this link to be given the opportunity to create one
Once you're logged in and have read over the contents of this page, scroll down
10) You must agree to the terms and conditions
11) Type the URL you entered a moment ago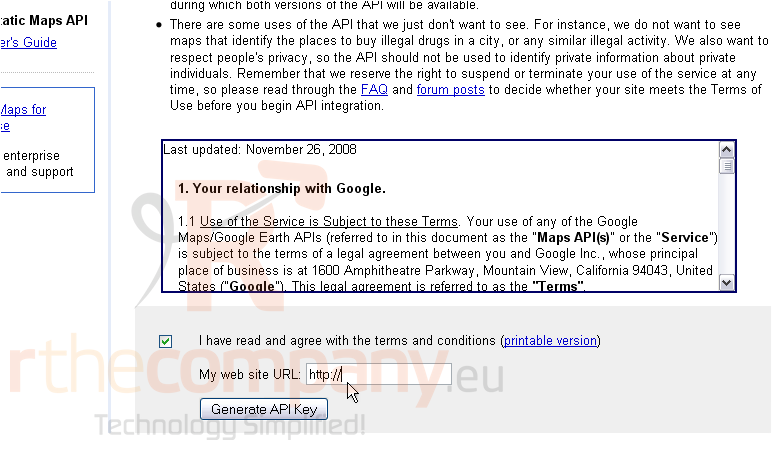
12) Click Generate API Key
Your key has been created
13) Copy it to your clipboard
Return to Joomla
14) Paste the key here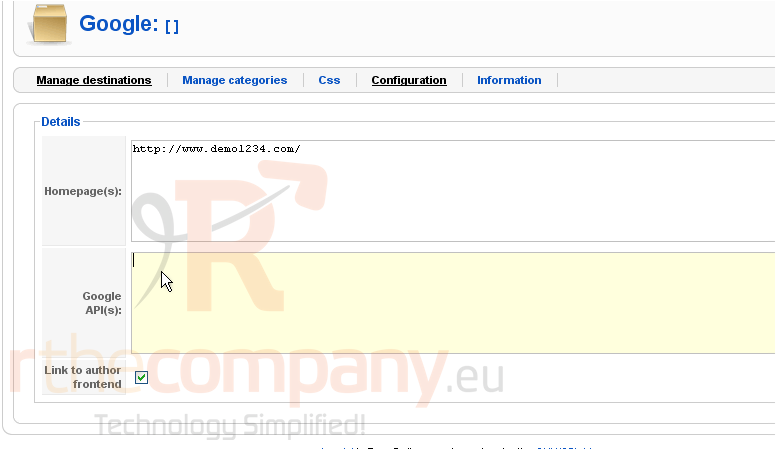
If you have multiple domain names listed above, repeat the process with each of them
15) When finished, scroll up
16) Click Save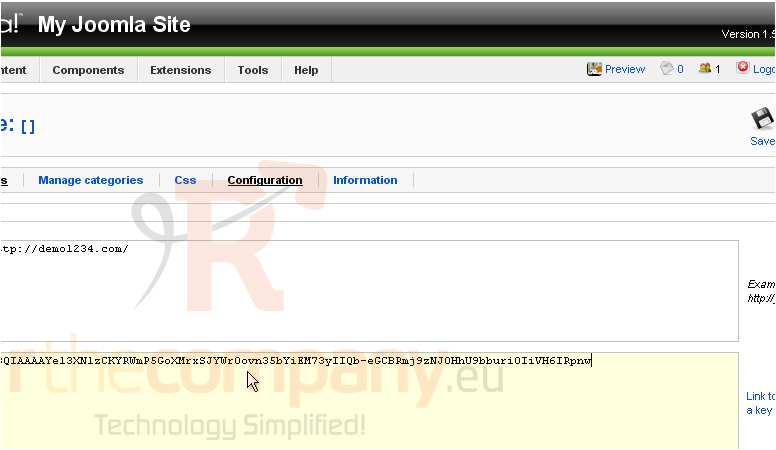
Now it's time to start setting up our first map, starting with the destinations
17) Click Manage destinations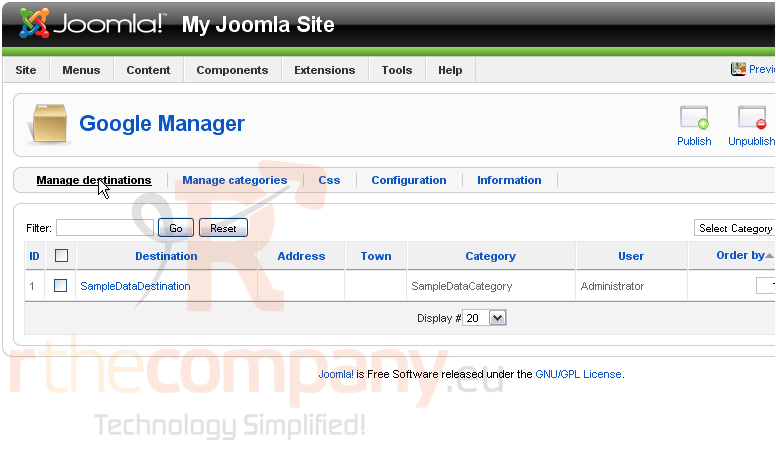
Let's edit the sample destination that was created automatically
18) Change the name
19) Type a description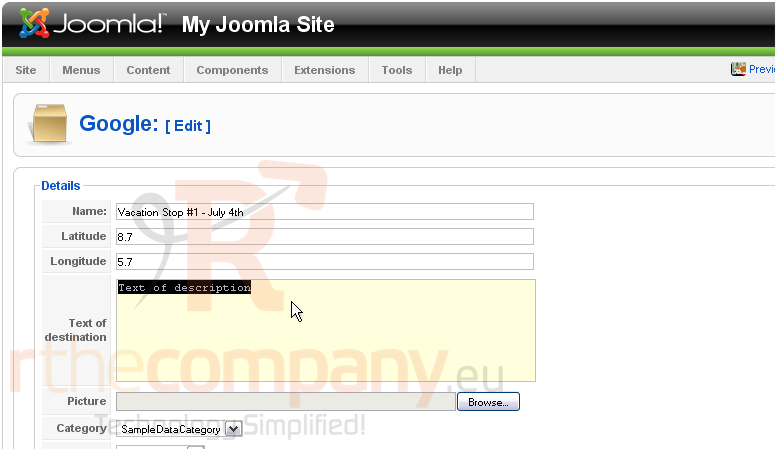
Scroll down
You have the option of finding the coordinates of your destination using a map or by entering the address
20) Click Google by address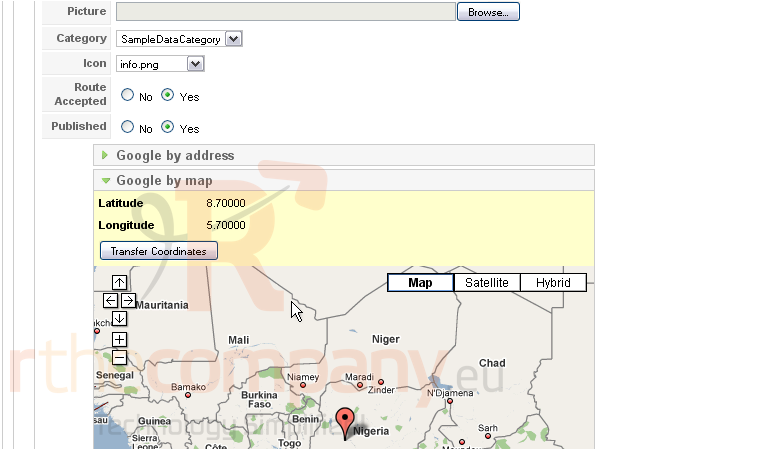
21) Type as much information as possible in these three fields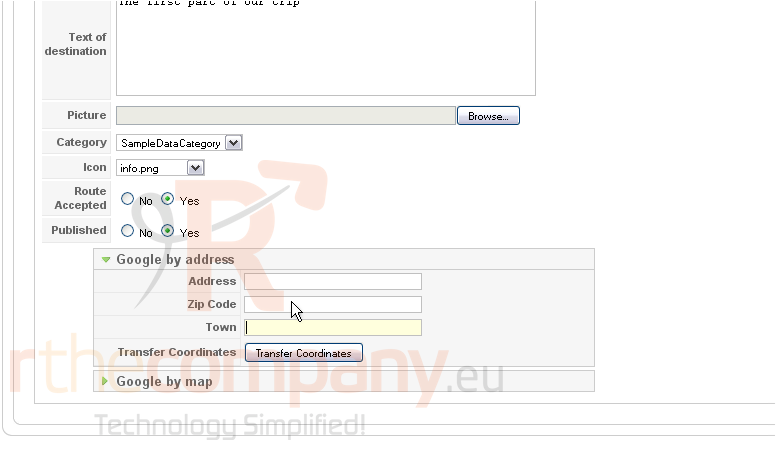
22) When finished, click Transfer Coordinates
Scroll up
Notice -- the latitude and longitude fields have updated to show the new coordinate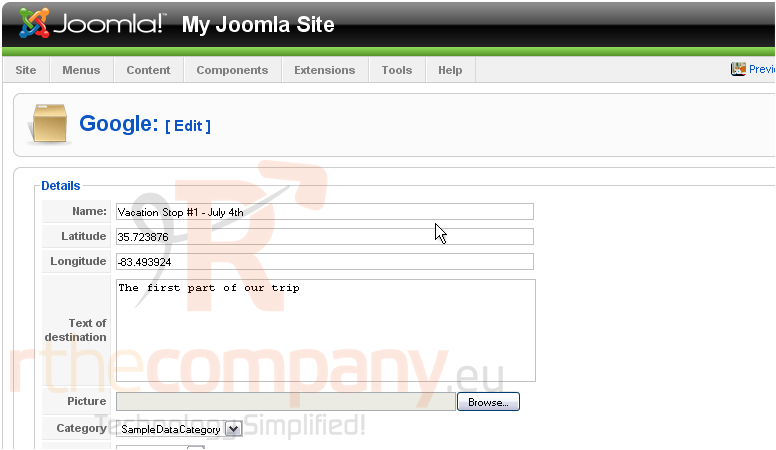 s
s
Look right
23) Click Save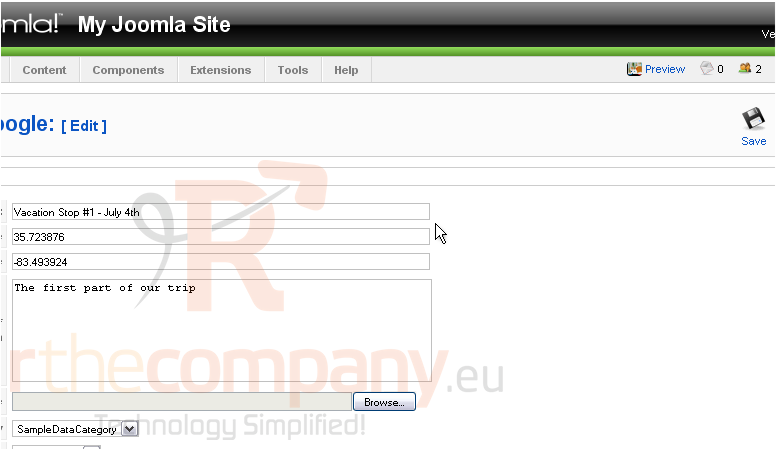
Let's add another destination
Scroll right
24) Click New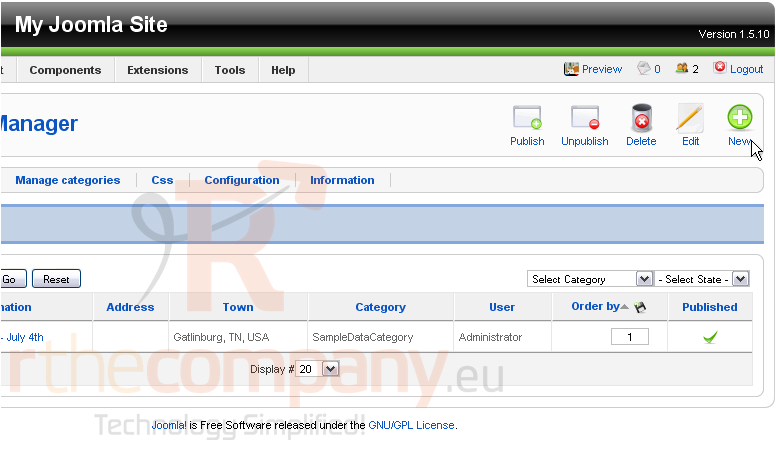
25) Proceed as before
26) Choose the sample category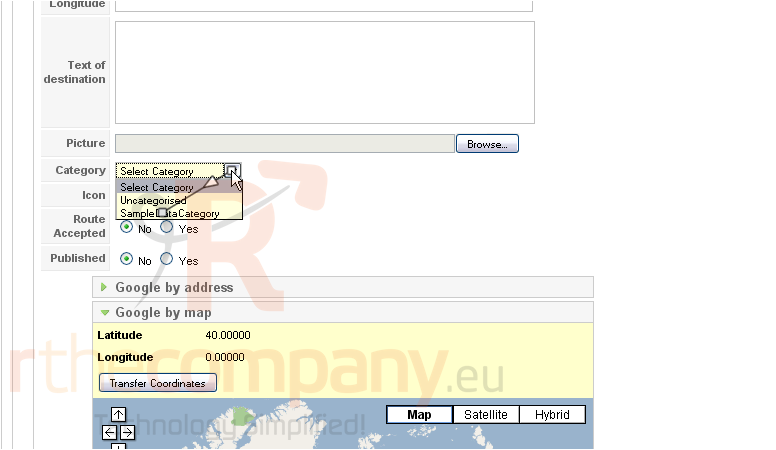
27) Set both of these to Yes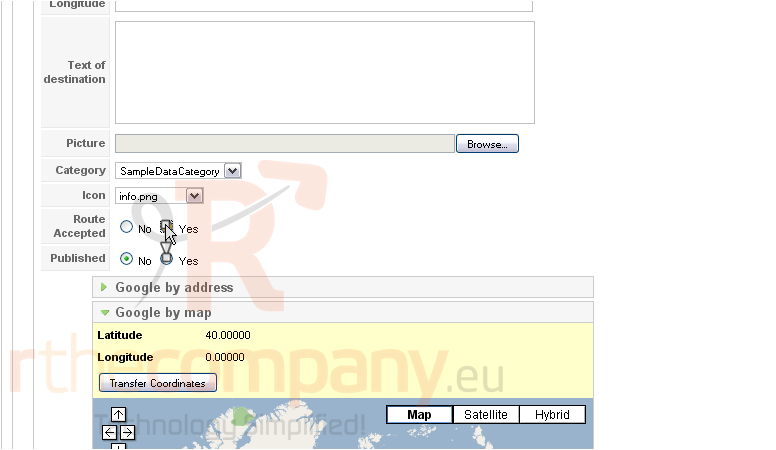
Scroll down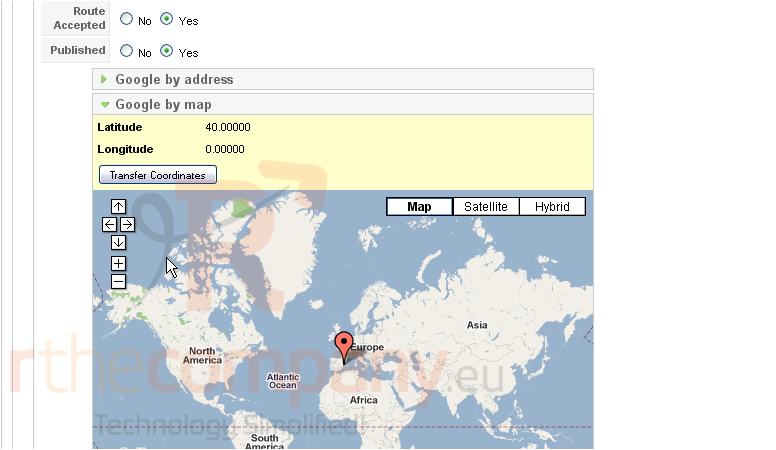
28) Scroll up and save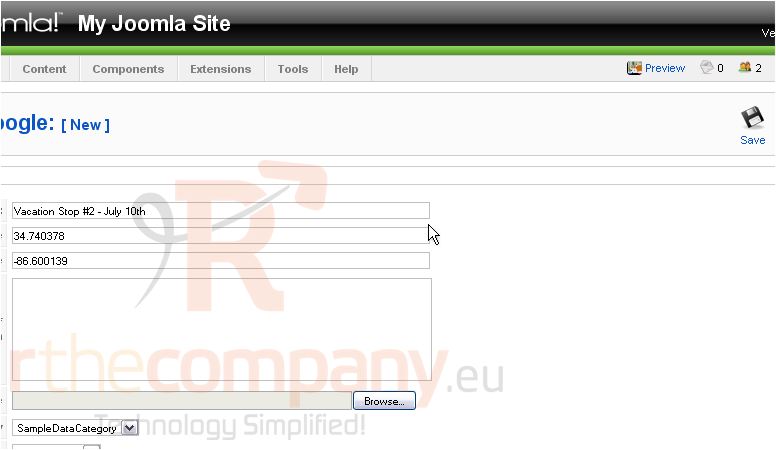
29) Create one more destination on your own
30) Once complete, reorder the destinations however you want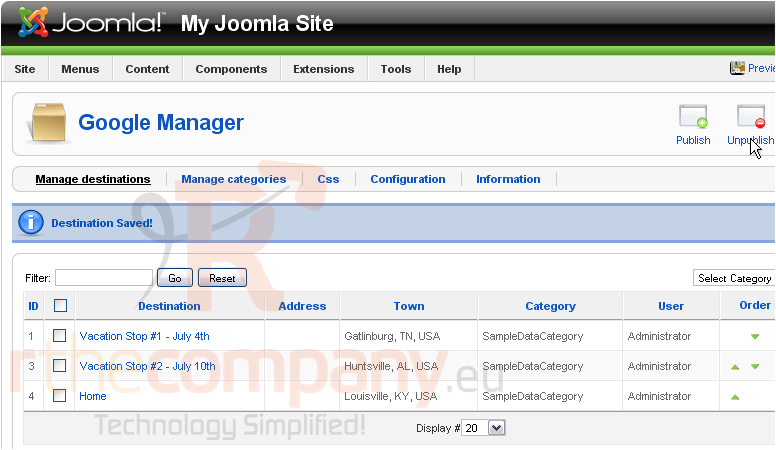
Now let's edit the category
31) Click Manage categories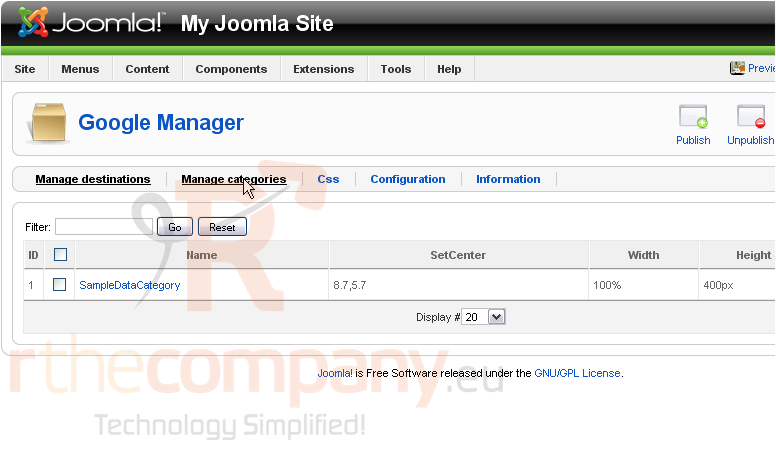
32) Select the category
33) Rename it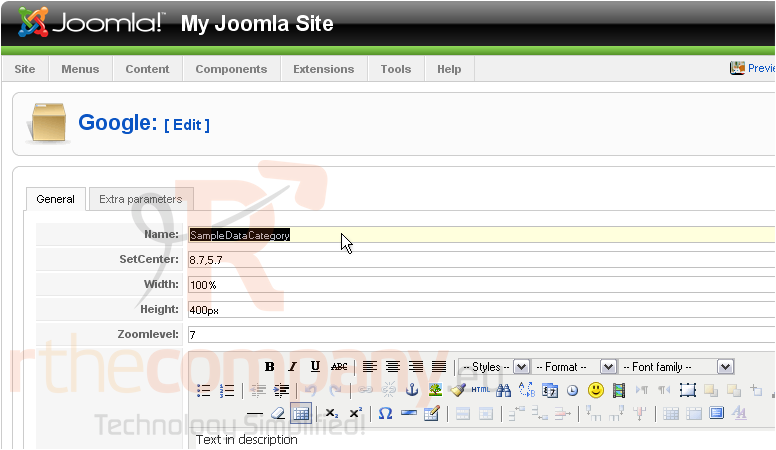
34) Supply the coordinates that the map should focus upon by default. Use the data from one of your destinations, if you want
35) Change the zoom level, if you wish, using a value from 1 to 15
Scroll down
36) Type a description to put before the map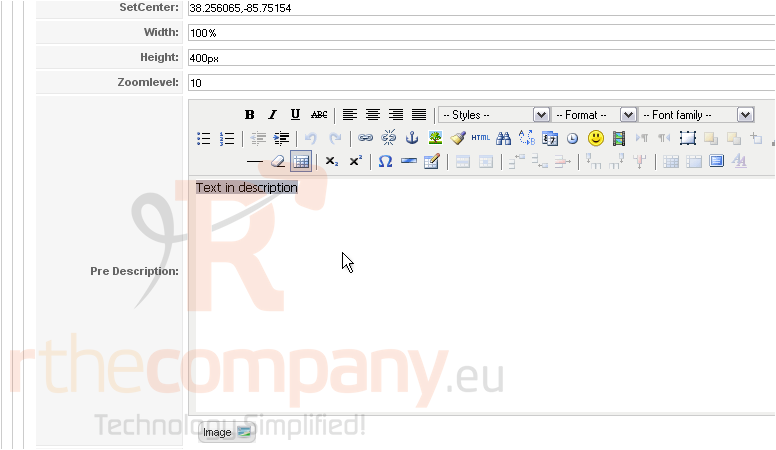
Scroll down
37) Type a description to be placed after the map, if you want
38) Make sure this category is Published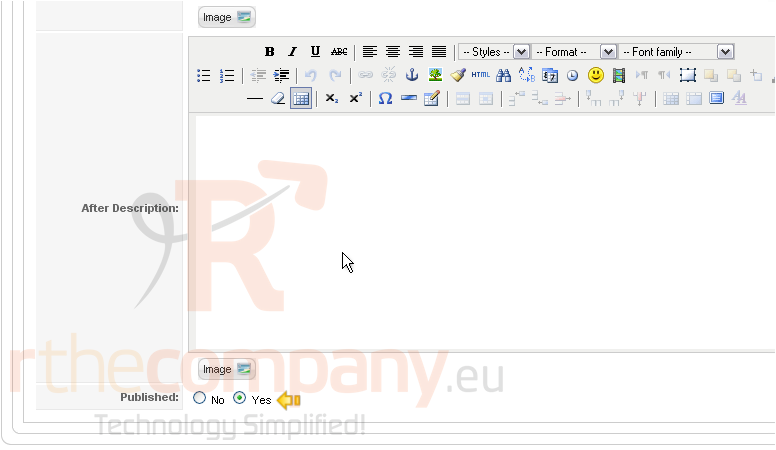
Scroll up
Under the Extra Parameters tab here, there are many options you can customize. Read over the hover descriptions for information on each. We're going to leave them all as the defaults
39) Click Save
Now, it's time to add a menu link for our map
40) Go to Menus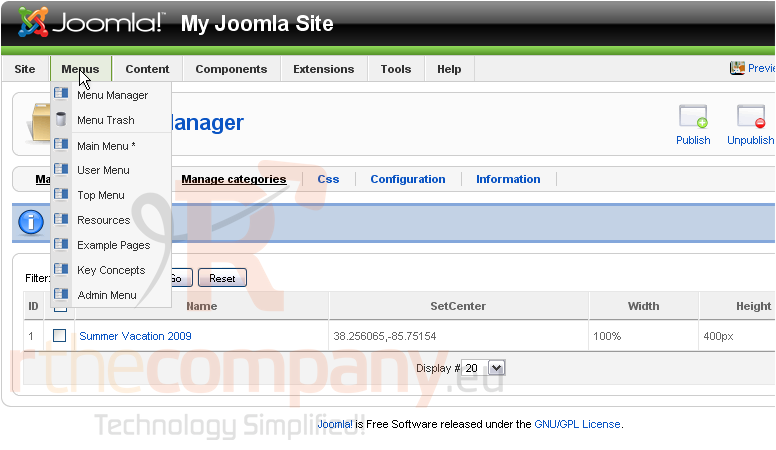
41) Choose a menu to contain the link. We'll use the Main Menu
Look to the right
42) Click New
Under Internal Link / Googlemap, there are three options for linking to the GoogleMap component
With Simple, you can display only a single destination
Standard and Advanced both allow you to choose a category of destinations to display on the map. Advanced is nearly identical to Standard, but adds a list of all the destinations below the map
We'll use Advanced
43) Type a title
Scroll down and customize any of the display settings you want. Then, scroll right
The only option under Parameters (Basic) allows you to select a category
44) Open up the next tab
All of these options allow you to override the settings specified by the category
We'll leave these blank and use the category's settings
Next tab
All of these options are also available on the category's page, this time under the Extra parameters tab. Use Global tells this component to use the settings as they're defined there
Again, you can override each of these here
45) When finished, click Save
Finally, we can check out our map on the Joomla frontend
46) Click Preview
47) Click the menu link we just made
Here it is! If all went well for you, yours should work, too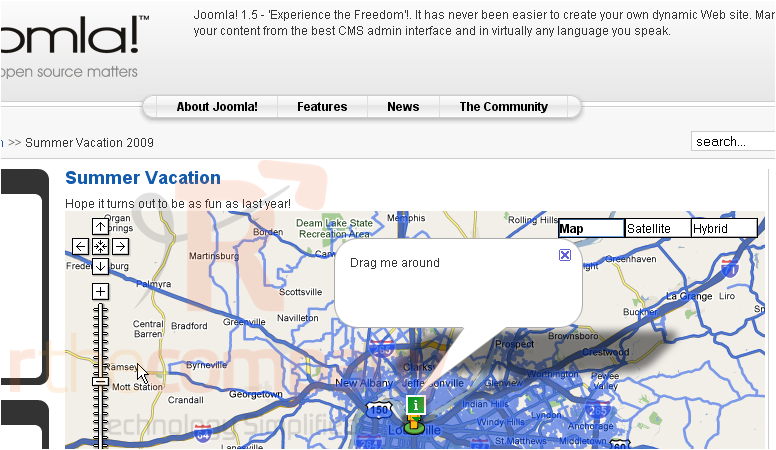
If you get a Google Maps API key error message, you'll need to go back and check your configuration
Scroll down
Notice the list of destinations. As stated, these will only show up in Advanced mode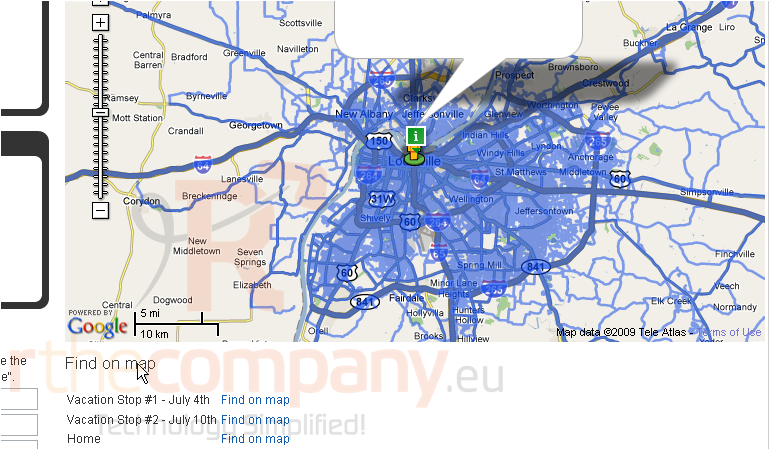
Now that you have a map, you might want to start using the module and plugins you installed earlier. You can find out more about these on the developer's website
This is the end of the tutorial. You should now know how to use the GoogleMap extension for Joomla
