5. How to set up domain pricing and registrars in WHMCS
This tutorial assumes you've already logged in to your WHMCS admin panel.
With WHMCS, you can set the prices of each top-level domain you want to sell. You can also set it up to work with many different domain registrars.
1) Go to setup.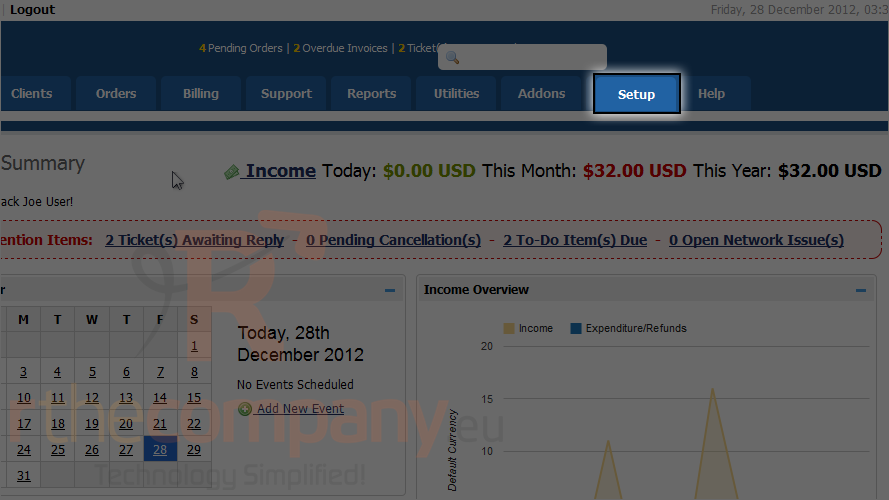
2) Mouse hover products/services.
3) Start with domain pricing.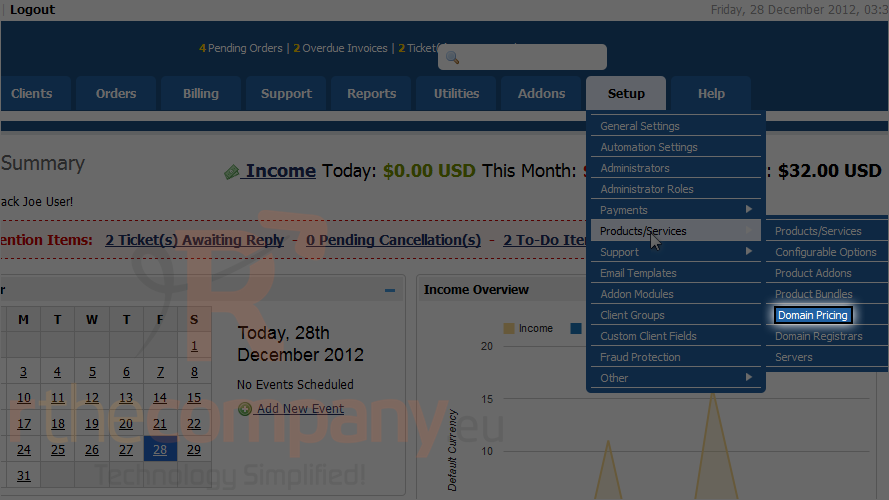
4) First, specify the top-level domain you want to add.
5) Use the checkboxes above to enable any of the addons you want to provide, at the prices specified below.
Auto registration allows you to select a registrar for WHMCS to use to automatically set up any domains of the TLD you speicified. Select one from the list if you want or just leave it as none.
6) When finished, click save changes.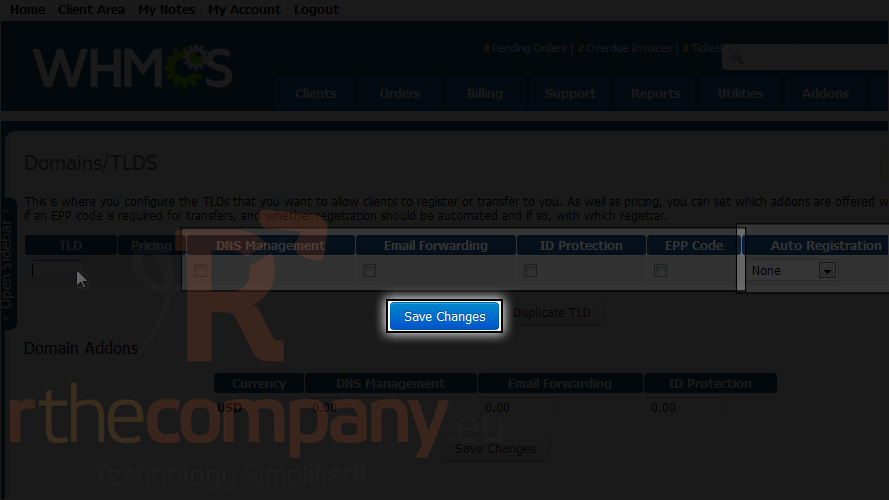
Repeat with as many TLDs as you want.
7) When all the TLDs have been added, click open pricing to set the pricing for each one.
For each term you wish to offer the domains of this type, specify the price of registrations, transfers and renewals. Registrations can be left as 0 to disable everything for that term; the other two should be set as -1 to disable each.
8) Start with registrations lasting 1 year.
9) Then the transfer price.
10) Last, renewals.
Repeat with any other years you want to activate.
11) When finished, click save changes. Wait for the changes to save and then close window.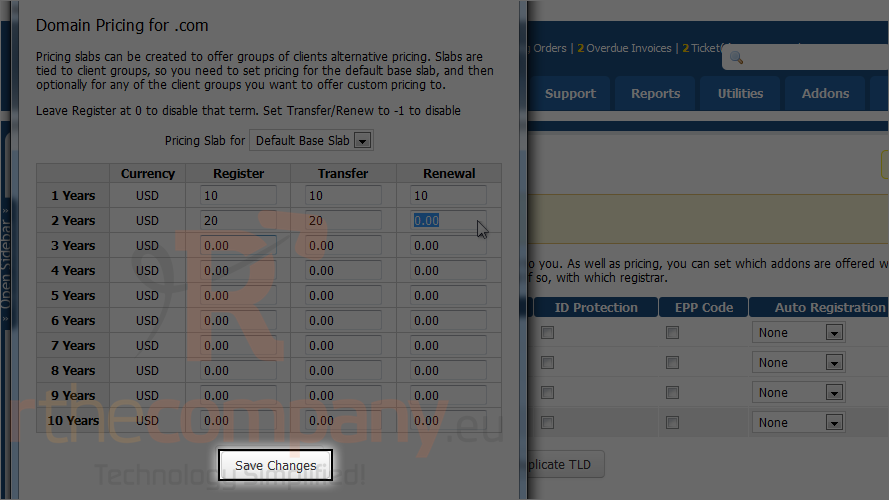
Repeat with the rest of the top-level domains. Then, let's proceed to the next page.
12) Click setup.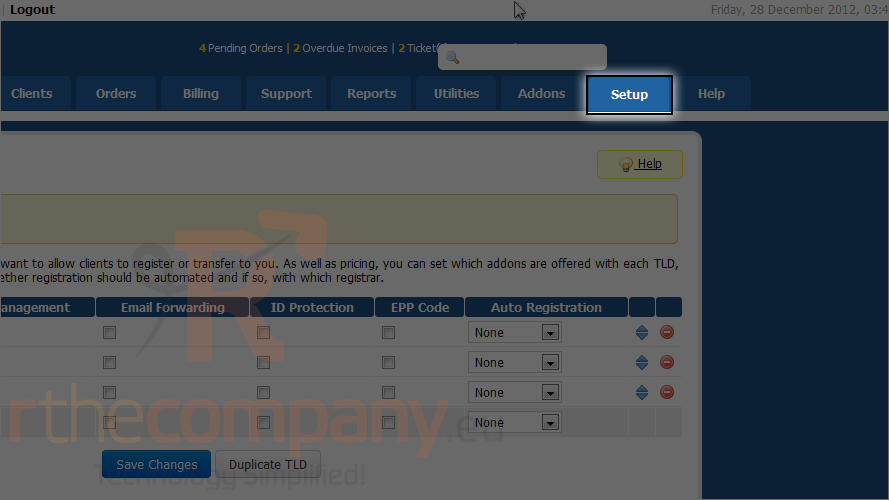
13) Mouse hover product/services.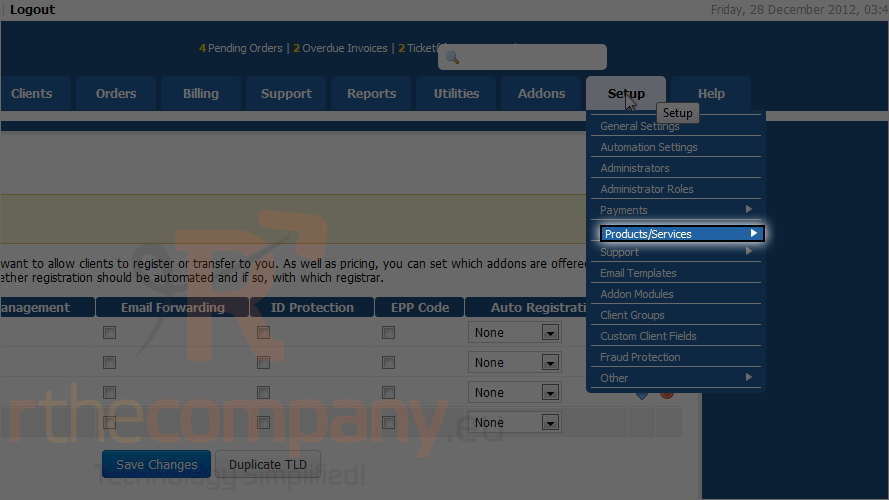
14) Click domain registrars.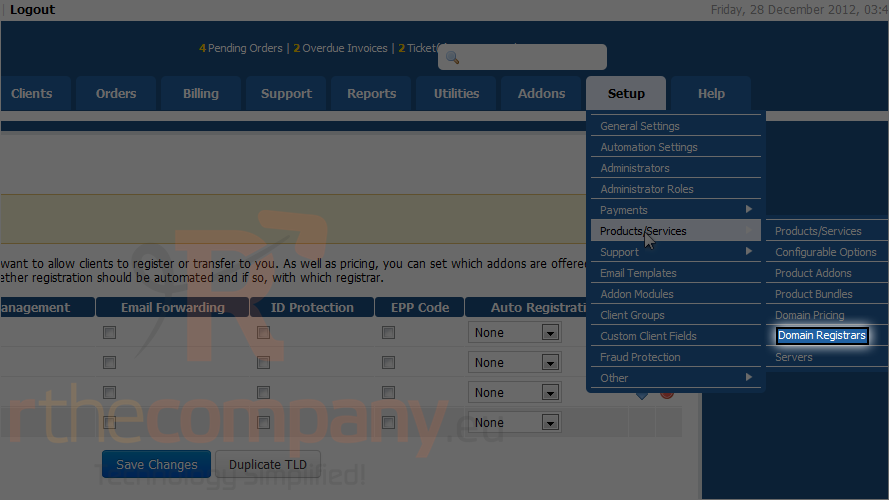
15) Choose a registrar module by clicking activate button next to it's name.
16) Fill out this information. You'll need similar info for all the registrar modules.
17) When finished, click save changes.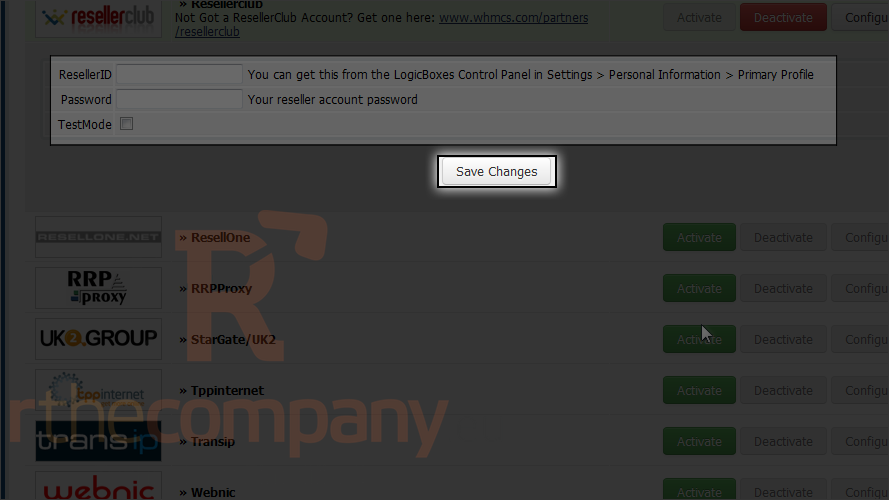
Changes saved. Please note that some registrar modules must be synchronized frequently in order for due dates and domain statuses remain up to date. You can do that by setting up a cron job on your hosting account to run the command listed below.
Set the cron job up exactly as the main WHMCS cron job, except for the interval: The cron job should run every few days, not every day. For details, watch the other tutorial in this series.
You can also set up default nameservers and contact details with registrar module settings.
18) Click setup.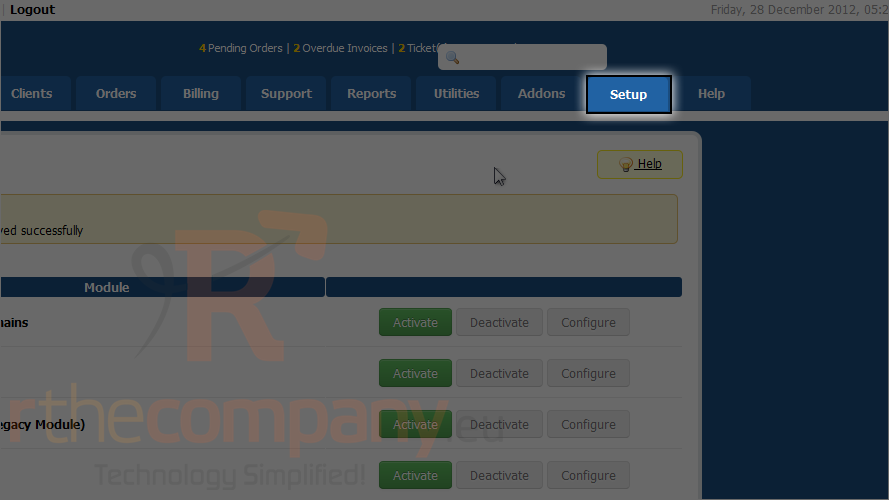
19) Click general settings.
20) Click domains.
You can set various options for domain registration.
21) You can set default name servers.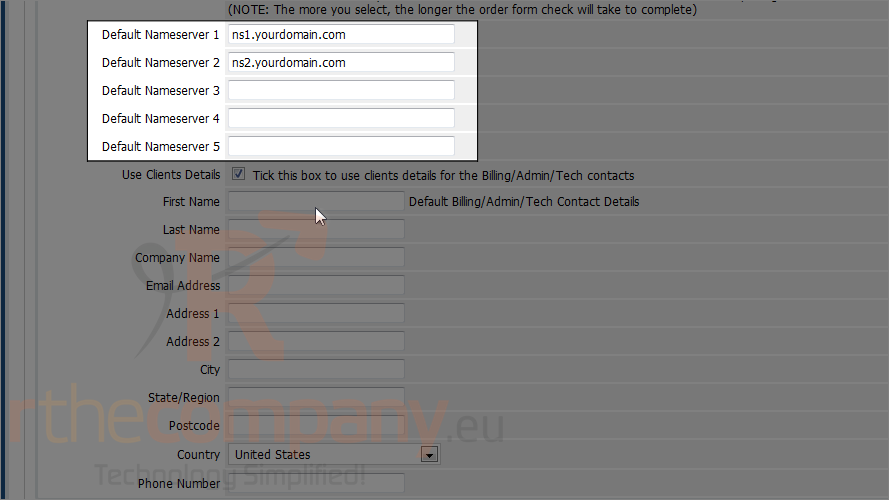
22) You can also set a default address for billing, admin and tech contacts.
23) After you are done click save changes.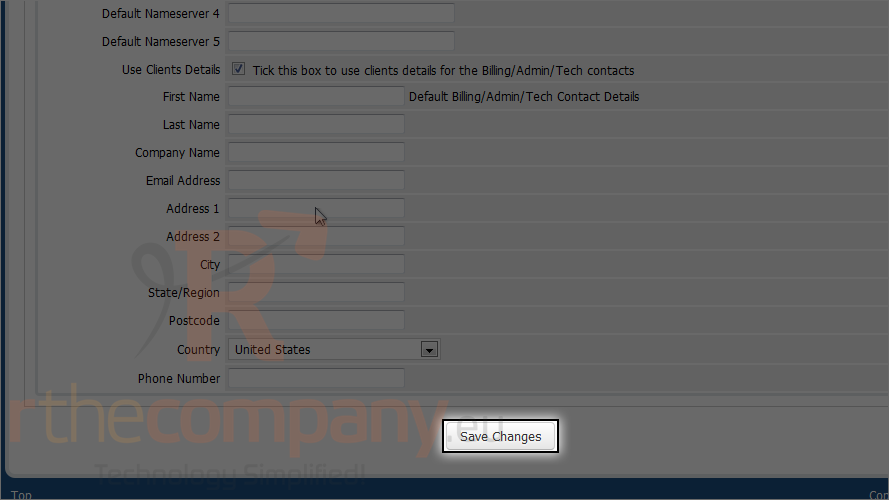
This is the end of the tutorial. Now you know how to set domain pricing and configure registrar modules in WHMCS.
