11. How to manage your customers in PrestaShop
This tutorial will show you how to add customers and customer groups.
1) Go to Customers.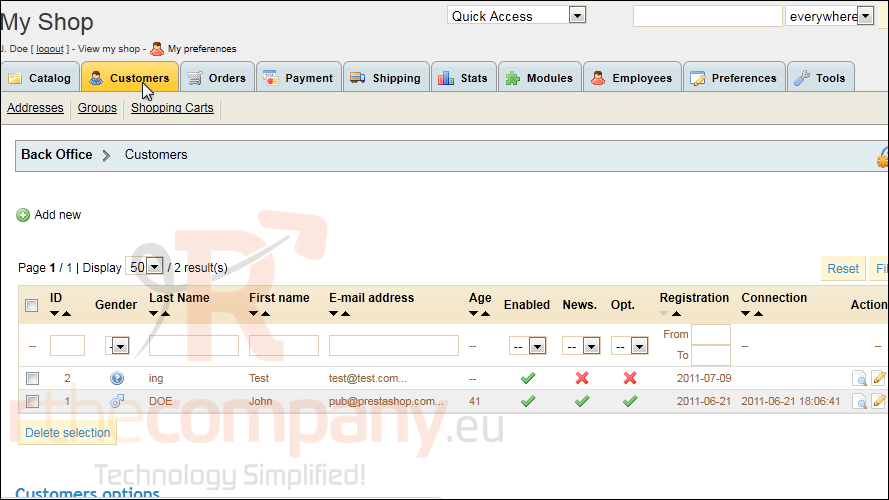
2) Click Groups.
3) To create a group, click Add New.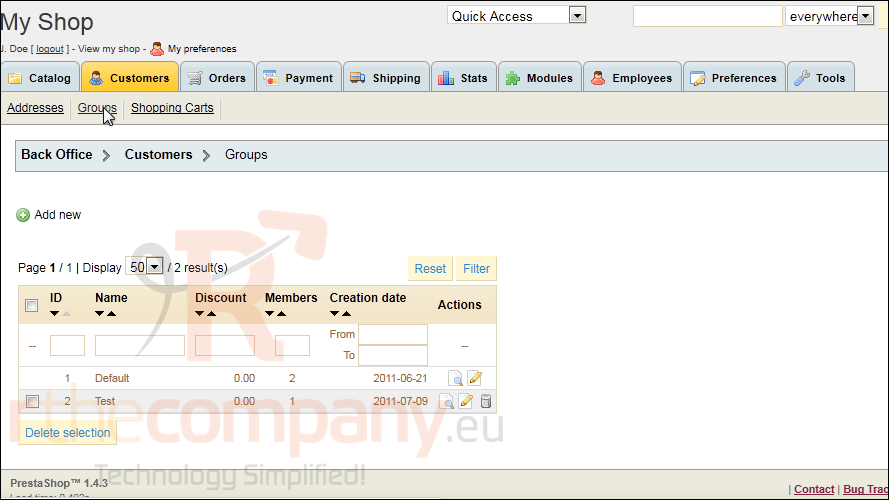
4) Type a Name for the group.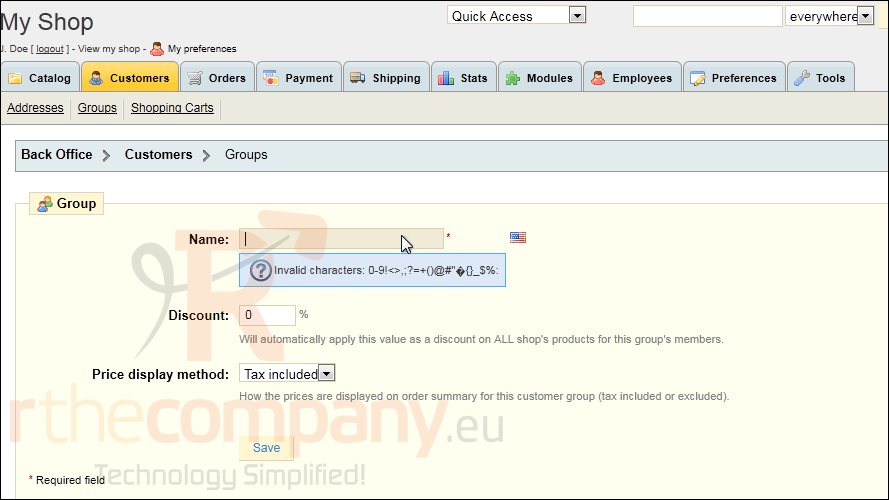
5) If you want this group to automatically receive a discount on all products in your store, enter a percentage here.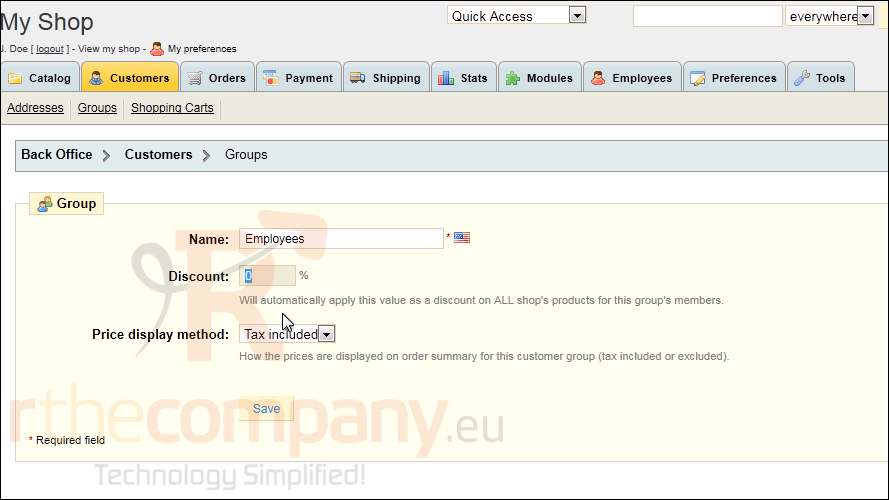
6) Click Save.
Now that we've made a group, let's create a new customer to add to the group.
7) Click Customers.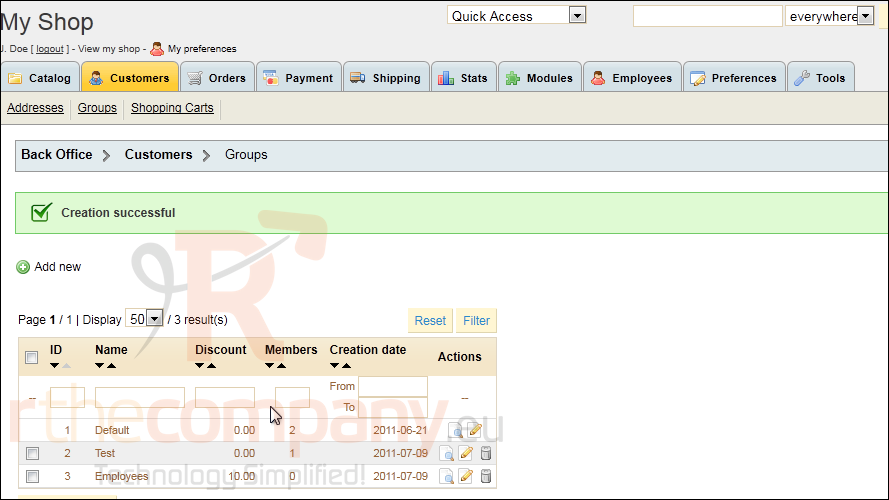
8) Click Add New.
9) Enter the customer's Last and First names.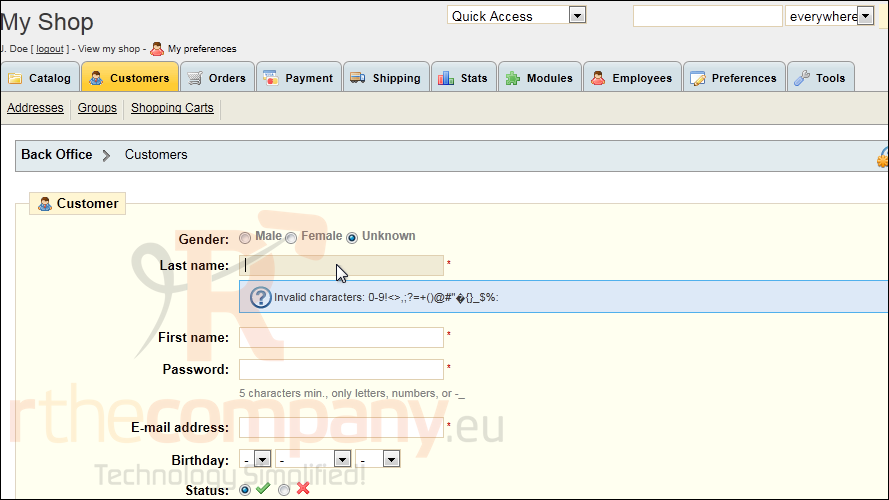
10) Type a Password.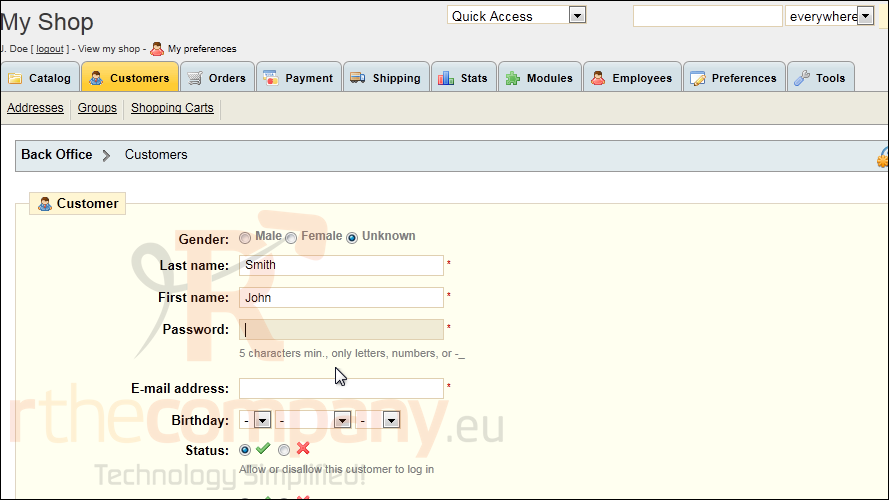
11) Enter the customer's E-mail Address.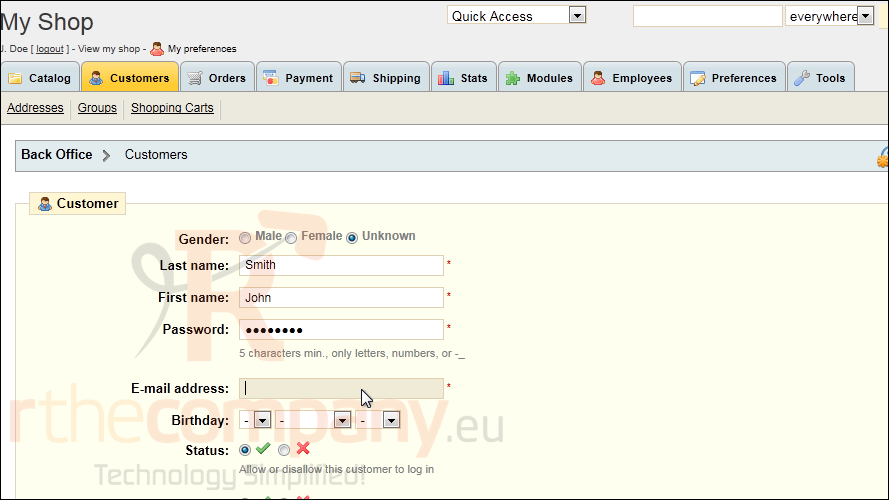
12) For the Default Group, select the new group we created.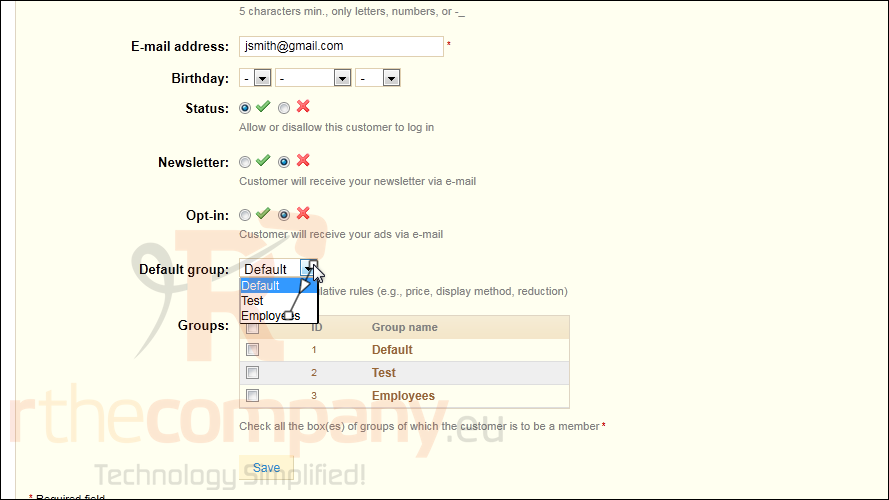
13) Click Save.
Now that we've created a customer and assigned him to a group, we can add an address for him.
14) Click Addresses.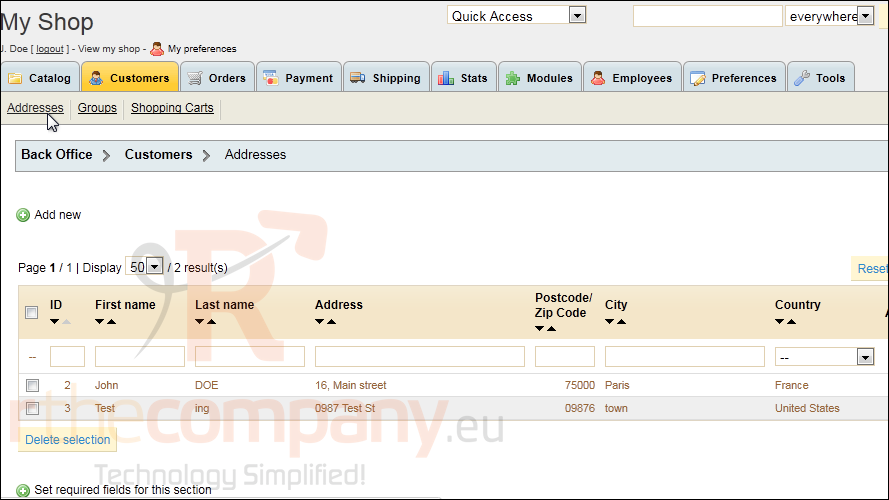
15) Click Add New.
16) Type the Customer's E-mail Address, which must already exist in the system before you can associate an address with it.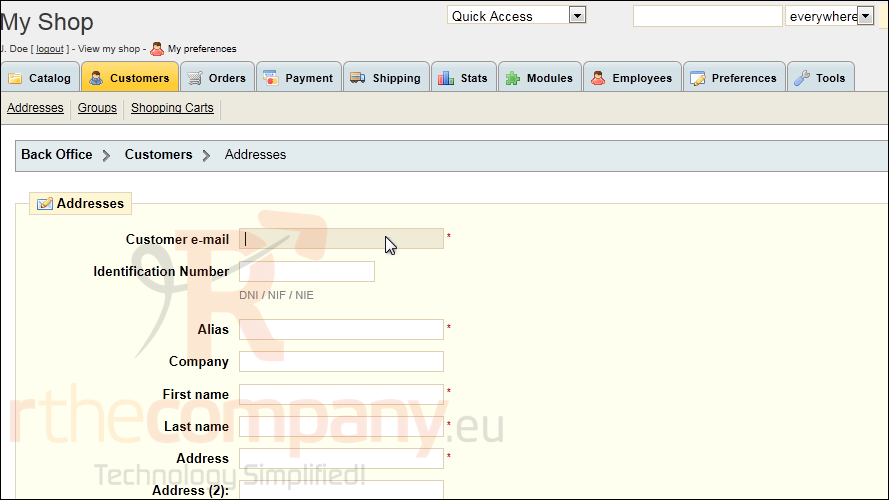
17) Type an Alias.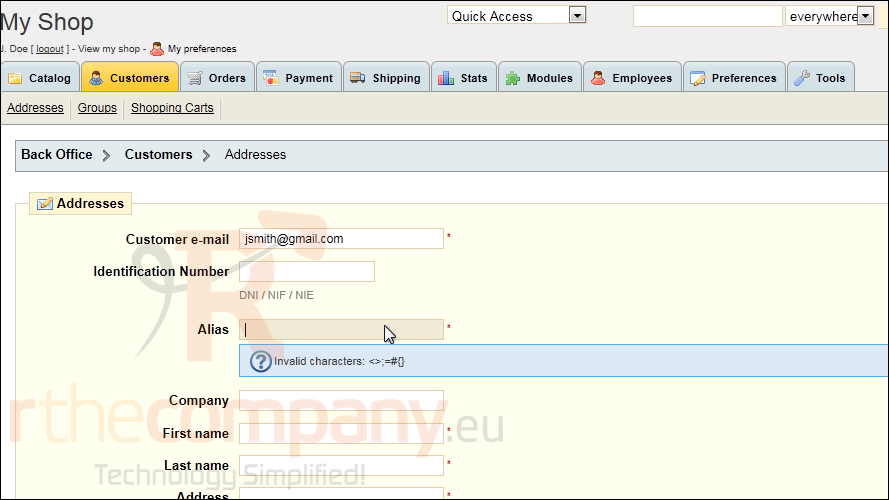
18) Type the customer's First and Last Name.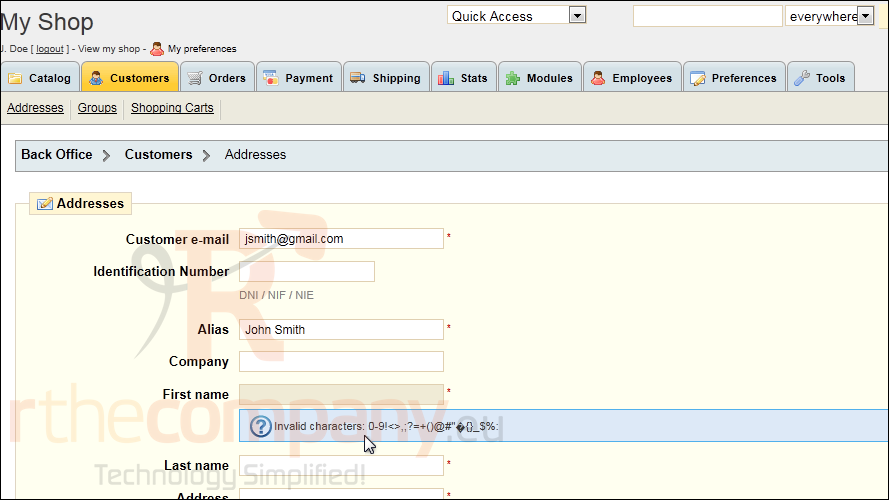
19) Enter the customer's address including the street, city, country and postal code.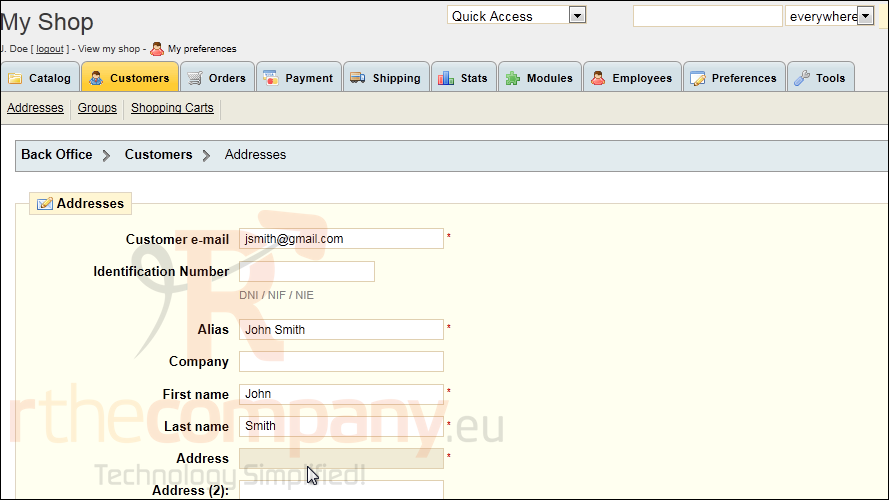
20) Click Save.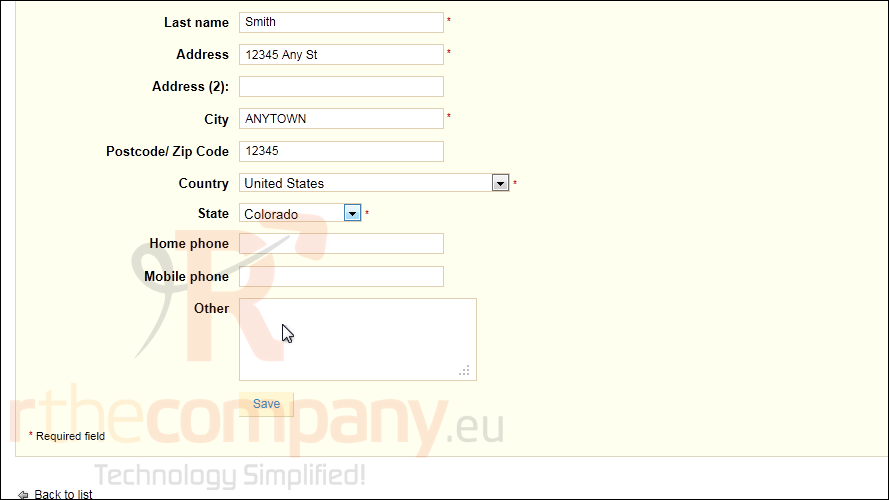
That's it! Now you know how to manage your customers in PrestaShop.
