20. Using the Payment Request wizard for Outlook
This tutorial will show you how to use the Payment Request wizard for Outlook
1) Click Merchant Services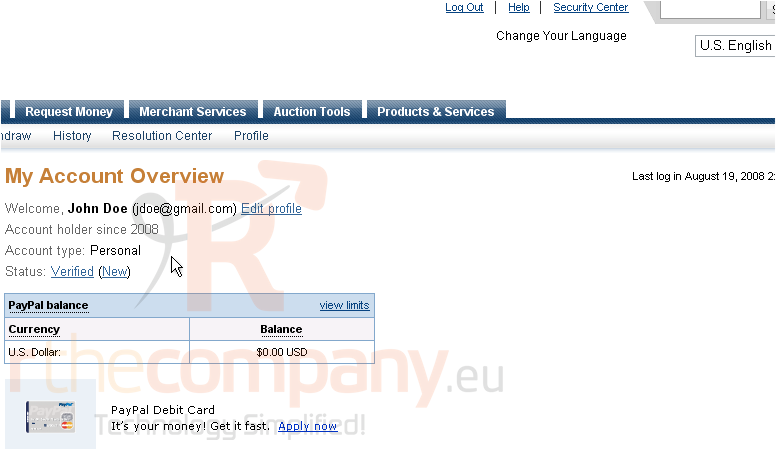
2) Click Request Money with Outlook
3) If you use Microsoft Outlook, you will need to download this file. If you use Outlook Express, you will need to download this file instead. Click the file you wish to download
4) Click Save File
5) Click OK
You may be asked where you want to save the file. For this tutorial, it is recommended you save it to your desktop
6) Once the file has downloaded, go to your desktop
7) Right-click on the ZIP file
8) Click Extract
Extract using your preferred archive program, such as WinZip or ZipGenius
If you do not have a program capable of this, Windows XP comes with a program built in to handle ZIP files. Just click Extract Here...
The program will extract all the files in the archive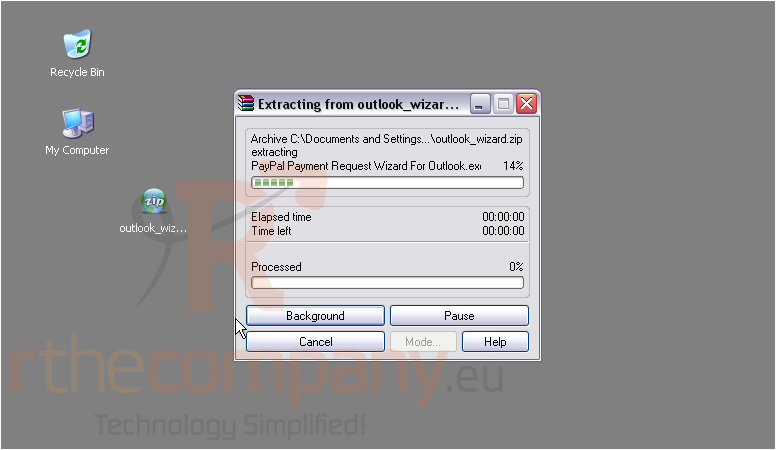
Once it has finished, all the files will probably be put in a folder
9) Double-click the folder
10) Double-click the EXE file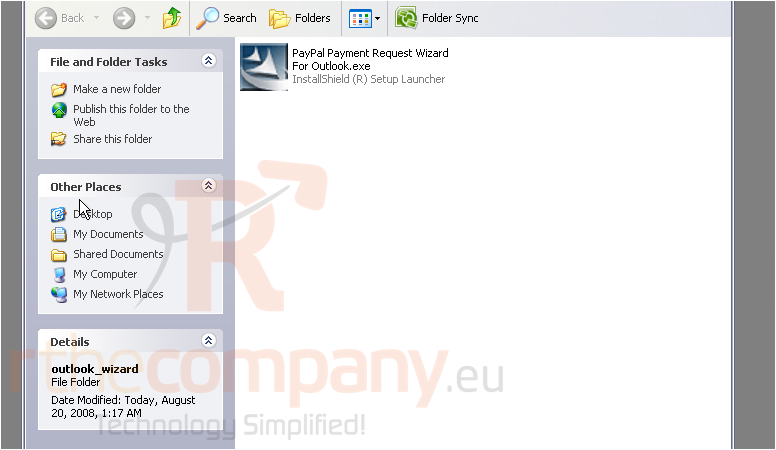
The InstallShield Wizard will start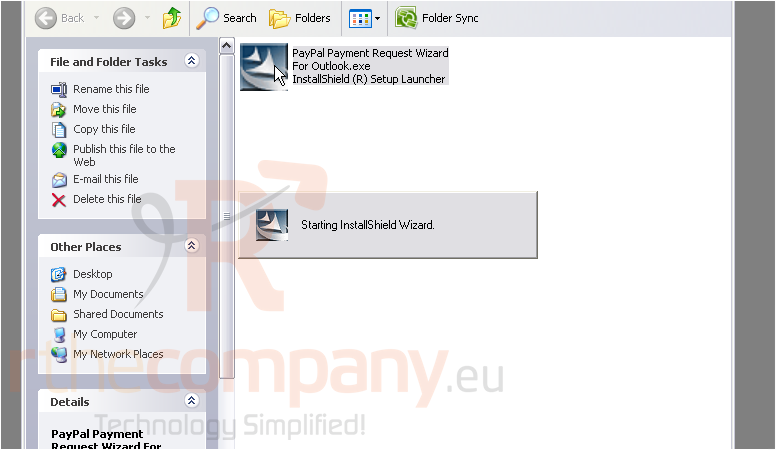
11) Click Next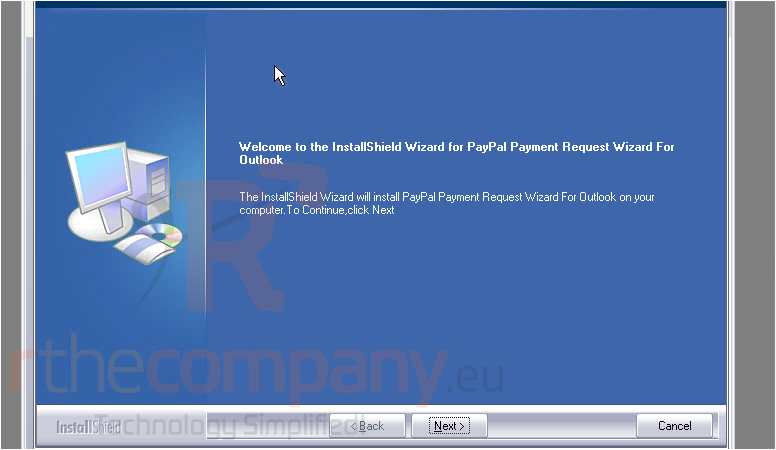
This screen will ask you where you want to install the program. If you are unsure where to put it, leave it at the default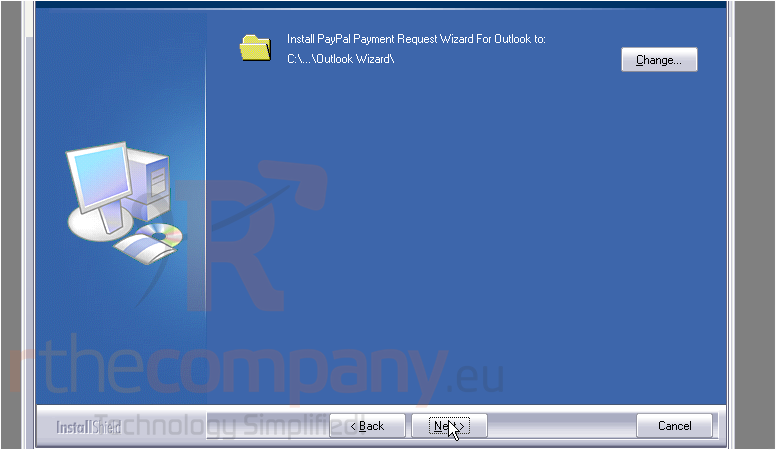
12) Click Next
13) Click Install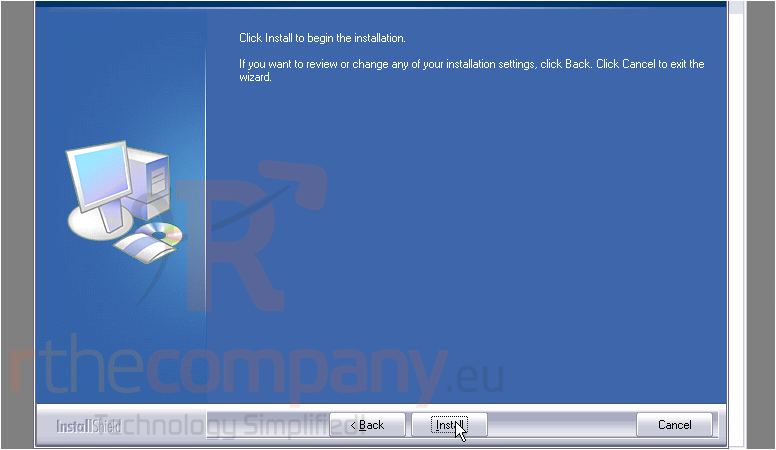
The bar will show you the progress of the installation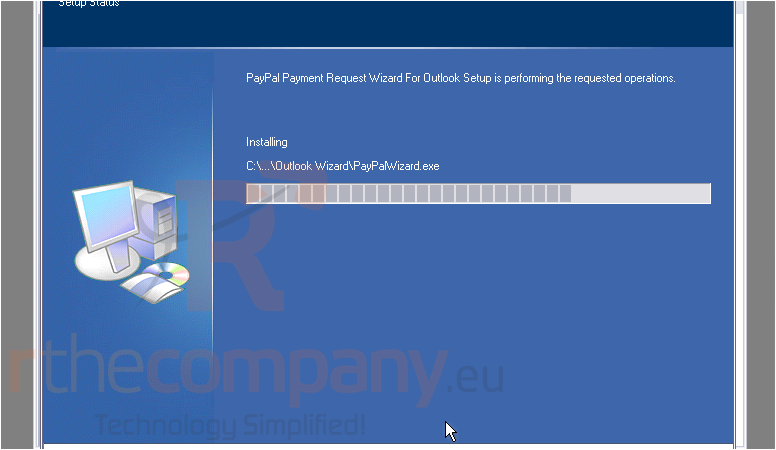
14) Click Finish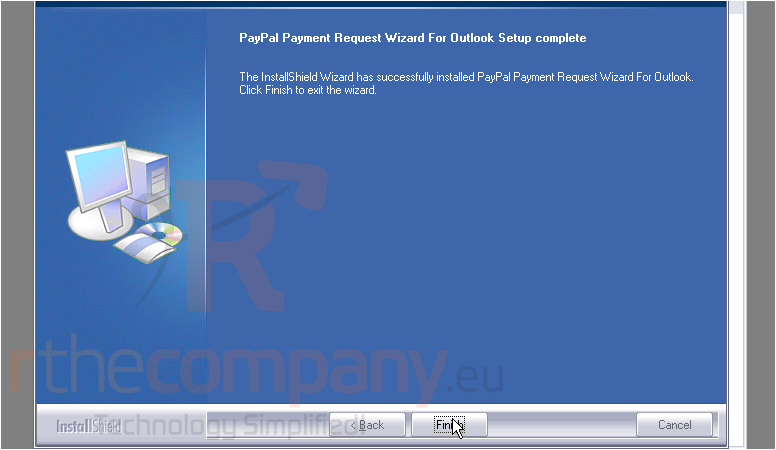
15) Go to Outlook
16) Click the Payment Request Wizard button in the Outlook toolbar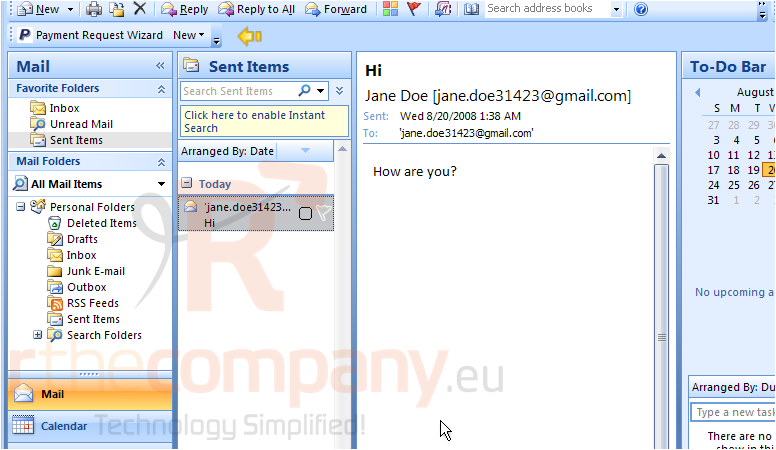
You must agree to the License Agreement before you can use the wizard
17) Click Agree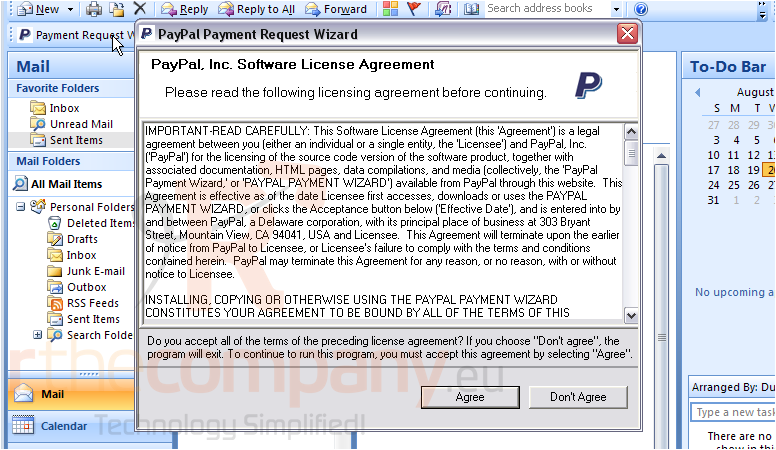
18) Click Next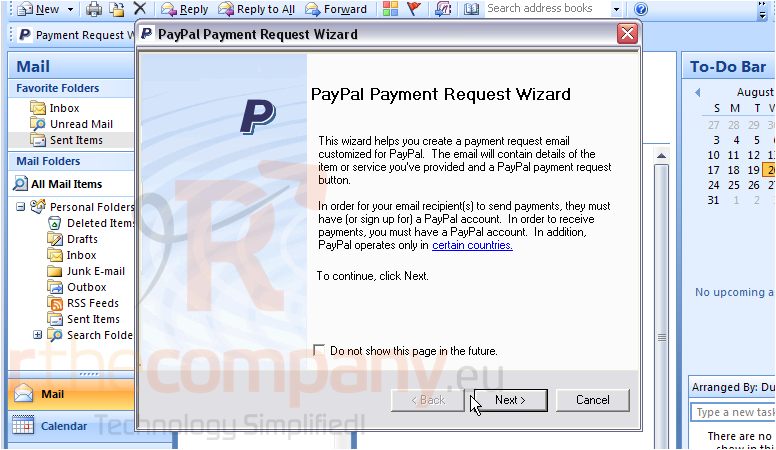
19) Select the type of payment you are requesting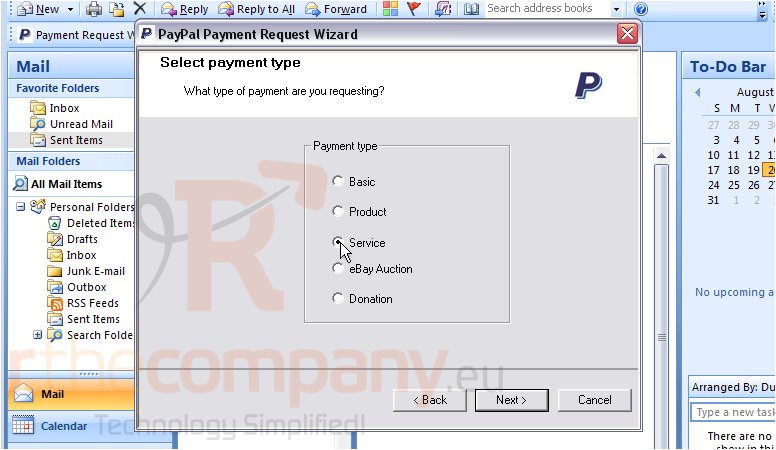
20) Click Next
21) Enter your PayPal email address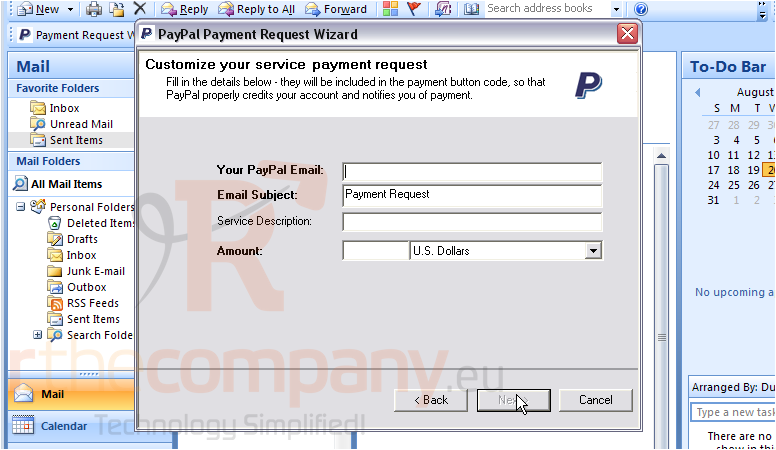
22) Enter the amount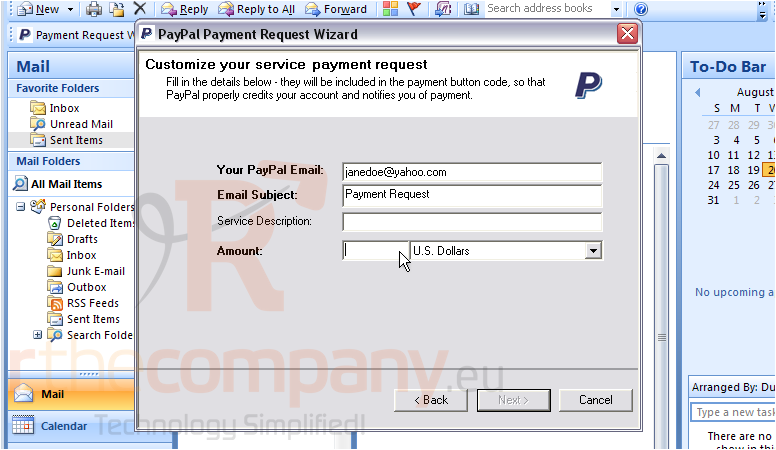
23) Select the currency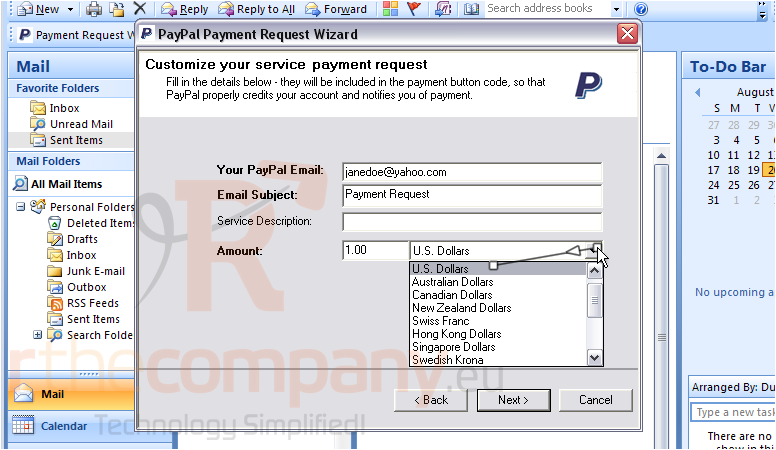
24) Click Next
25) Select the button type you want to appear in the email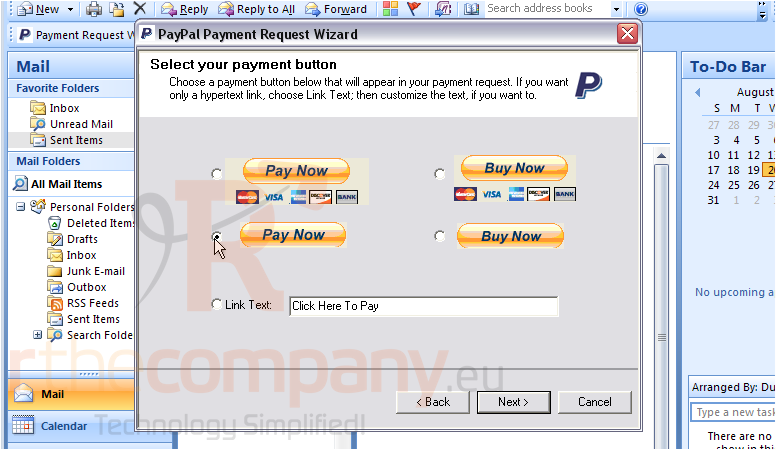
26) Click Next
You can review your information before you send it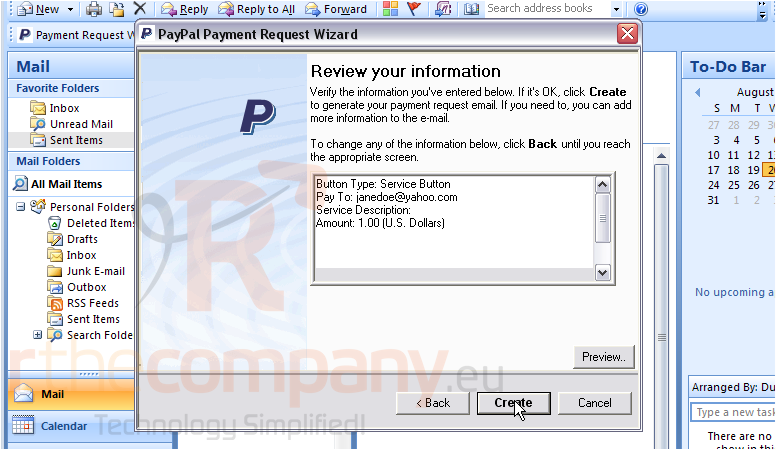
27) Click Create
28) Enter the email address of the person from whom you are requesting money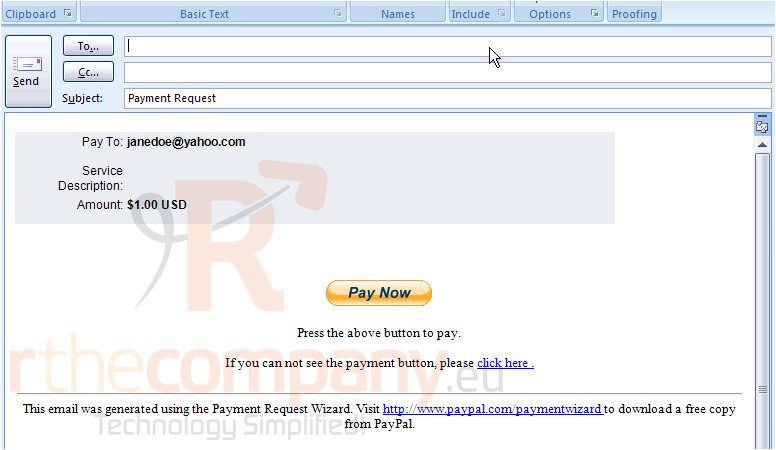
You can edit the content of the email before you send it
29) When ready, click Send
There is an even shorter way to request a payment using the wizard
30) Click New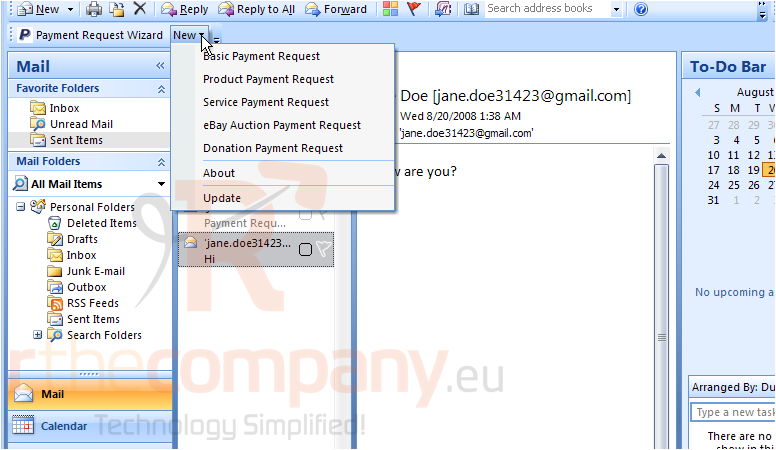
31) Select the type of payment you are requesting from the drop-down list
32) Follow the same steps as before until you complete the wizard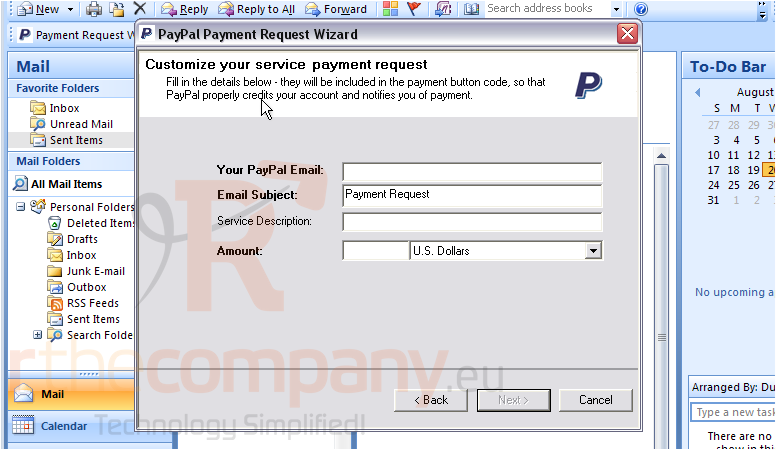
This is the end of the tutorial. You now know how to use the Payment Request wizard for Outlook

