18. How to set up your payment gateways for use with WHMCS
This tutorial assumes you've already logged in to your WHMCS admin panel.
Before you can accept payments from clients through WHMCS, you must first set it up with at least one payment gateway.
1) Go to setup.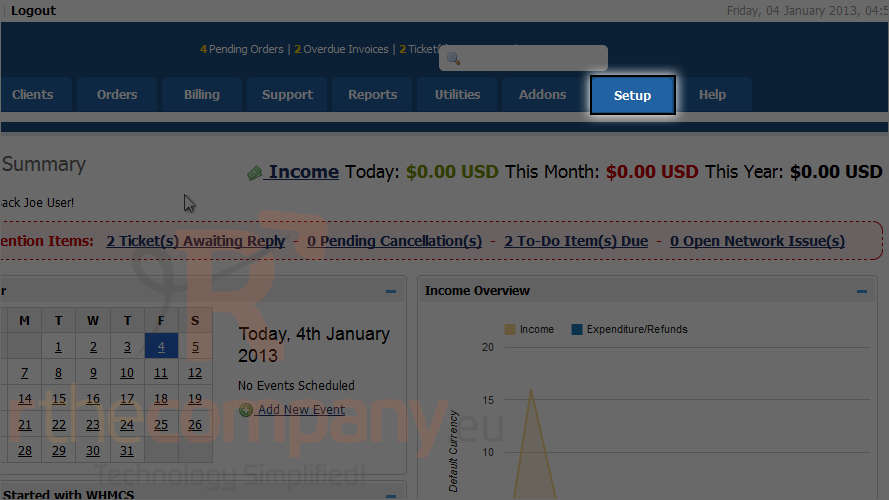
2) Mouse hover payments.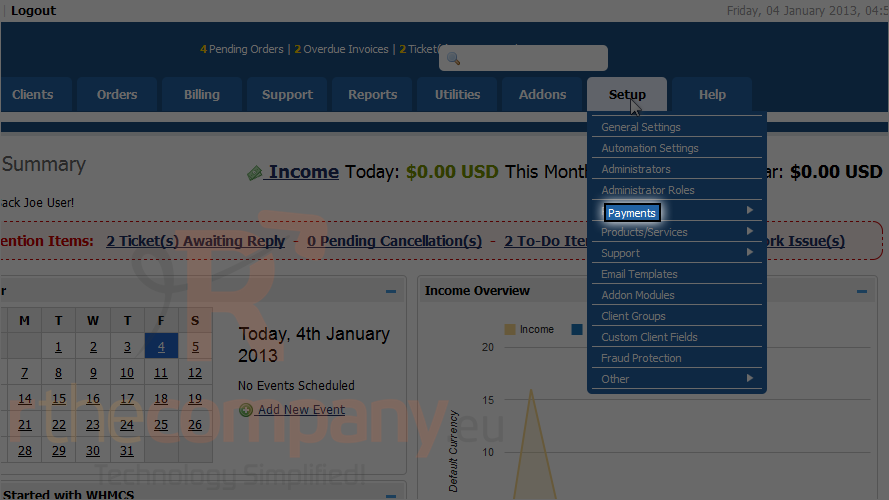
3) Click payment gateways.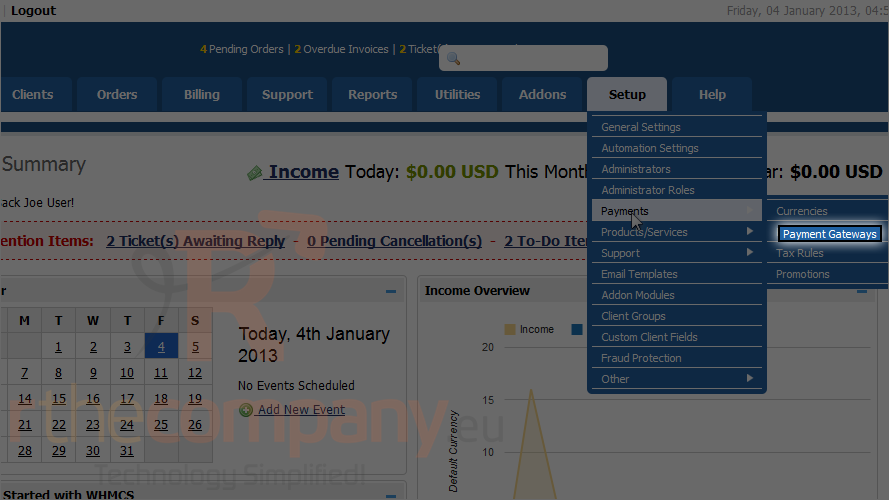
4) Select a gateway from the list to activate. We'll start with Paypal.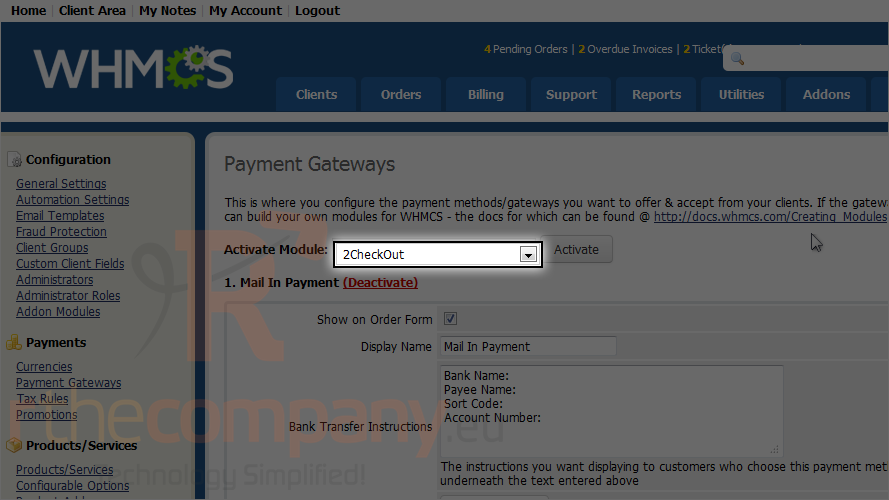
5) Now click activate.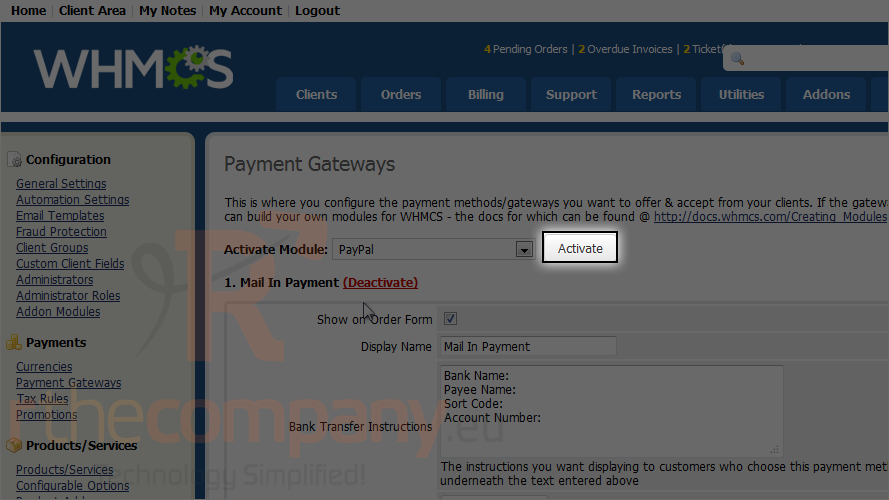
Scroll down.
6) Fill out the form with all the correct details.
At the very least, you'll need to specify your Paypal email address.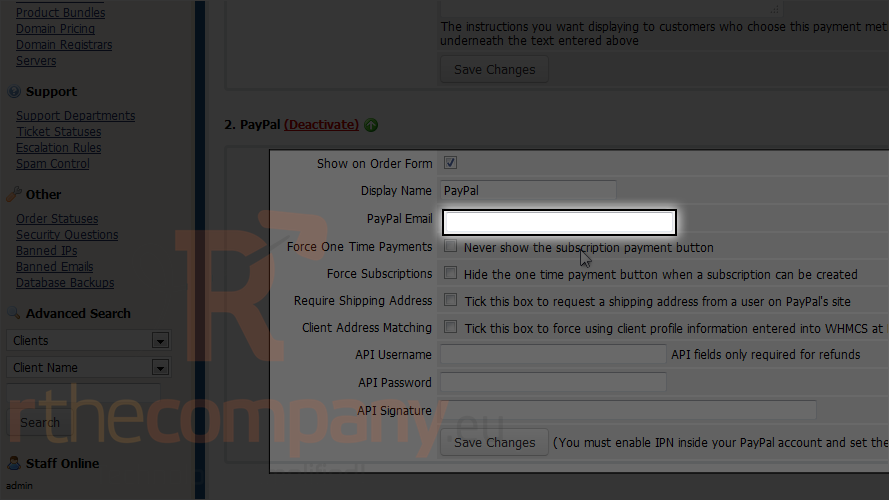
If you'll want to give refunds from within WHMCS, you'll also need to fill in the three API fields.
7) When finished customizing the settings, click save changes.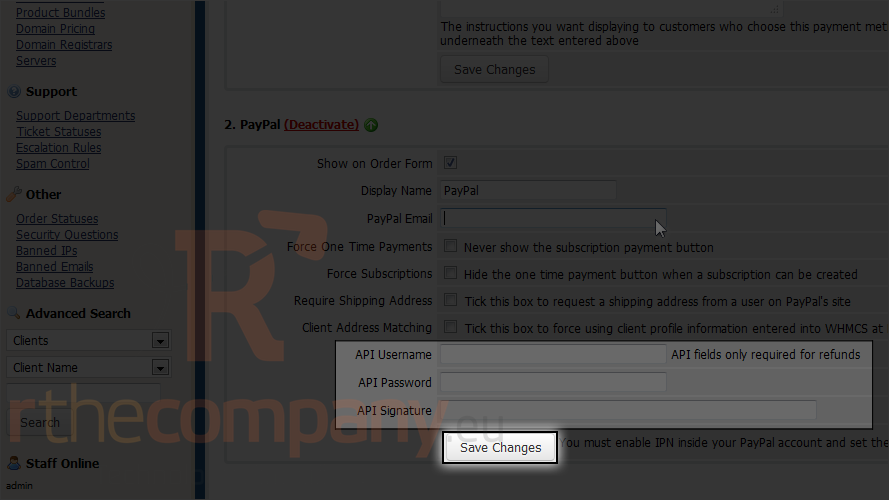
Let's add another payment gateway.
This time, we'll choose offline credit card.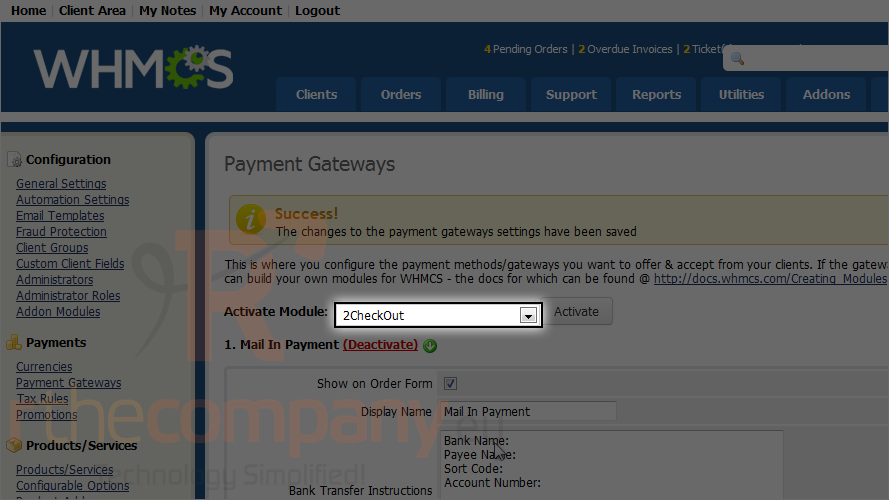
8) Select offline credit card.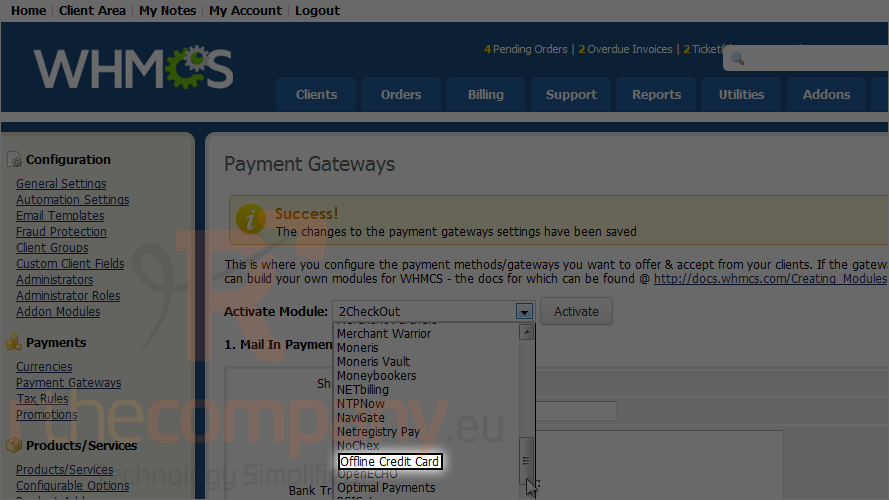
9) Click activate.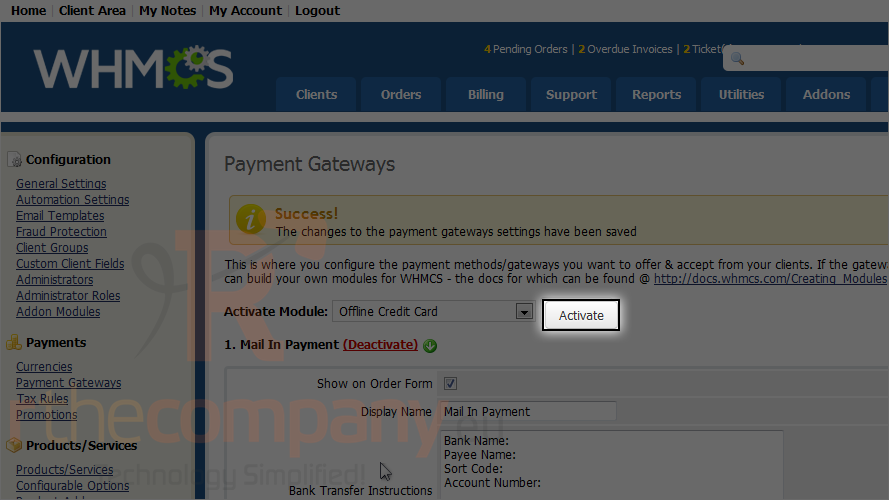
You can rearrange the display order for the active gateways using these arrows.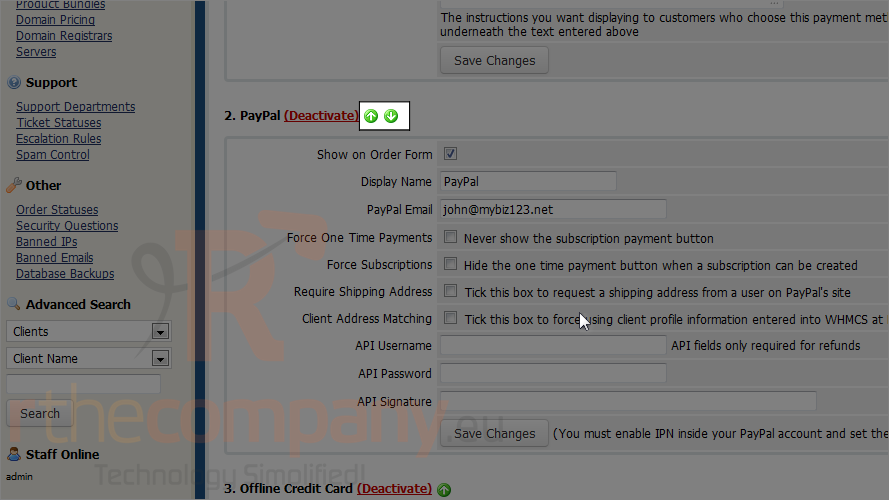
Payment gateways can be deactivated by clicking the red link next to each one.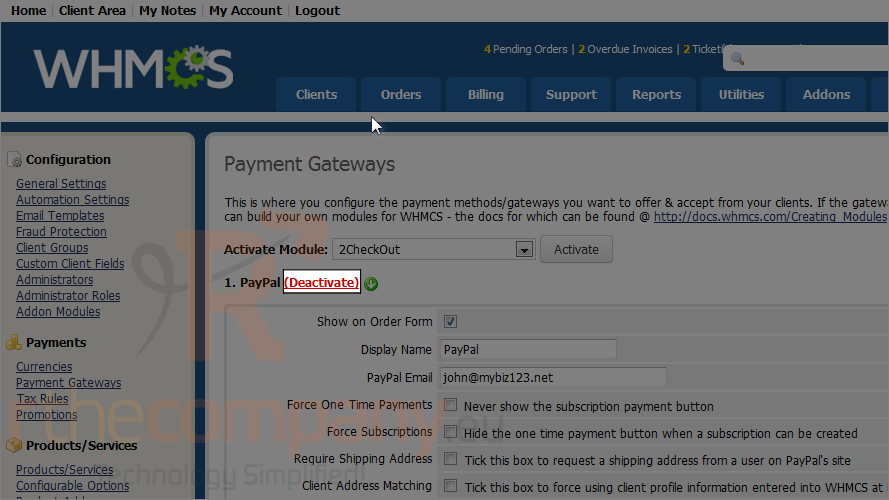
This is end of the tutorial. You're now able to set up as many payment gateways in WHMCS as you want.
Note that you cannot deactivate a payment gateway that is currently being used anywhere in WHMCS.

