21. How to install WHMCS
Installing WHMCS is a simple process, as long as your server meets all the system requirements.
Generally, any server running a control panel such as cPanel or Plesk will meet the requirements. If any are not met, you should be notified of this during the install process.
This tutorial assumes you have already purchased a license for WHMCS.
1) Download latest version of WHMCS from WHMCS client area and extract it on your computer.
2) Double click on WHMCS folder.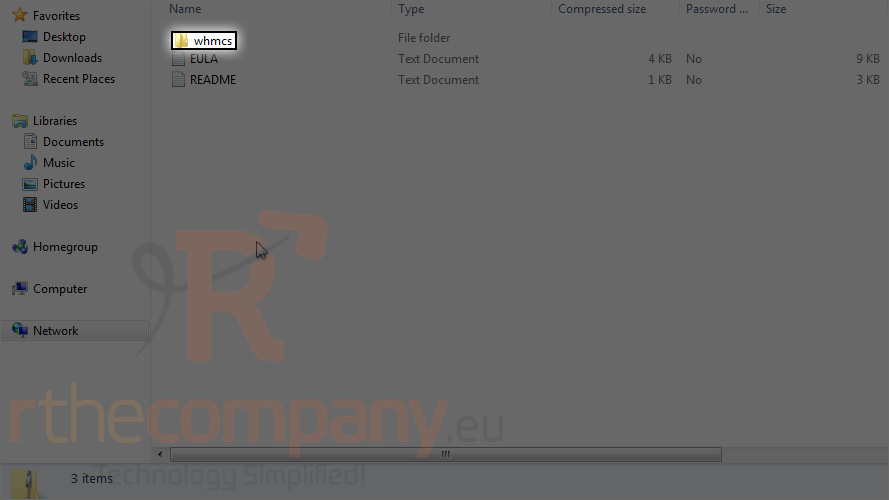
3) Remove .new from the configuration file's name.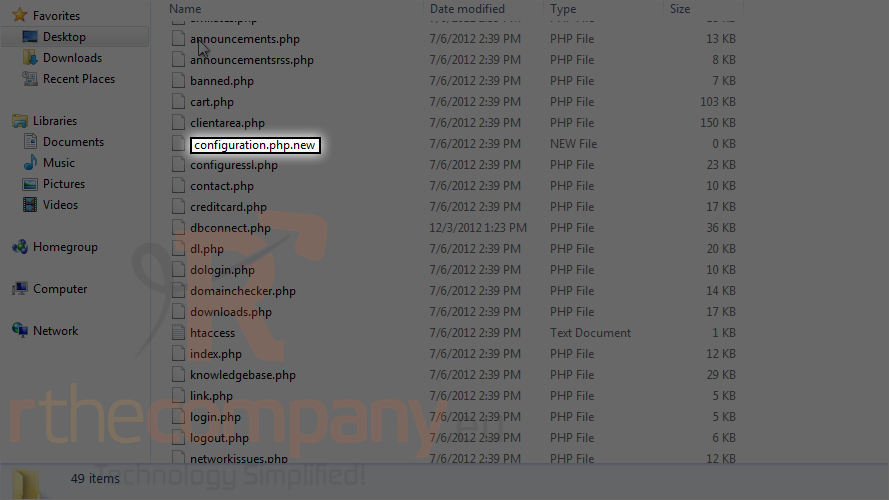
4) With the file renamed, upload the entire WHMCS folder to your FTP server.
Because the WHMCS code is encrypted, the Ioncube loaders are required for it to function. Your server may already have these installed. If it does not, you'll be unable to proceed any further.
5) There should be an Ioncube folder in the archive you extracted. Simply upload that folder inside the WHMCS directory you just uploaded.
If the Ioncube folder is not present, contact WHMCS support for the files, or contact our support department to have Ioncube set up for your entire server.
6) After all the files have been uploaded, you're ready to begin installation. Go to the installation script here:http://www.yourdomain.com/whmcs/install/install.php
Read throught the license agreement, then scroll down.
7) Click I agree.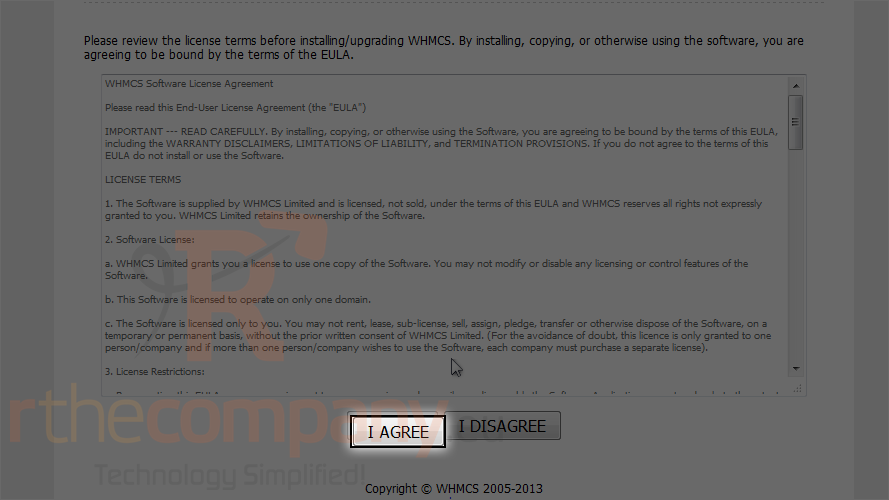
If any of the permissions checks fail, you will need to adjust the CHMOD permissions as described for each file. This can be done using your FTP client or control panel.
8) Once all checks have been passed, click continue.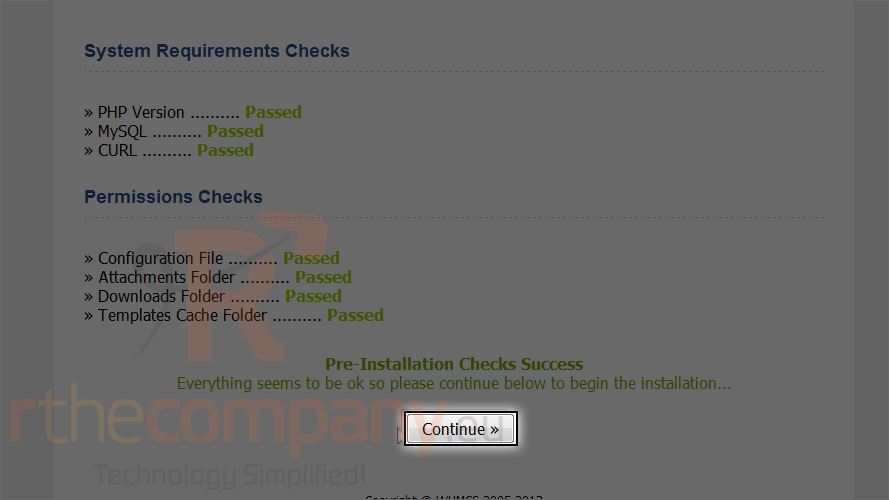
9) Type here your license key.
10) Fill out the database information.
11) Click continue.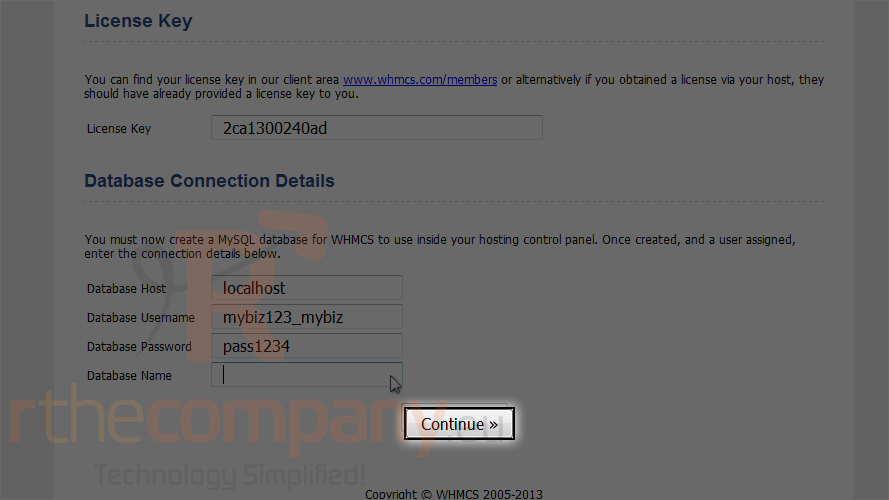
12) Enter account details for your primary administrator account.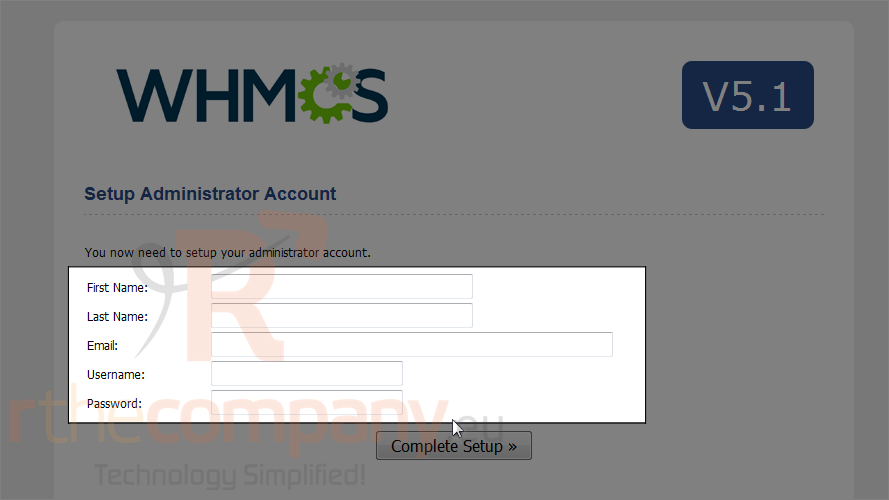
13) Click complete setup.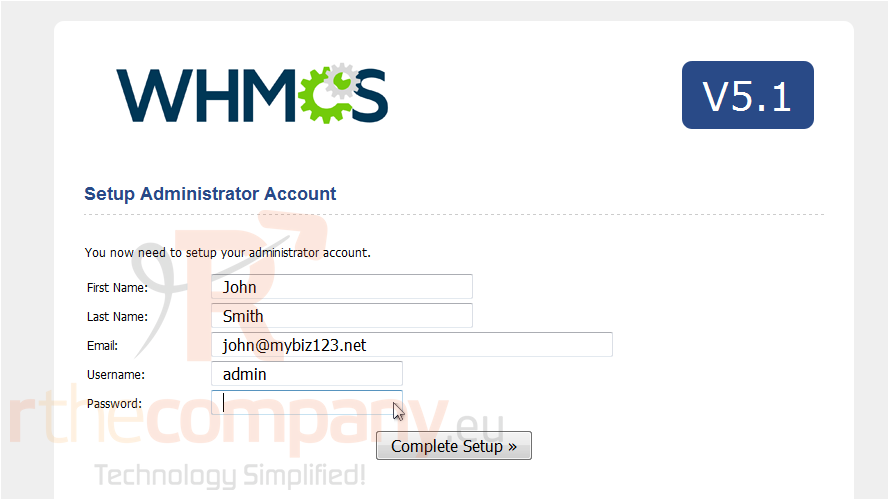
14) Installation is now complete! You should delete or at least rename the install directory before proceeding.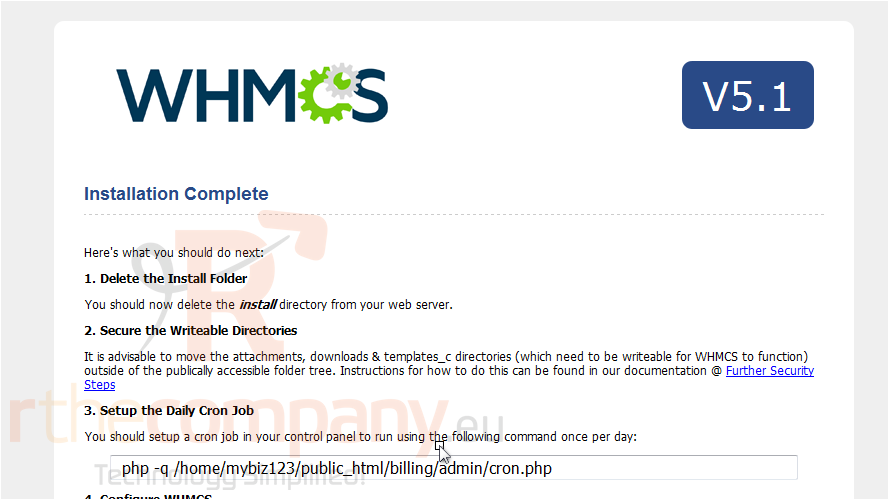
15) Also, be sure to change the CHMOD permissions for configuration.php back to 644 if you needed to change them earlier.
16) Then, go to yourdomain.com/whmcs/admin/ to see if the login page appears.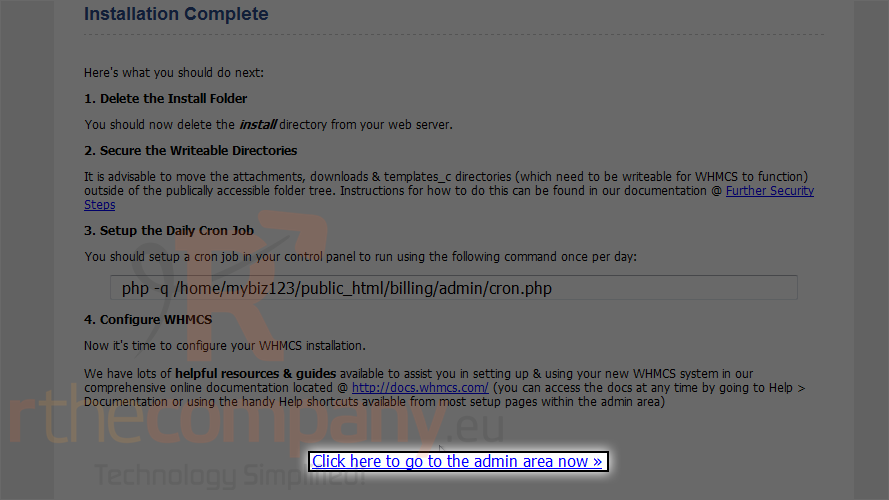
Here it is! You can now log in to WHMCS.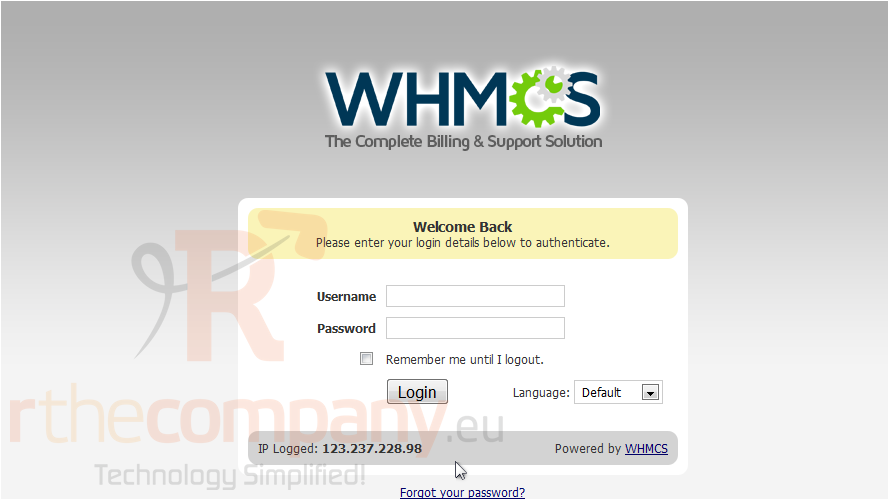
There are a few post-installation stpes that should be taken before actively using WHMCS. For details, watch the two tutorials that follow.
