17. How to use File Manager
This demo assumes you've already logged in to Direct Admin
Now let's learn how to use File Manager in Direct Admin, to manage the files in our hosting account
1) Click the File Manager link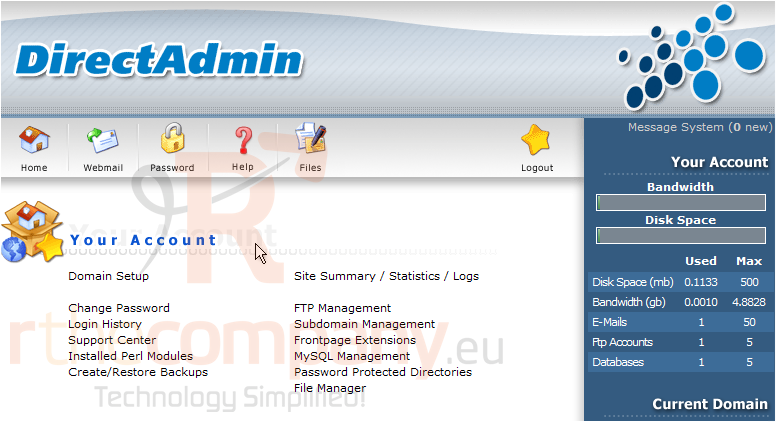
This is File Manager, and it's here that you can upload files to your account, rename them, delete them, change their permissions, create new folders, and many other functions. Your website files are located in the public_html folder
2) Let's go there now..... click public_html
3) Now we see the files and folders located within the public_html folder. Let's create a new folder..... scroll down...
4) Enter the name of the new folder here
4) Then click Create
The new folder has been created, and can be seen here
6) Now let's rename this folder.... click Rename here
7) Enter the new name of this folder
8) Then click Rename
The folder has been renamed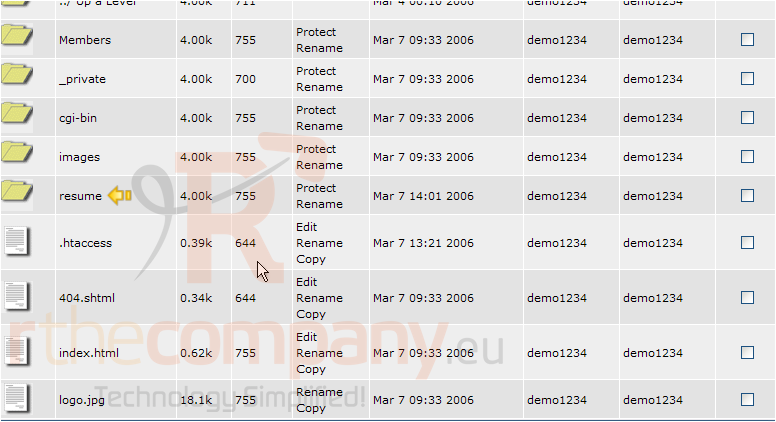
9) Now let's delete the folder altogether... check this box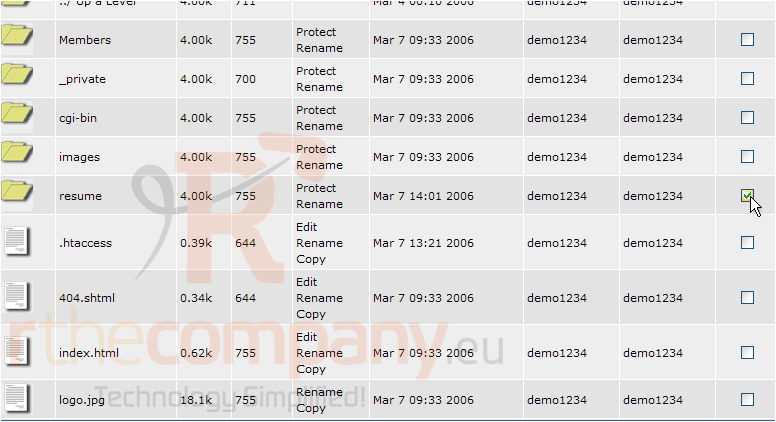
10) Then click Delete
11) Click OK to confirm you wish to delete the folder
Now let's learn how to upload files to the hosting account
12) We want to upload a file to the cgi-bin folder, so click cgi-bin here
13) Click Upload files to current directory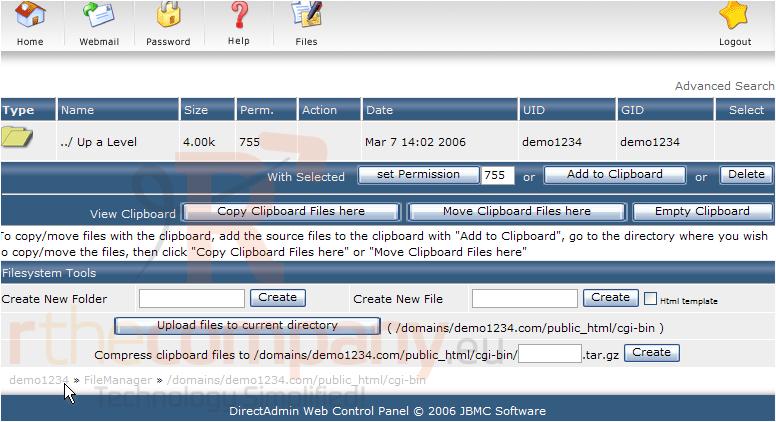
14) Now use the browse button to locate a file for uploading, on your computer
15) Select test_scriptl.cgi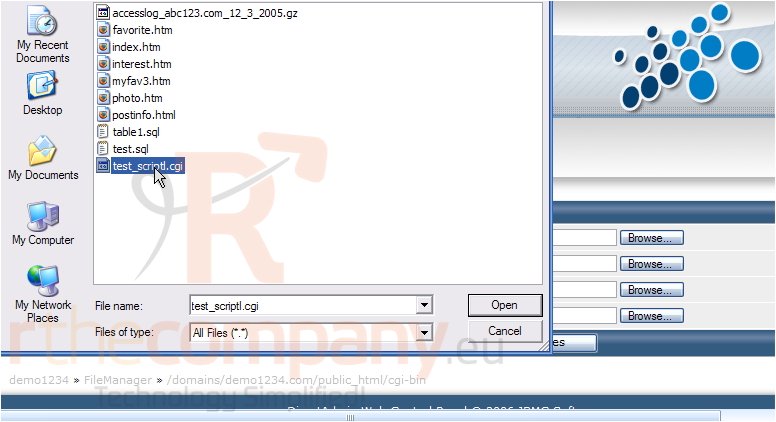
16) Then click Open
17) Once you've selected all files you want to upload, click Upload Files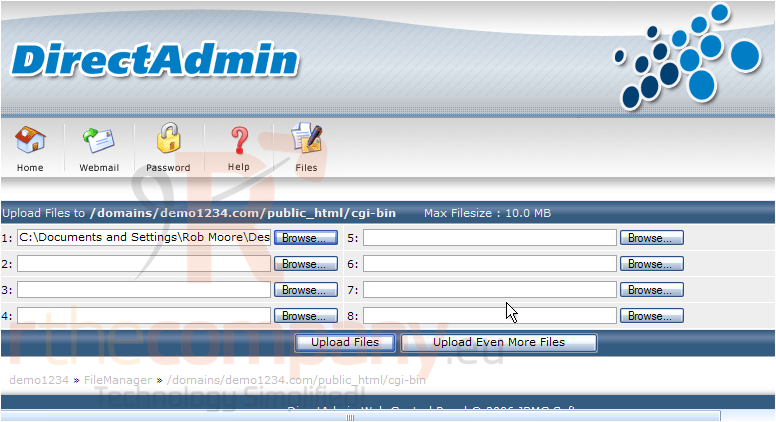
Success! The file has been uploaded to our hosting account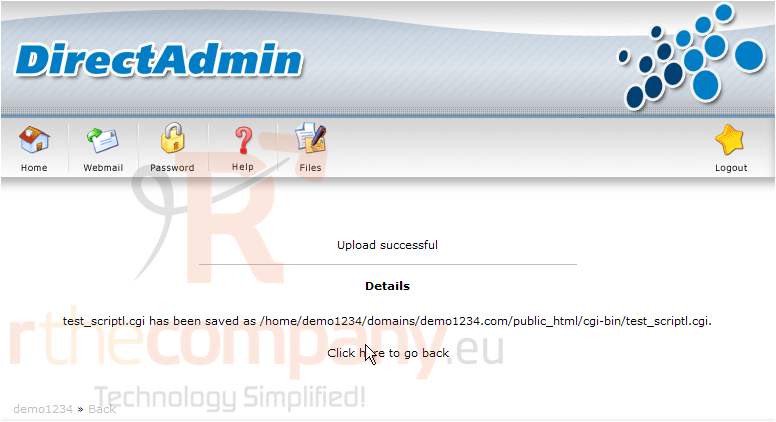
18) Click here to go back
19) Now let's change the permissions of the test_scriptl.cgi file..... click here to select the file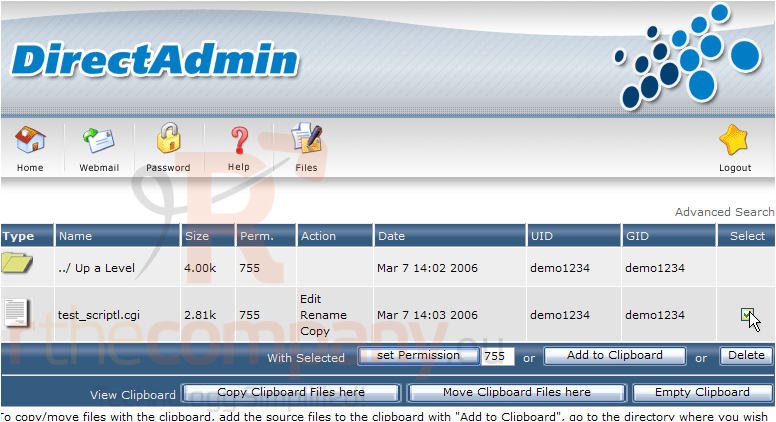
20) Enter the new permissions here
21) Then click Set Permission
The permissions have been changed, as you can see here
22) Now let's delete this file... select it again by checking here
23) Then click Delete
24) Confirm the deletion by clicking OK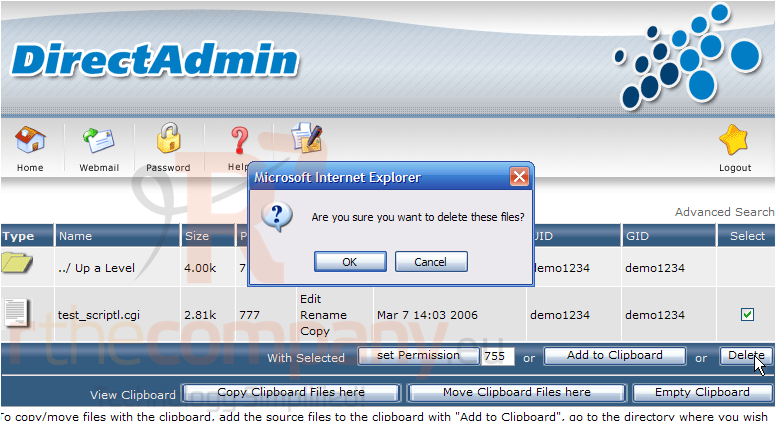
The file has been deleted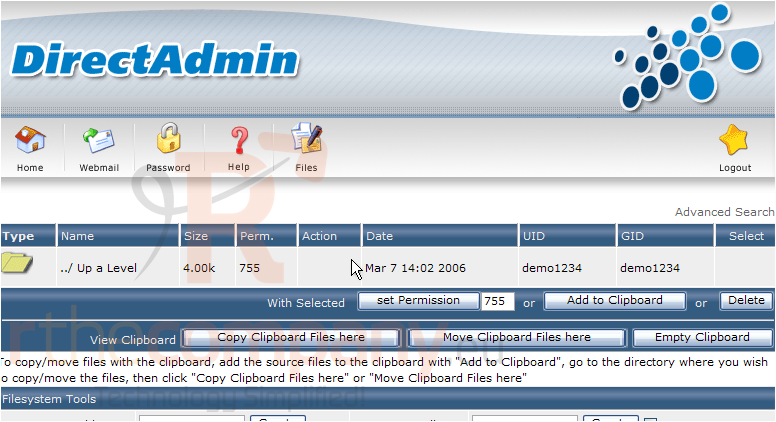
This is the end of the tutorial. You should now be more familiar with using File Manager to upload files, create new folders, renaming files or folders, and setting file permissions

