3. How to manage plugins in Joomla
This tutorial will show you how to use the Joomla Plugin Manager to change the settings of the plugins you already have installed
For details on how to find or install plugins, see the accompanying tutorials
1) Start by going to Extensions
2) Click Plugin Manager
Here, you'll see any plugins that come with Joomla by default or that you've installed yourself
Suppose we want to enable authentication using GMail. This is an extension that comes with Joomla but is disabled by default
3) Click the name of the plugin
A description of the plugin should show up here
You can change the access level or the display order on this page
Some plugins will display additional parameters at right. This one, as you can see, does not
4) Click Yes next to Enabled to activate this plugin
5) Click Save
The GMail Authentication plugin has been activated and saved!
Some of the options available on each plugin's page are also available here
By clicking the icon under the Enabled column next to a plugin's name, we can enable or disable a plugin
6) Click the checkmark to disable GMail authentication
The page will refresh to show that the plugin is now disabled
7) Use the down and up arrows to reorder the plugins
Notice that the plugin has been moved down in the list
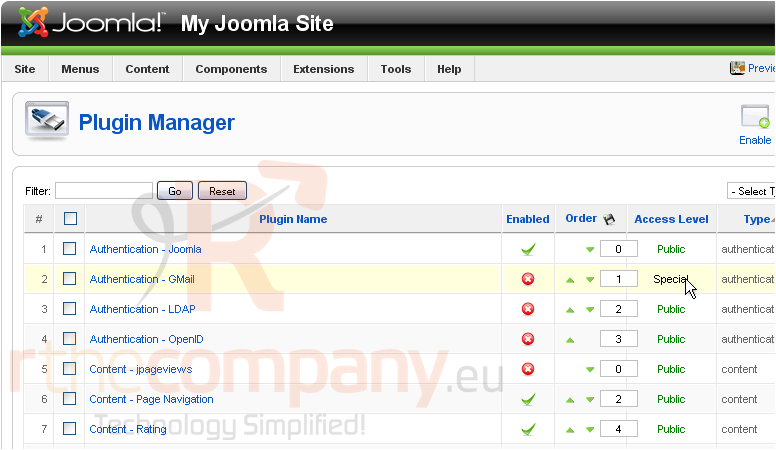
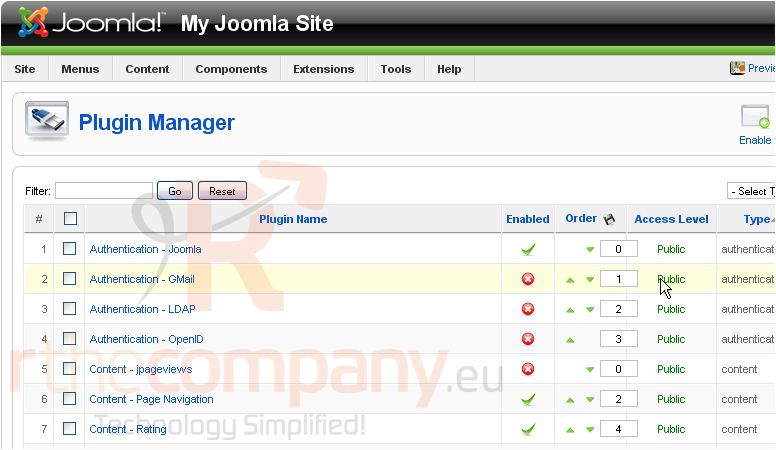
8) Lastly, you can change the plugin's access level by clicking here until you've changed it to the desired setting
From Public to Registered...
...to Special...
...and back to Public
That's it! You now know how to use the Joomla Plugin Manager

