3. How to set up your products and services in WHMCS
This tutorial assumes you've already logged in to your WHMCS admin panel.
After completing all the previous tutorials, you're finally ready to begin adding your products and services to WHMCS.
1) Go to setup.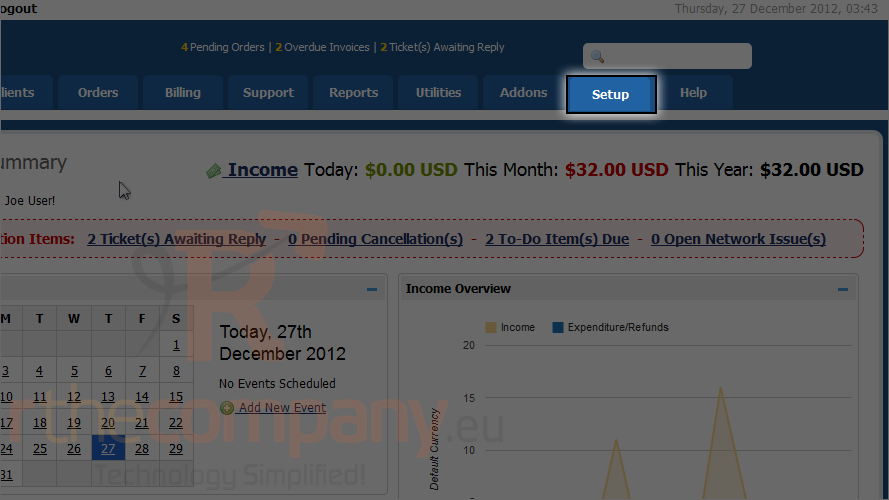
2) Mouse hover products/services.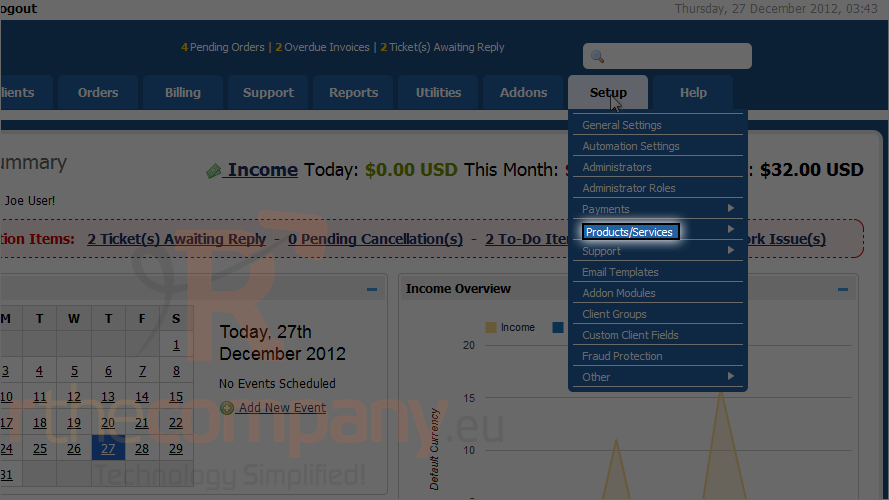
3) Click products/services.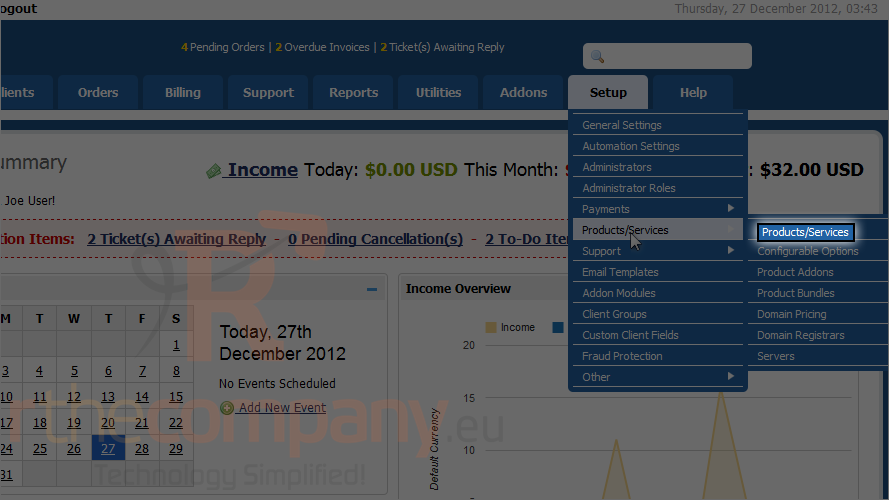
4) Start adding a new product group.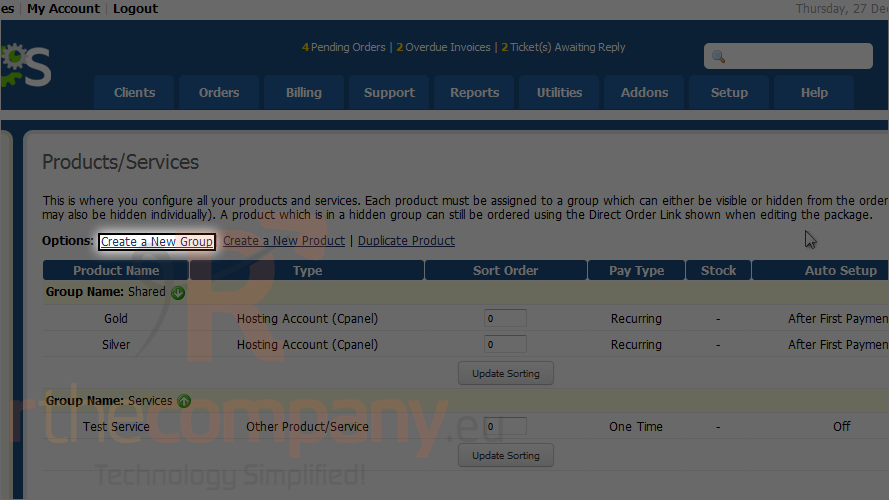
5) Give the group a name.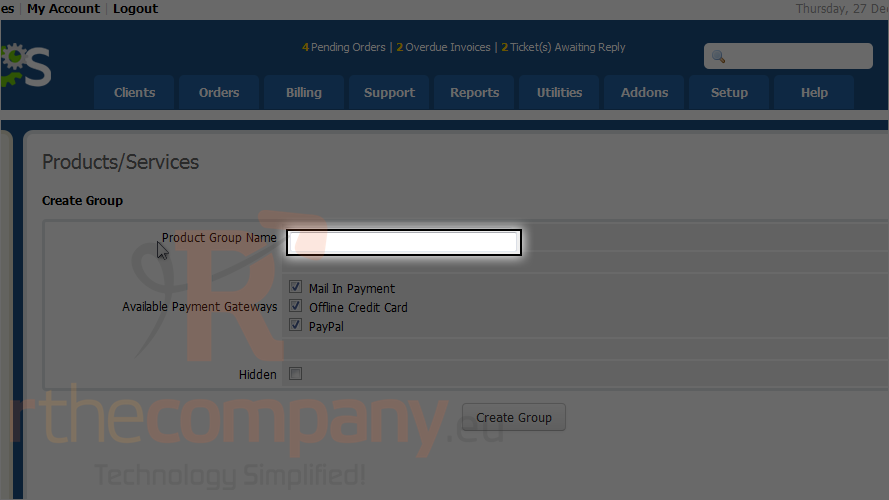
6) Select all the active payment gateways you want customers to be able to use for products in this group.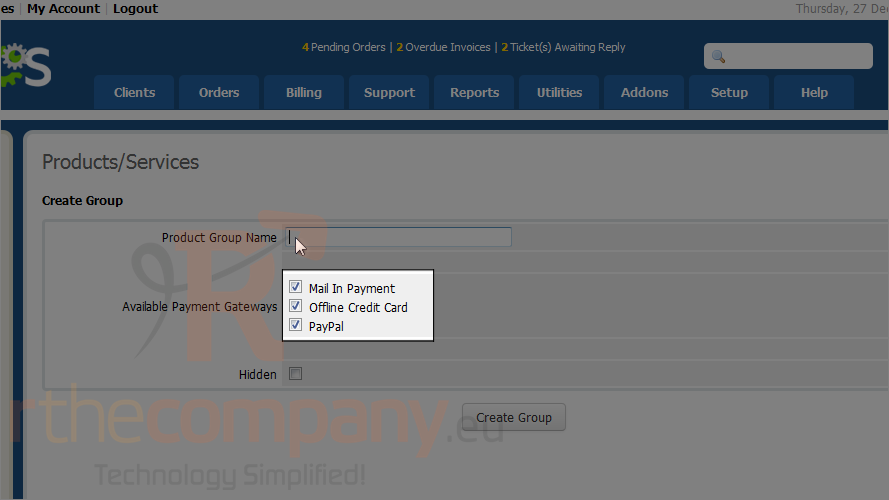
7) If you don't want this group to show up on the order pages, tick the checkbox next to hidden.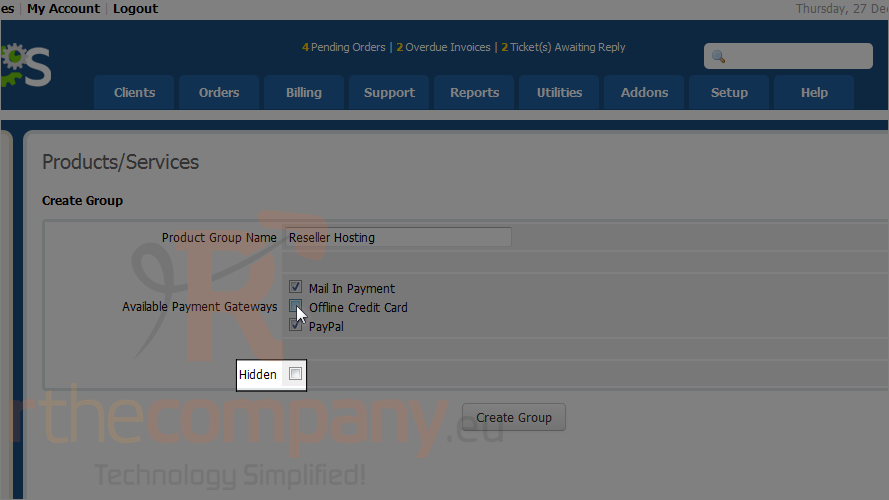
8) When finished, click create group.
Now that we have a group, it's time to create a new product.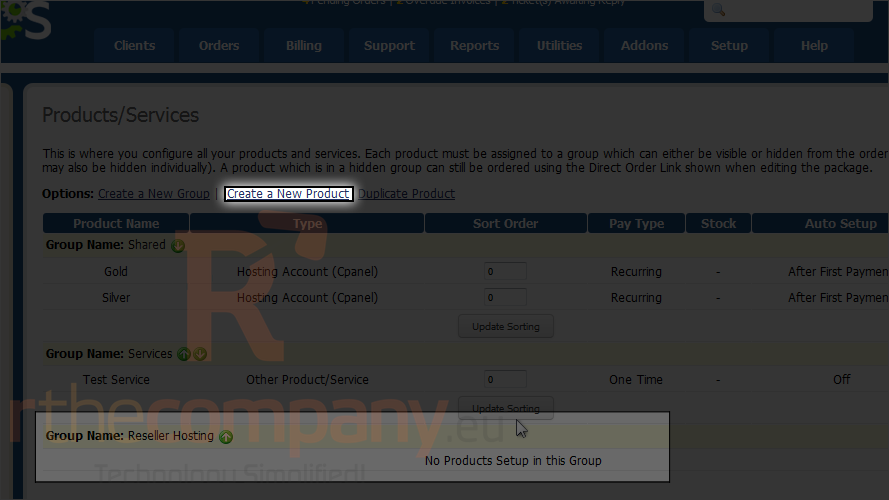
9) Choose the product's type.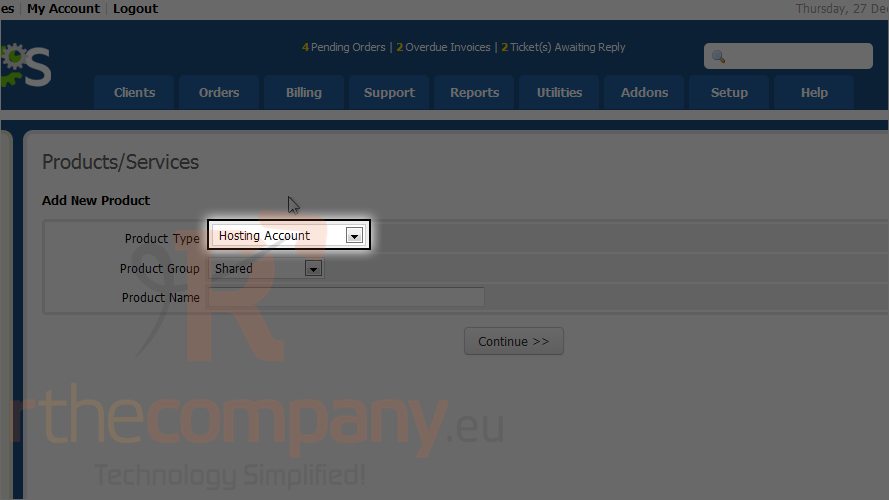
10) Pick the group in which this product should be placed.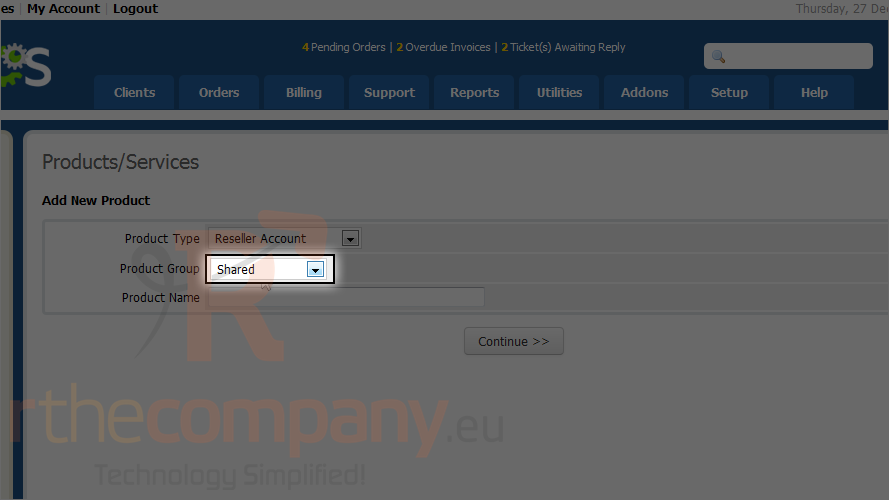
11) Give the product a name.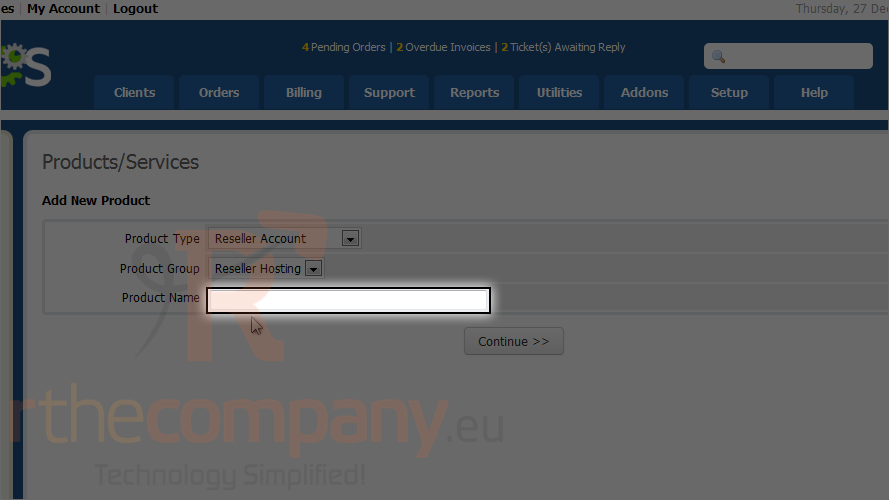
12) Continue on to the next page.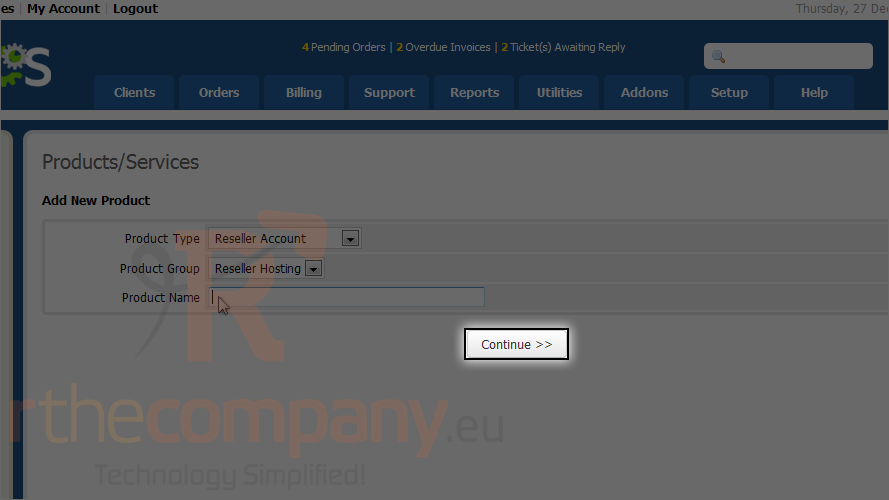
There are several tabs of information and settings you'll need to fill out or change, starting with details.
13) Describe the product here.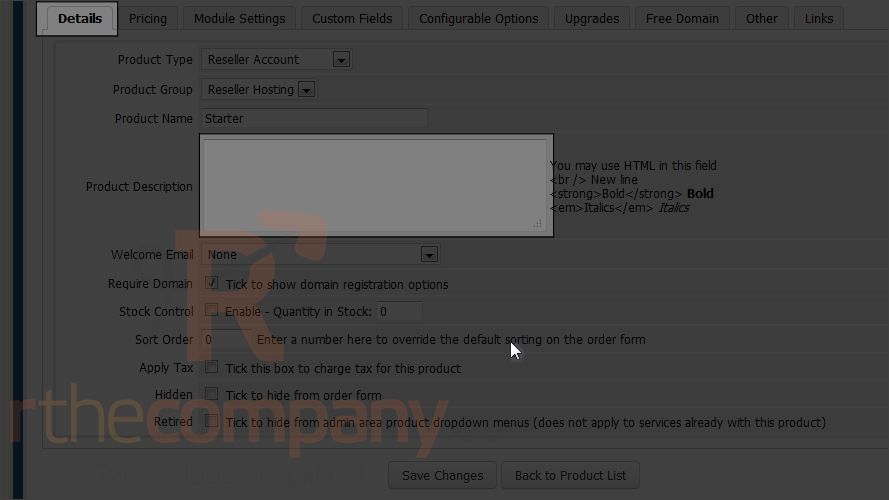
14) Then, select a welcome e-mail, if any, to send clients upon the completion of an order.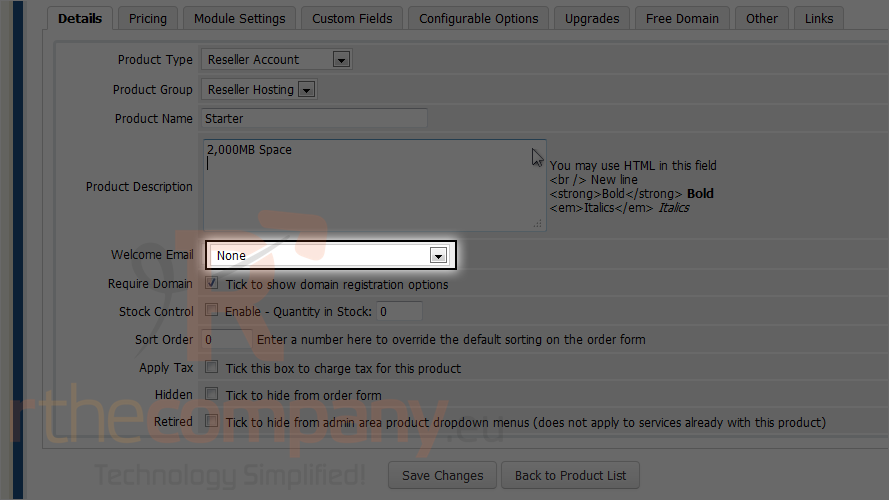
Other settings on this tab allow you to keep track of this product's stock, change its sort order, apply taxes or hide the product.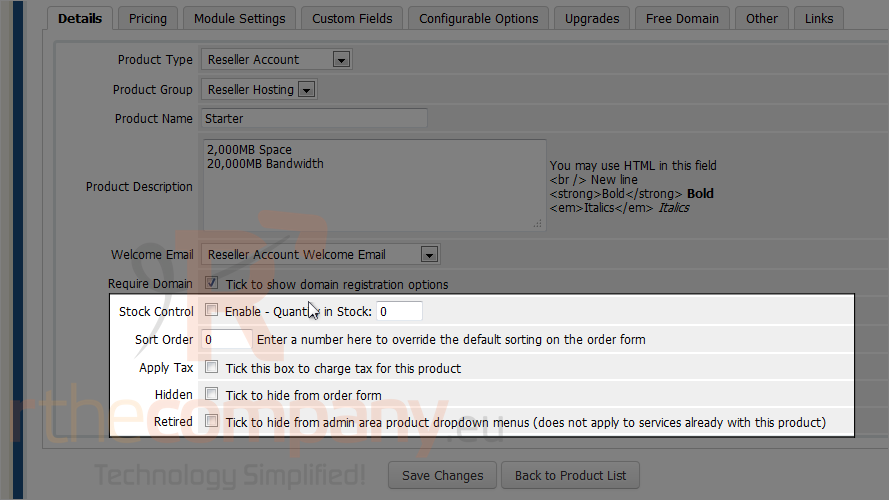
15) Now select pricing tab.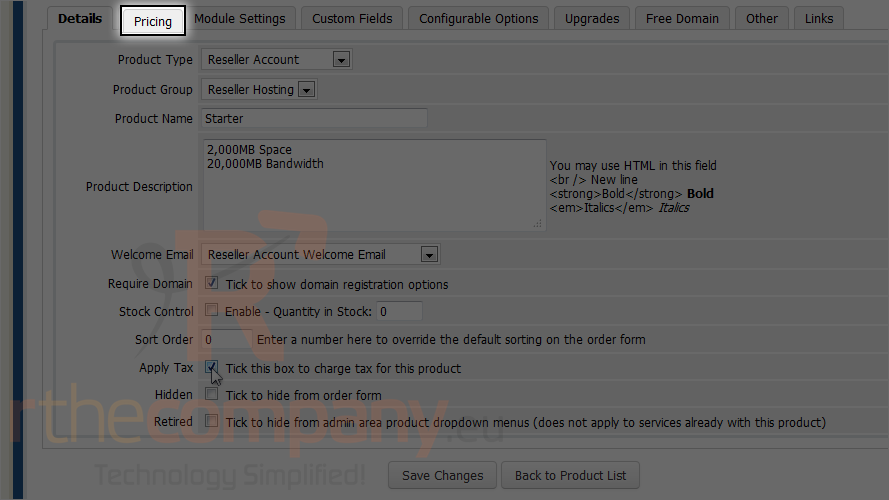
16) Determine the payment type this product should use.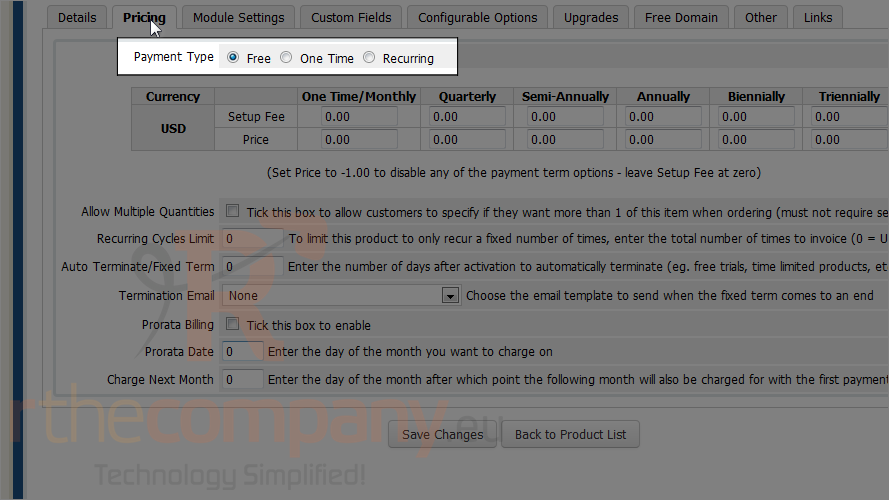
17) Then, fill in the setup fees if you want to and prices for every payment period under every currency. Note that a value of -1 will disable any of these payment terms.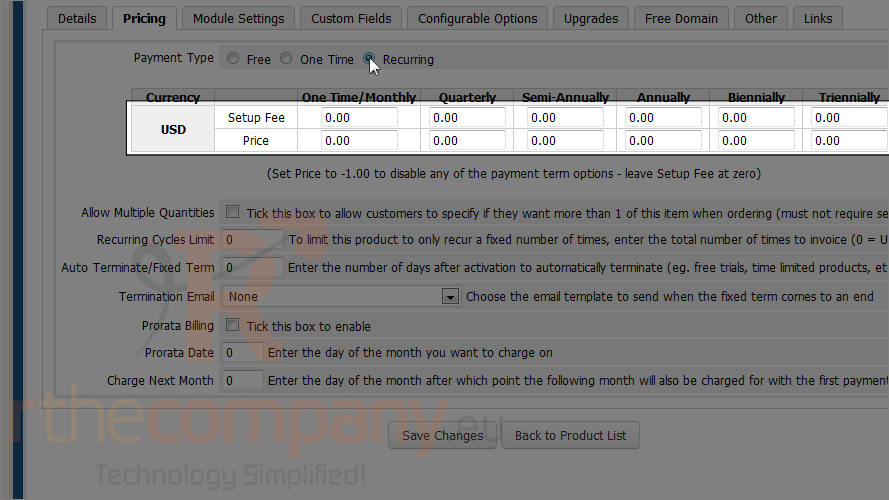
18) Let's disable triennially billing by inserting -1.00.
Prorata billing is used to force all orders to be due on the same day of the month, as specified here. Activating this setting means a client's first payment will be a partial payment based on the days left until the next billing date.
Charge next month allows you to charge next month's payment along with the initial payment if the order is placed past a certain day of the month.
19) Go to module settings when finished here.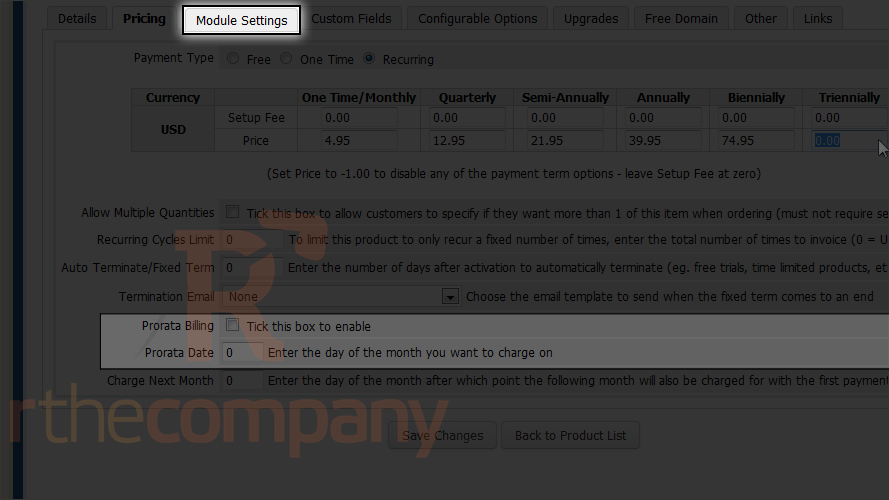
20) Choose the control panel module that this product should use, if any. We'll use cPanel.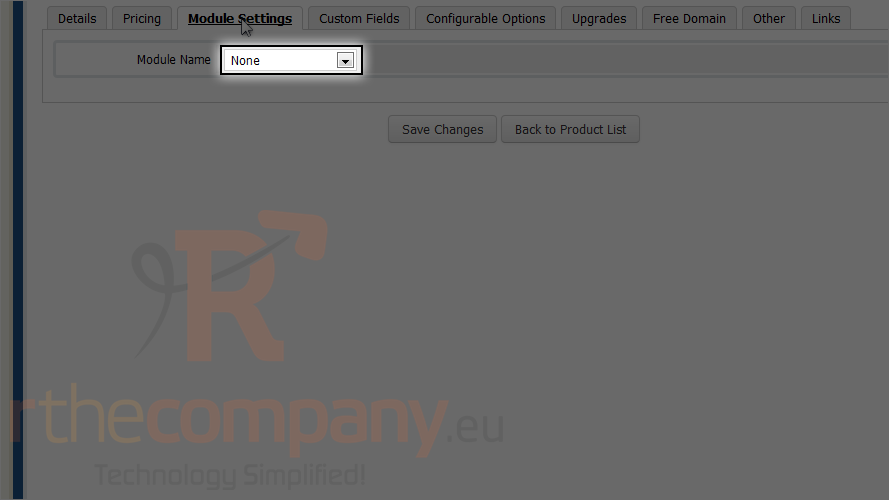
As you will select cPanel it will show you settings page.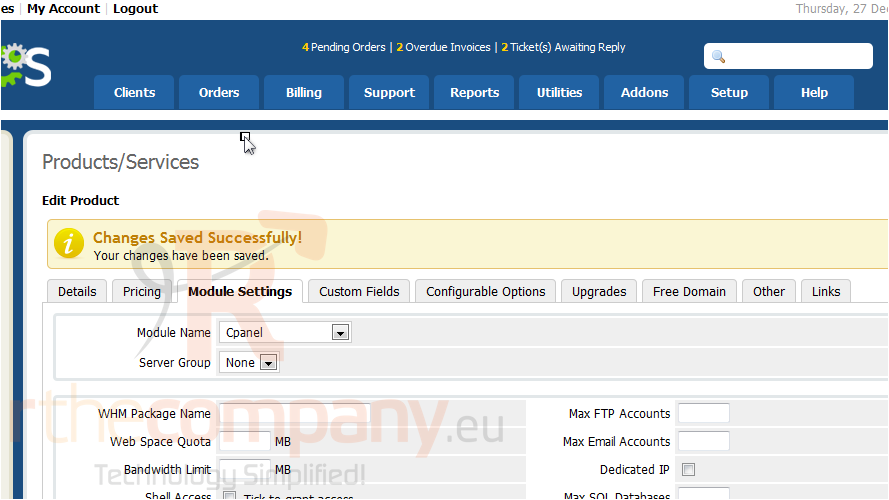
21) Select the server, this account should be set up on.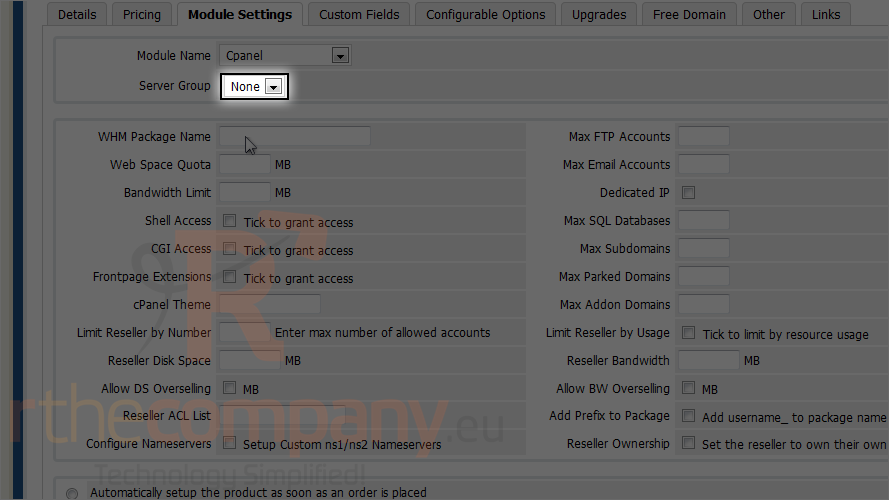
You have three options; use an exisiting package as specified in WHM, create a new package, or use no package by leaving the field blank.
When using an existing package, you can leave the rest of the indiciated fields blank and the values will be retrieved from WHM, assuming you have everything set up properly. Otherwise, fill in as many of these fields as you want.
These fields are for reseller accounts only.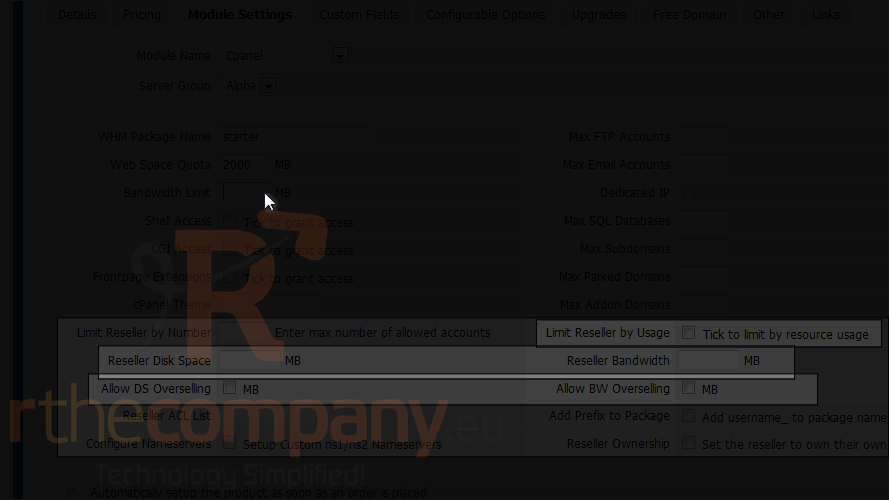
22) Fill out the rest of the fields, then scroll down.
23) These fields are important, Make sure you select limit reseller by usage, so reseller dont use more resources than their quota.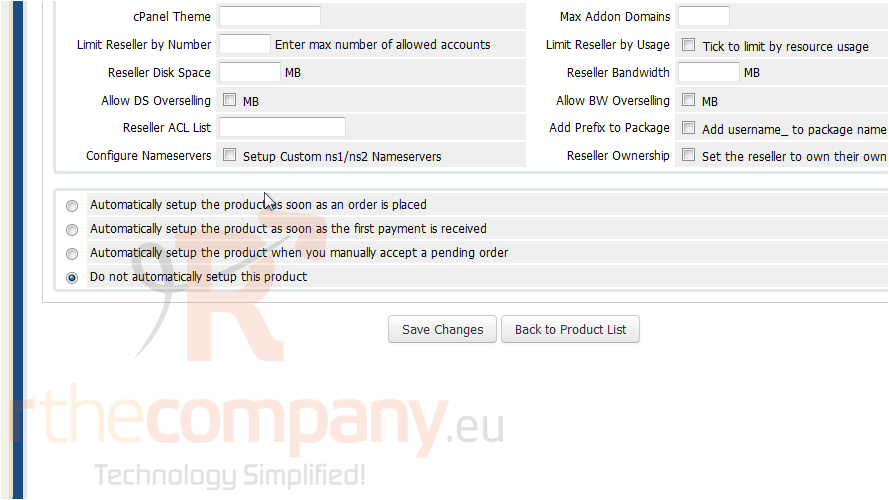
24) To make it work, you need to enter reseller's quota space and bandwidth here.
25) If you want to let reseller oversell their resources, select these both options.
As said earlier, You can set other options as you feel will work best. Scroll down.
26) Decide whether you want this product to be set up automatically using one of the three options below or not at all.
Look through all the rest of the tabs and change any setting you want.
27) Once you're finished click save changes.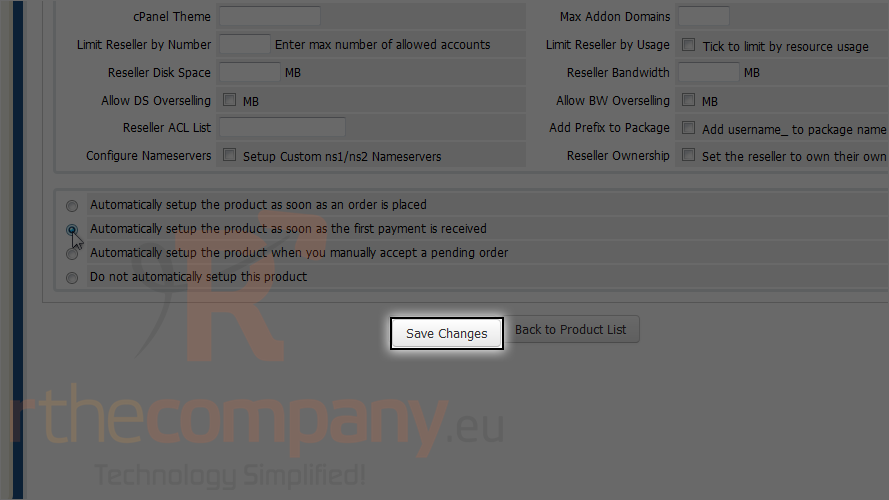
The product has been saved.
28) Click back to product list.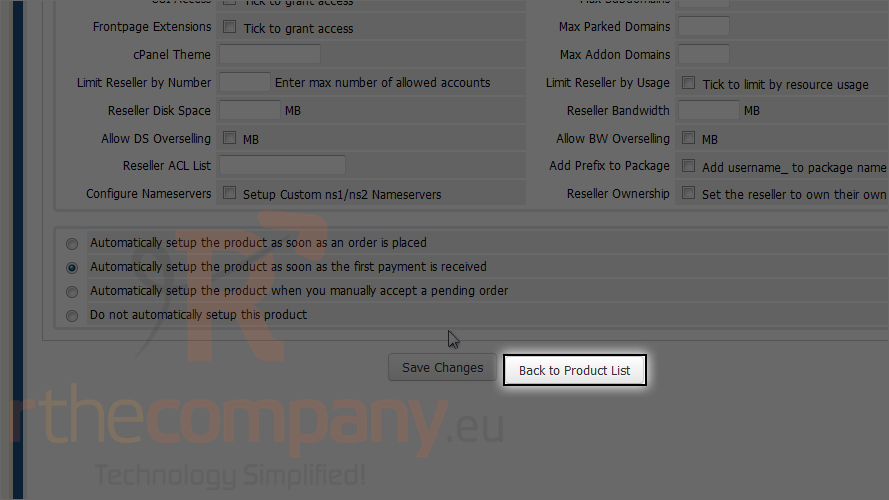
Product has been created and can be seen here. You're all finished! Repeat the process for as many products and groups as you want.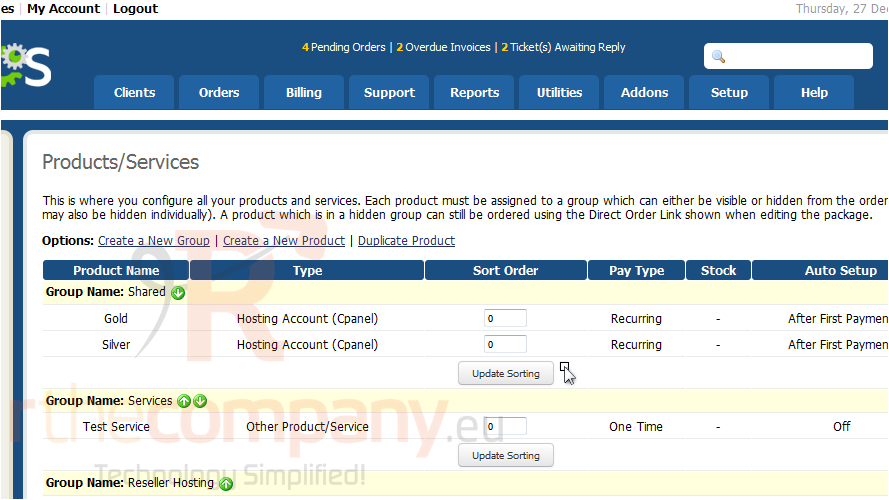
You can duplicate a product using this link...
...and edit or delete products and groups using these buttons.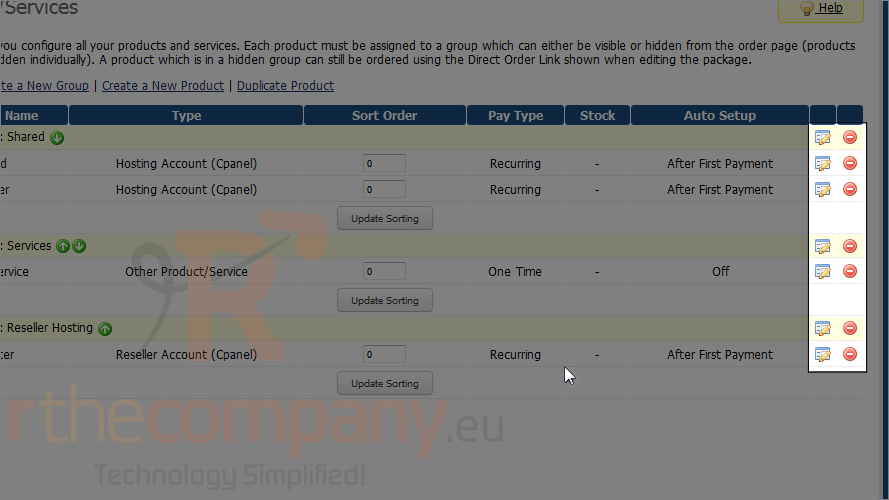
For details on the other control panel modules, check out the WHMCS documentation, accessible from the help menu.
You can also configure options and addons for your products by using the corresponding links in the same section of the setup menu.
This is the end of the tutorial. You now know how to set up your products and services in WHMCS.

