15. How to enable article attachments in Joomla
In a standard Joomla install, it is not possible to attach a file to an article as is commonly available in many other web applications
Fortunately, there's an extension that adds this capability. It's called, simply, Attachments for content articles
1) As with all extensions we'll be showing you, start by going to extensions.joomla.org. Then, navigate to the Directory & Documentation / Downloads category and find the Attachments for content articles page
2) Click Download
At the top of the page, you'll notice a bunch of language files for this extension. You could install some of them if you wanted, but we're not going to
Scroll down
3) Download the ZIP file to your computer
4) Once you have the file on your computer, you'll need to extract it. This extension is made up of four separate extensions that you'll need to install individually
For assistance with finding or installing extensions, watch the first two tutorials in this series
When all four extensions have been installed, it's time to activate the three plugins
5) Go to Extensions
6) Then click Plugin Manager
7) Find each plugin and click its Disabled icon to turn the plugin to Enabled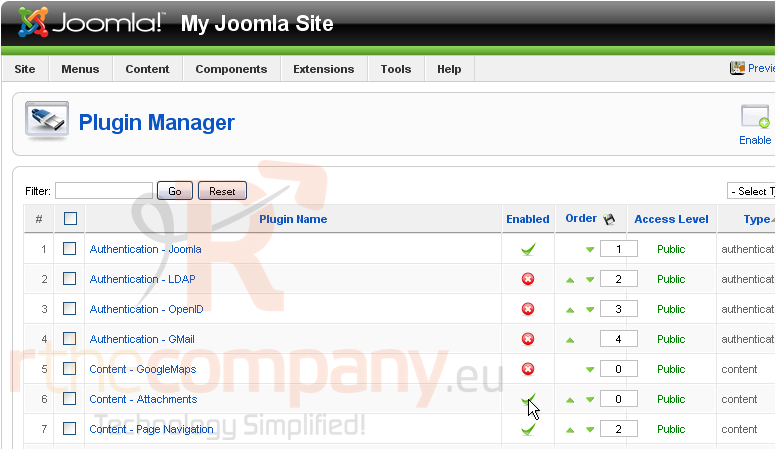
Now, we need to change some of Joomla's settings
8) Go to Site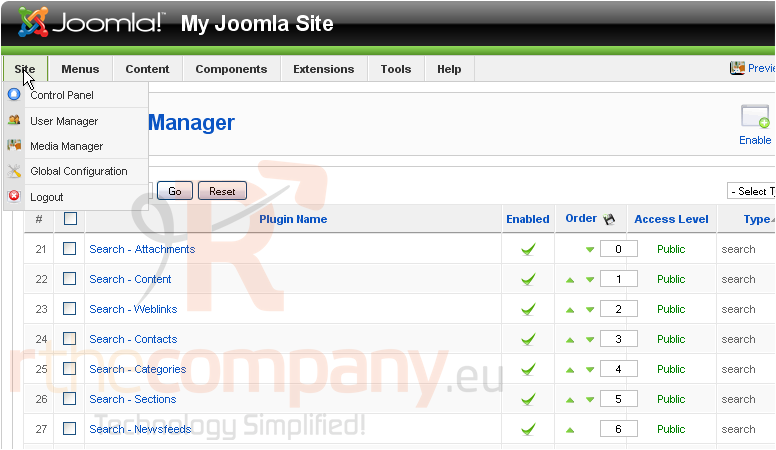
9) Then Global Configuration
10) Click the System tab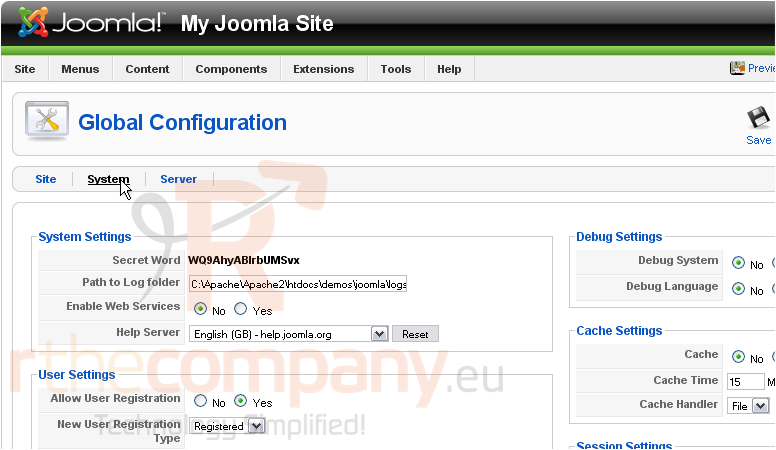
Scroll down
The attachments extension uses Joomla's Media Settings to determine what file types can be uploaded
11) Add any extensions that should be made legal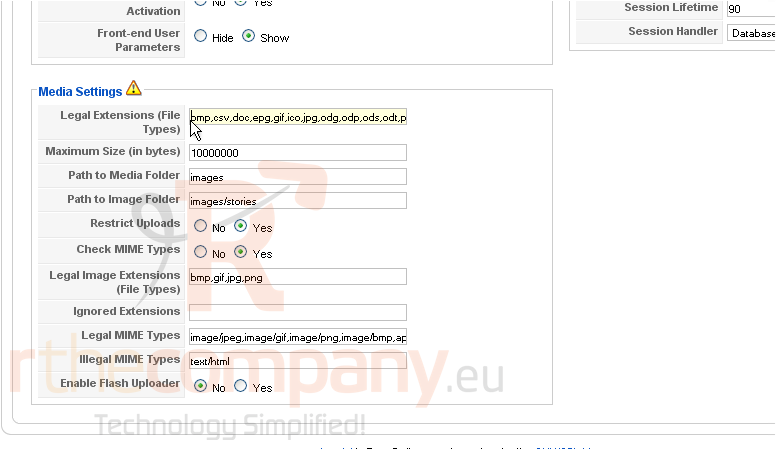
12) Type the same extensions in uppercase for both versions to work
13) Change the maximum file size. The default is roughly ten megabytes; 0 is unlimited
14) You'll probably want to make uploads less restrictive to make attachments more useful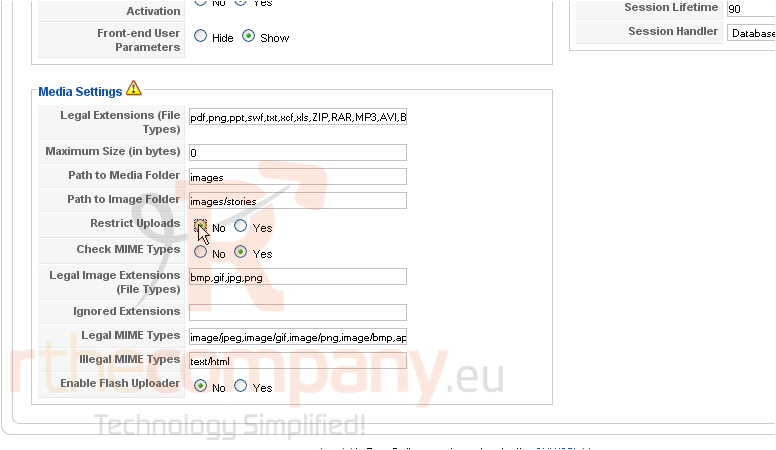
15) Changing this setting to No will help do the same thing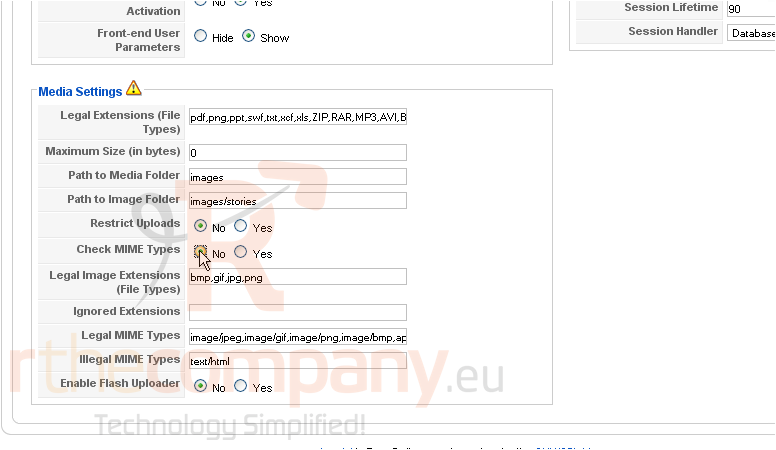
Unless you really trust your members, be careful turning those two settings off, as it can potentially cause a security breach
Scroll up
16) Click Save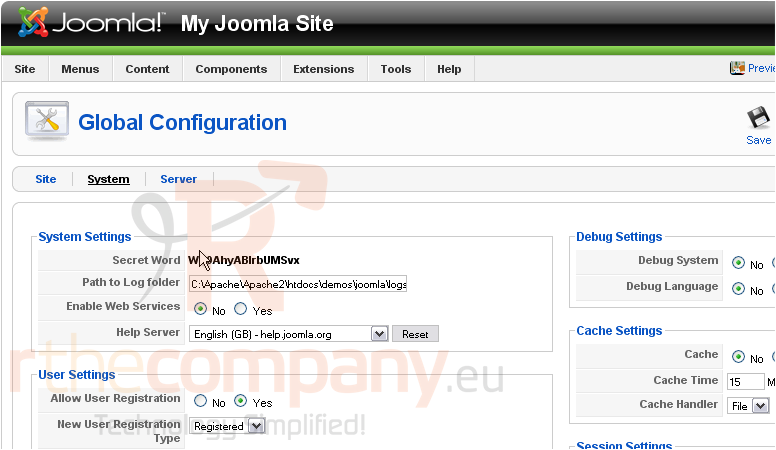
Now, it's time to check out the attachments component
17) Click Components...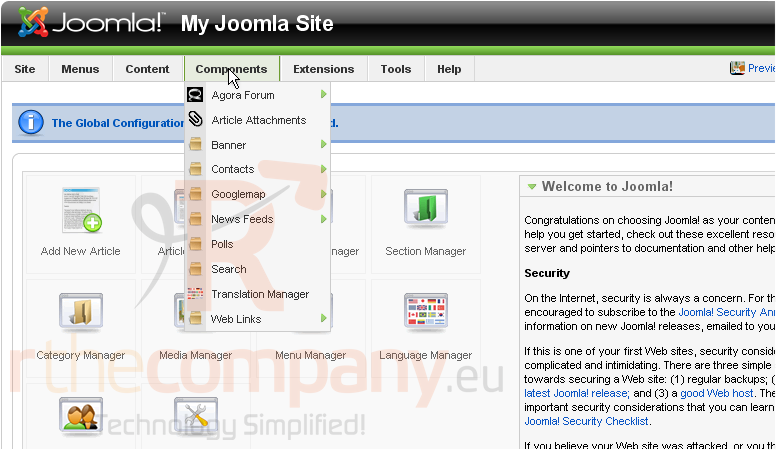
18) ...then Article Attachments
When your users upload attachments to articles, they'll appear here for you to manage
This extension allows you to add attachments to articles here, as well as on the Joomla frontend
19) Go to New
20) Click Select article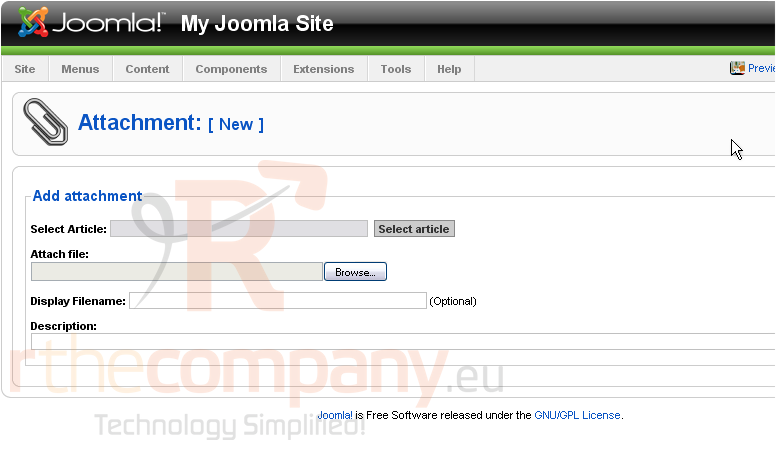
21) Select an article
22) Click Browse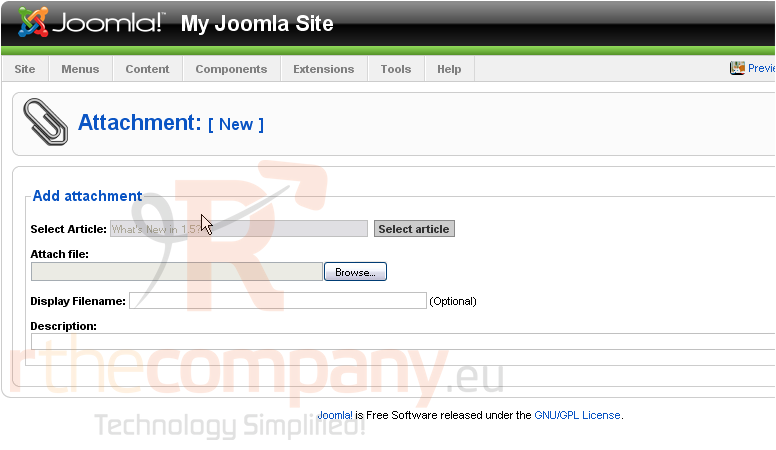
23) Find a file to attach
You can type an alternate name to display here. By default, this extension will use the file's name
24) Type a description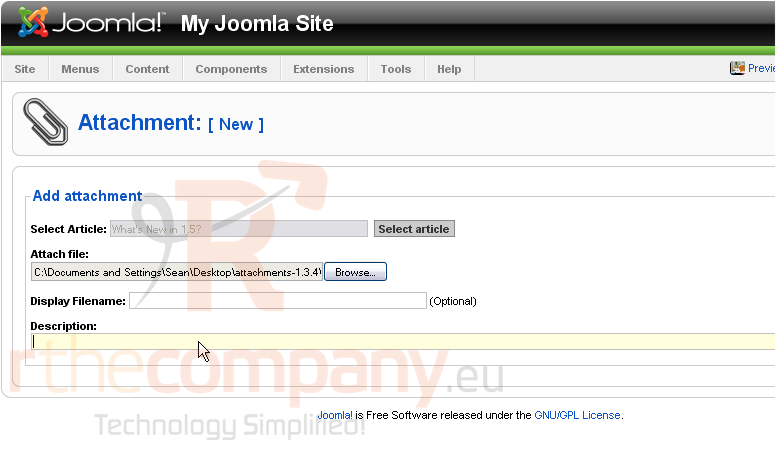
Scroll right
25) Click Save
26) Make sure you publish the attachment, or it won't display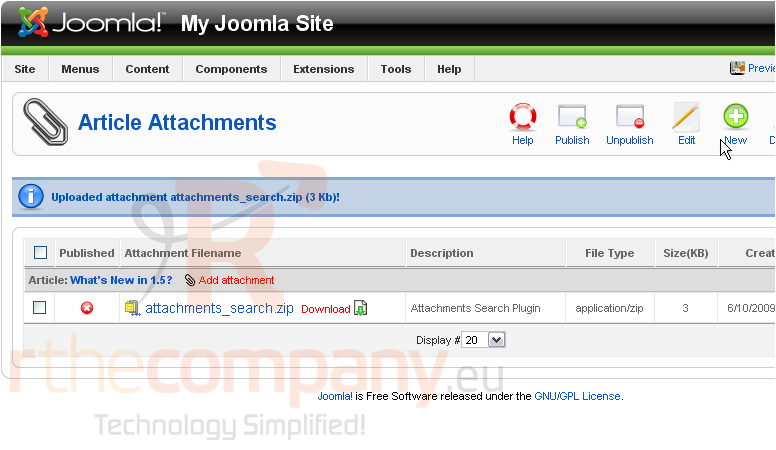
Let's take a look at this extension's settings
Scroll right
27) Click Parameters
There are a number of options you can change here
In particular, you might want to change "Attachments published by default?" to Yes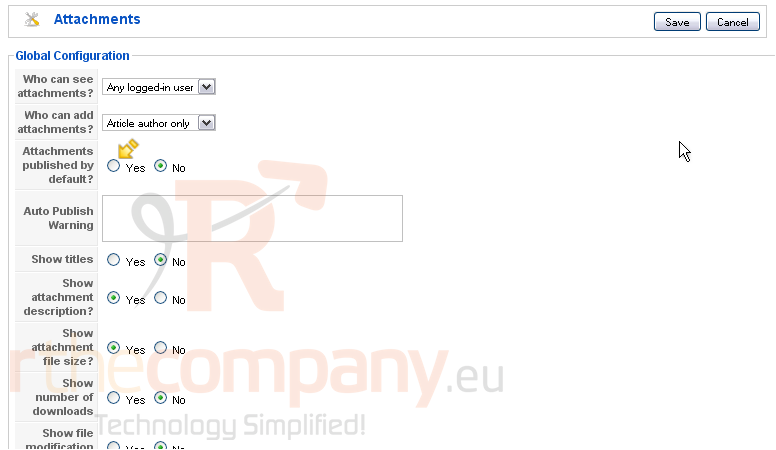
28) When finished, click Save
29) Next, go to Admin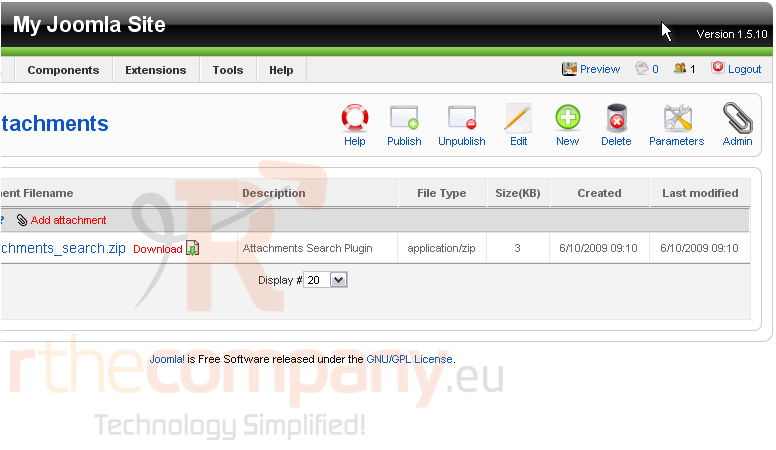
Here are some extra administrative commands that might be useful to you. Hover your mouse over each link for a description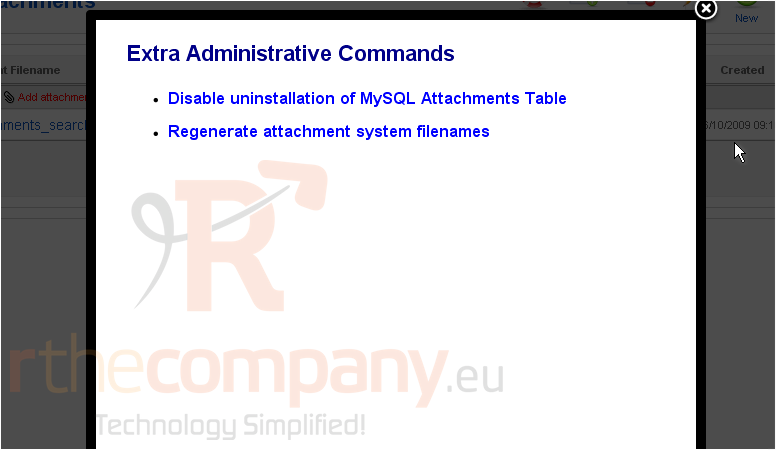
30) When done, click the X
Now, let's see if our attachment shows up in the article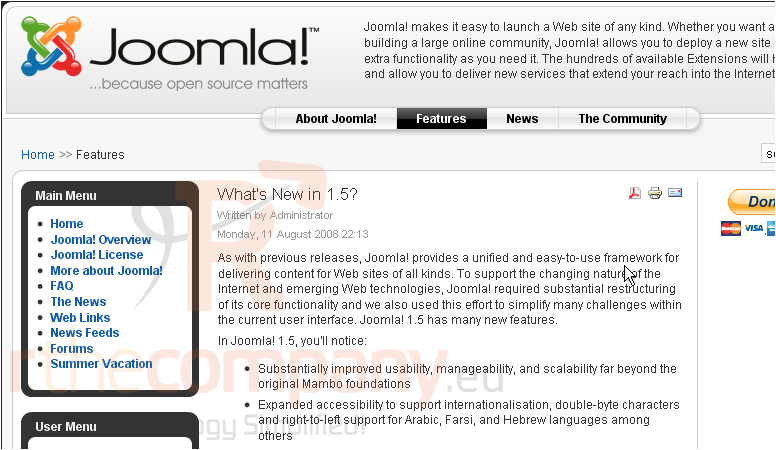
Scroll down
Here it is!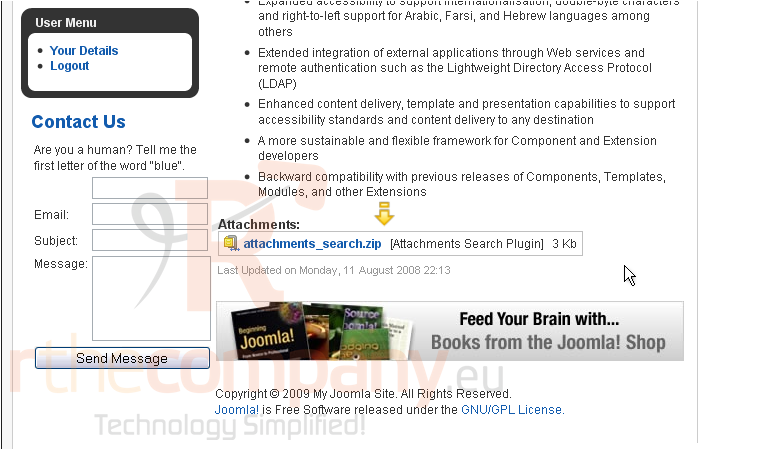
In order to see a link to add an attachment, we must be logged in as either the owner of this article or an editor or publisher. Let's switch users
We're now logged in as a Publisher. As you can see here, this Add attachment link has shown up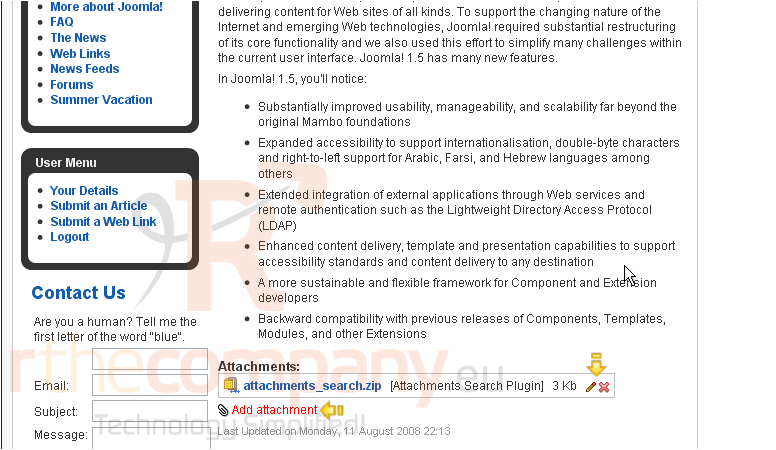
We can also edit or delete attachments using the buttons over here
This is the end of the tutorial. Your Joomla site is now fully capable of having attachments added to its articles

