18. How to add a calendar to your Joomla site using JEvents
Events Calendar, also known as JEvents, is a well-liked calendar extension for Joomla
1) As with all extensions we'll be showing you, start by going to extensions.joomla.org. Then, navigate to the Calendars & Events / Events category and find the Events Calendar page
2) Click Download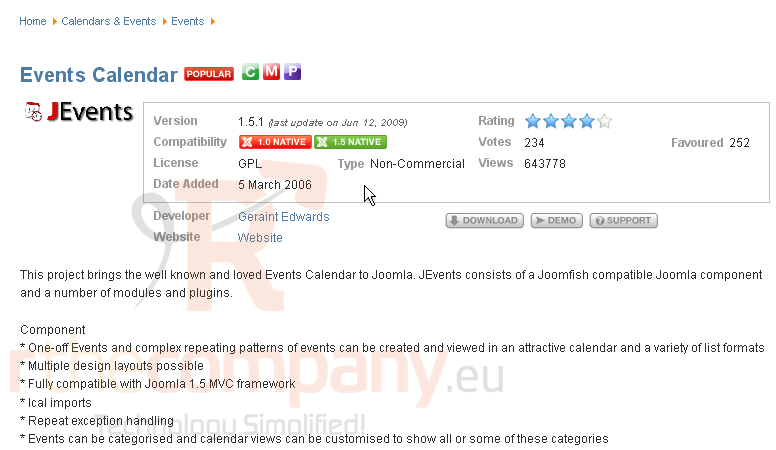
3) Open the Files tab
If you need assistance with finding or installing extensions, watch the first two tutorials in this series
For maximum functionality, it's recommended that you install all of the extensions listed here, as we will. The only thing that's required, though, is the component
4) Once all packages have been installed, go to Components
5) Then, go to JEvents MVC
6) After it sets up the database, click continue
Next, you will be directed to verify that the configuration is correct. The defaults should work just fine for our purposes
Glance over the settings in every tab and change whatever you want, then scroll right
7) Click Save
A default calendar and category should have already been created for you
Let's add an event
8) Click New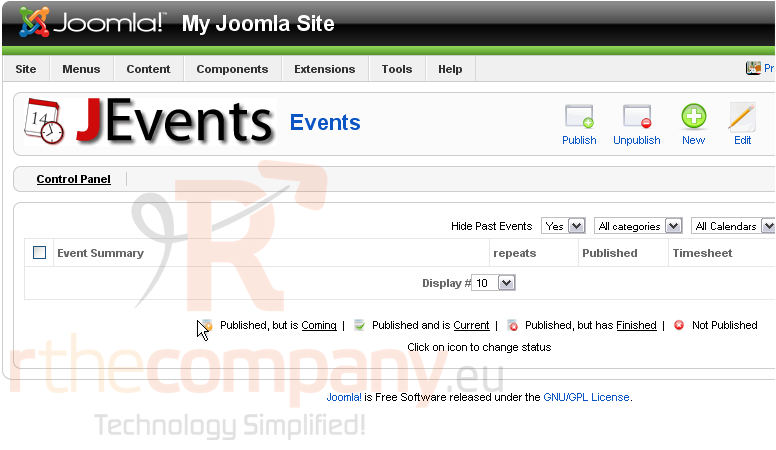
9) Type a subject for the event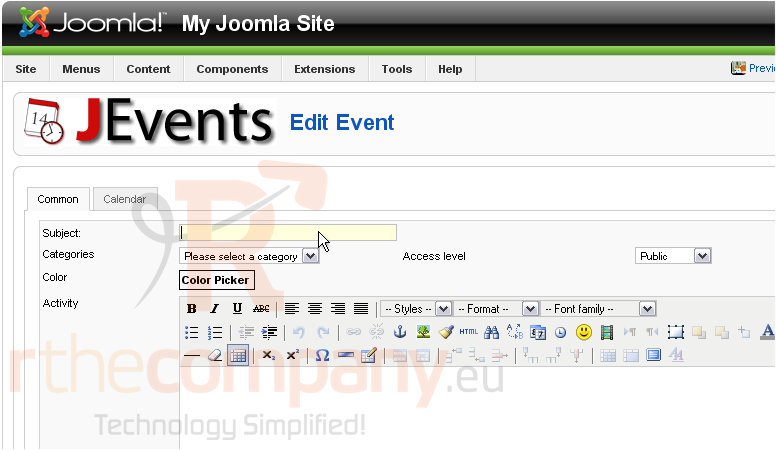
10) Select a category to place it in
11) Adjust anything else you want on this page, then proceed to the Calendar tab
12) Set a Start and End date
13) If this is a repeating event, select the correct repetition interval
14) Click Save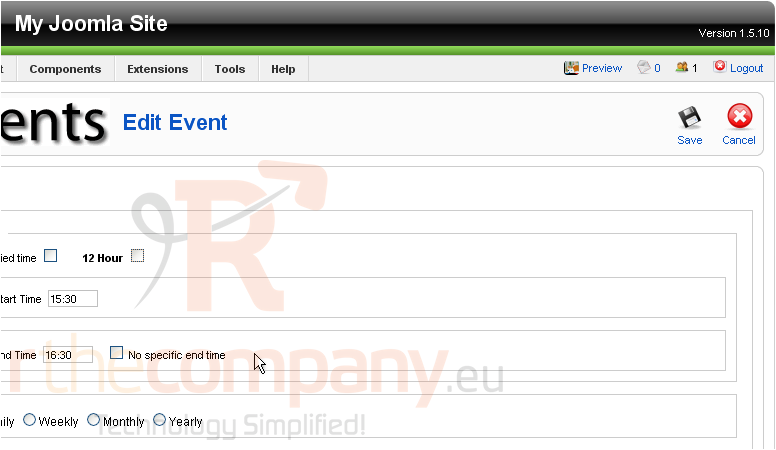
Let's enable the Search plugin for this component
15) Extensions
16) Plugin Manager
Scroll down and locate the correct plugin
17) If necessary, click Next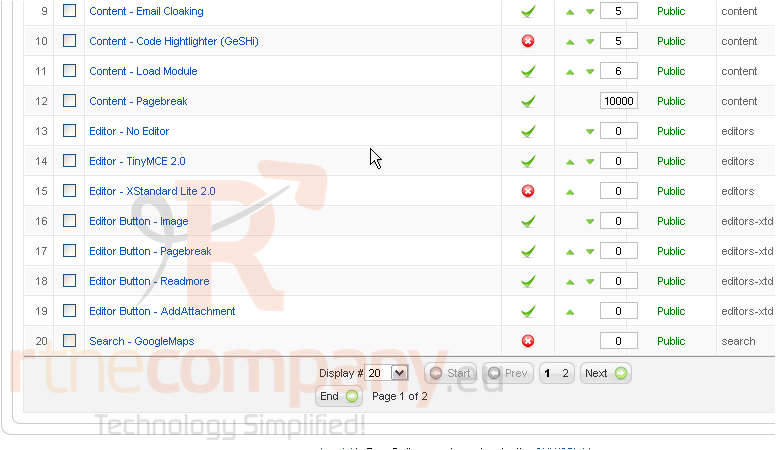
18) Click the X to enable this search plugin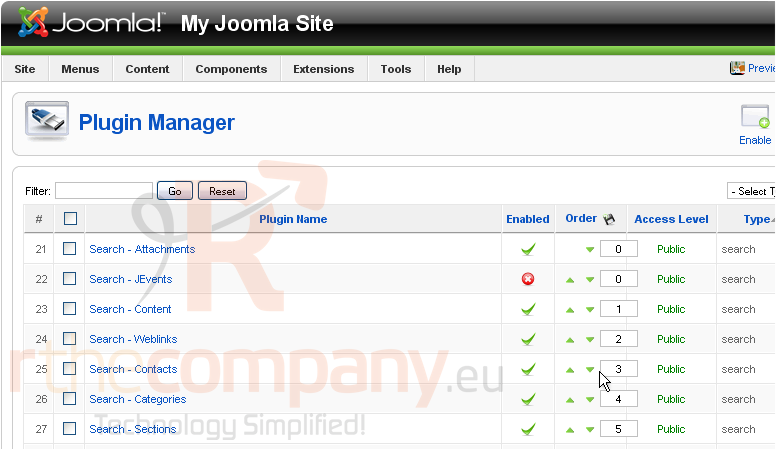
Next, let's add this extension to our site
19) Go to Menus
20) Choose the menu you want to contain a link to the calendar
Scroll right
21) Click New
22) Select JEvents MVC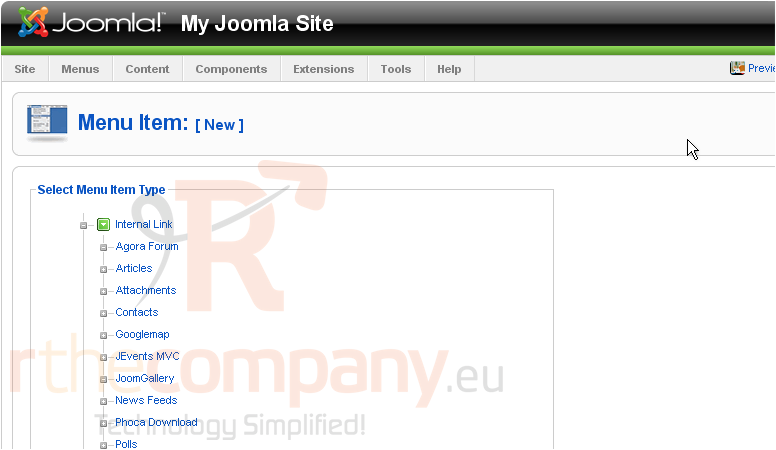
There are a number of views that you can choose for this component
23) We'll choose Monthly Calendar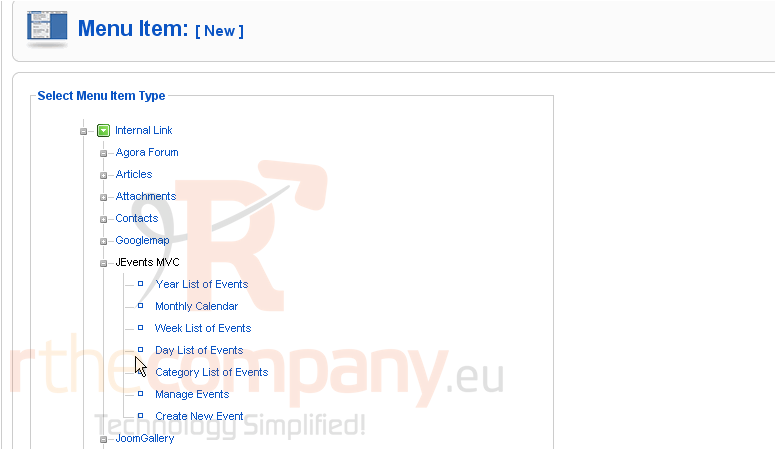
24) Enter a title
25) Open the Component parameters and scroll right
You'll need to specify at least one event category using the select boxes here
26) Choose the one our event is in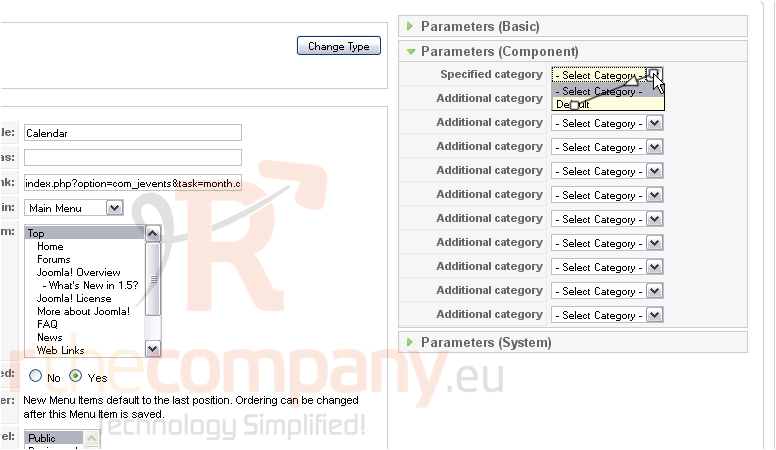
Scroll up
27) Click Save
Now, enable and rearrange the modules instances that were created automatically when we installed the four modules
28) Go to Extensions
29) Then Module Manager
30) Enter jevent here to display only those modules we're looking for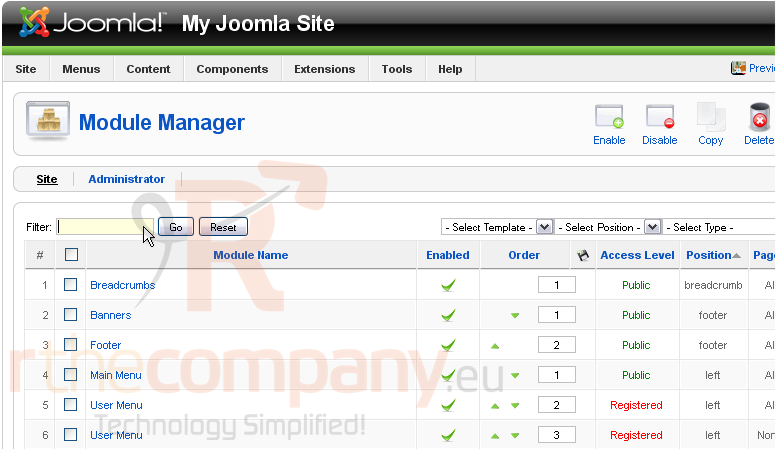
31) Press Go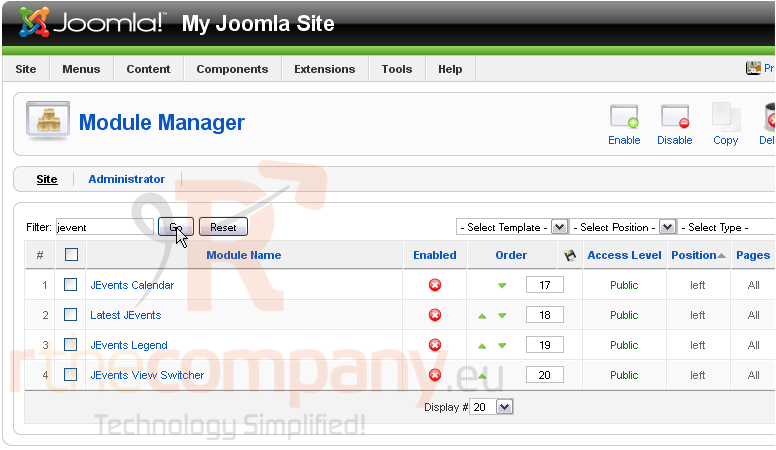
32) Click here to select all the modules listed below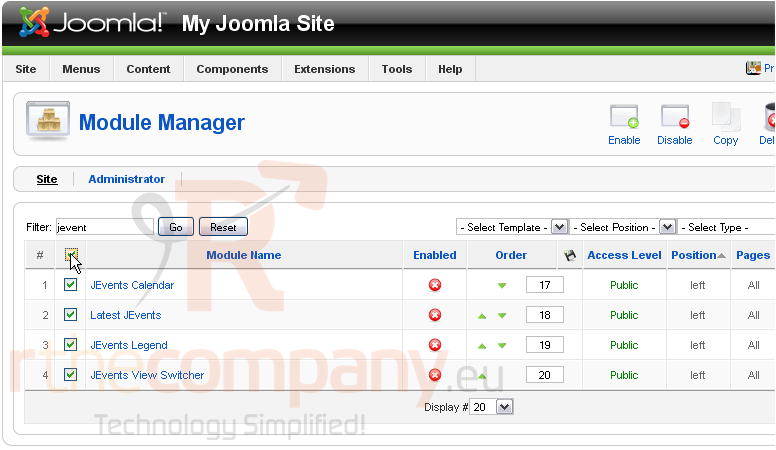
33) Then, click Enable
The first module displays a mini calendar. Let's make some more changes to it
34) Click here
35) Click No to hide the title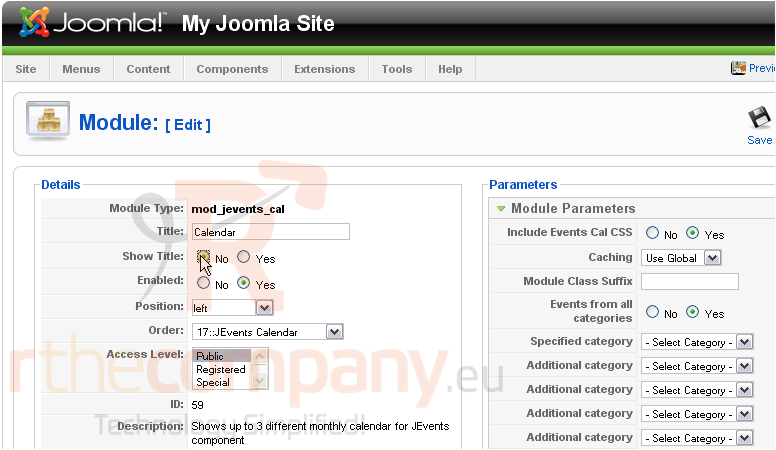
Change the title, if you want
36) Alter the position...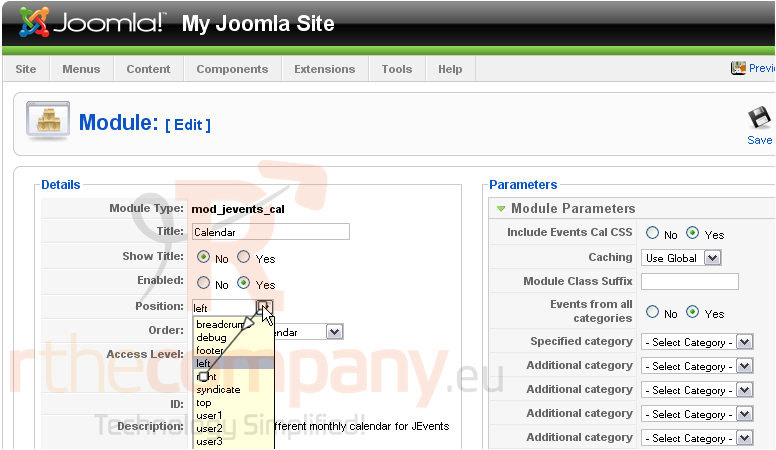
37) ...then the order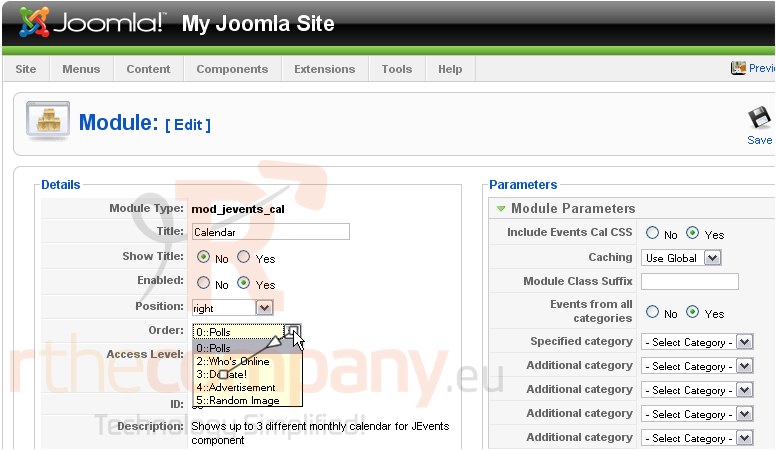
Scroll down
38) Change the menu assignment to ensure this module only shows up on the home page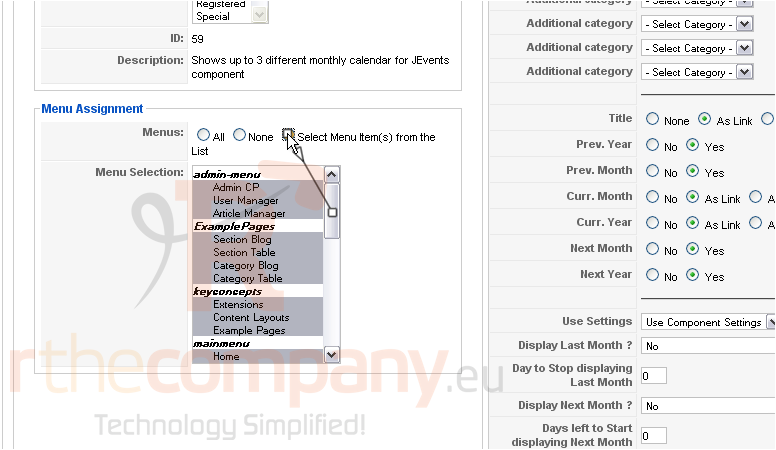
39) Click Home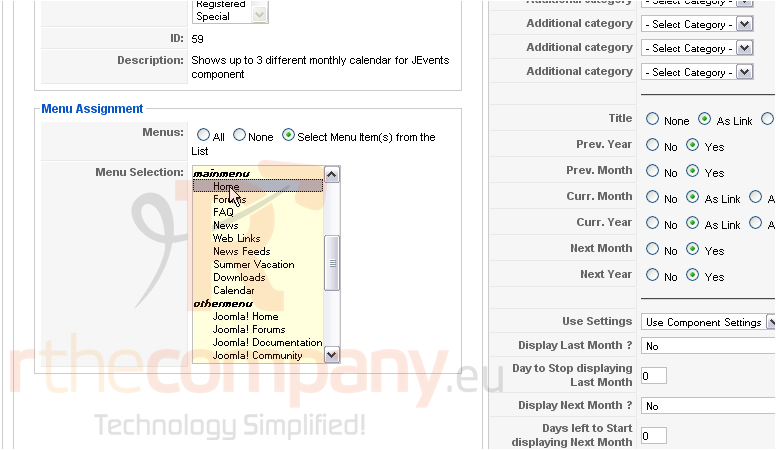
Scroll back up
40) Click Save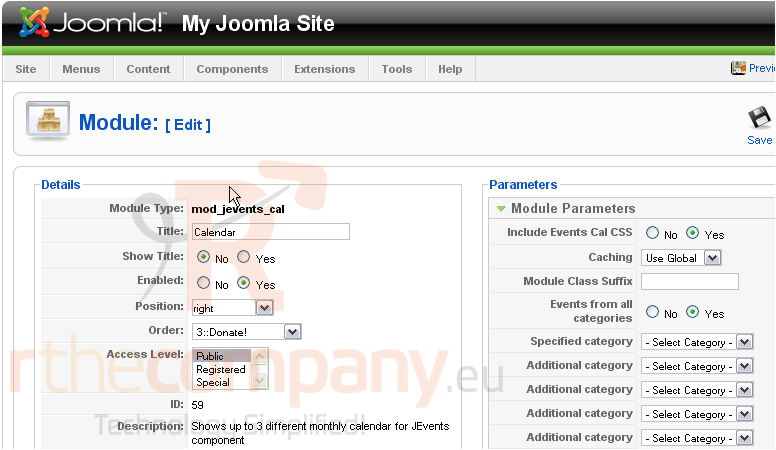
41) On your own, place the next module underneath the previous one in the same fashion
42) Repeat with the final two modules, this time placing them both in the left column on the Calendar page only
43) When finished, go check out the changes we made to the site
44) Click Preview
45) Here's the Calendar link we made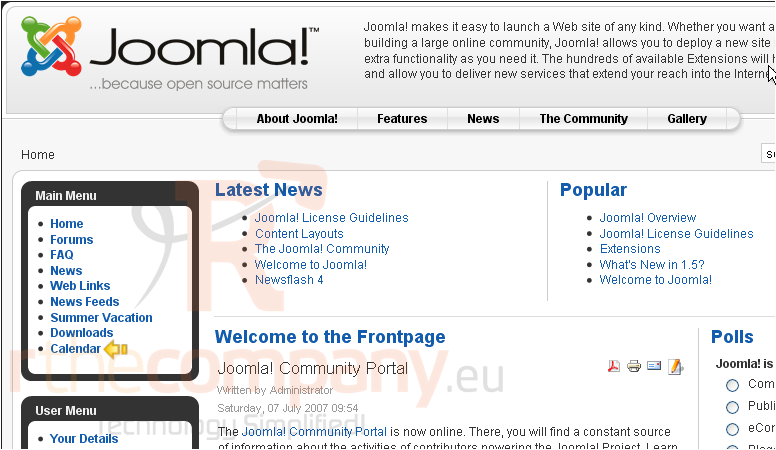
Scroll down and right
The first two modules show up correctly here, too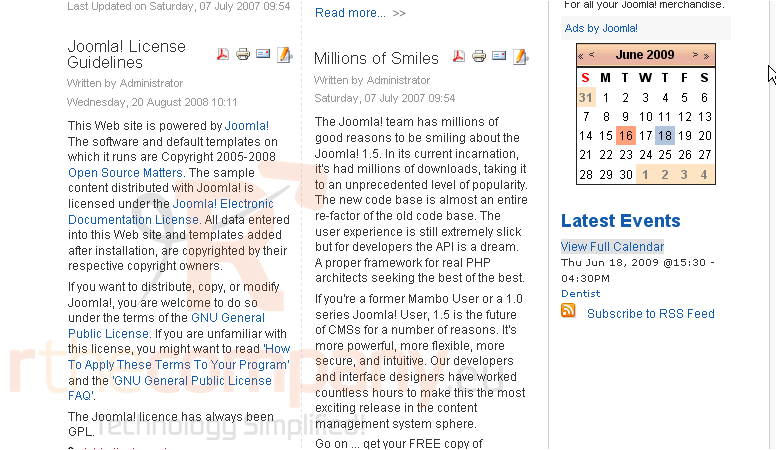
46) Click View Full Calendar
And here's the calendar, itself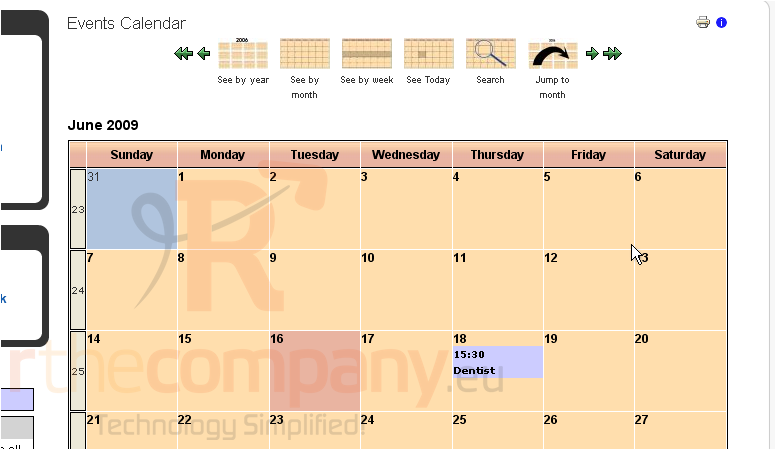
Notice that the event we made shows up here
The Legend and Theme Switcher both show up where we placed them
This is the end of the tutorial. You now know how to add a calendar to your Joomla site using JEvents

